Hand-Truck 48V System
Hand-Truck 48V System ~$2,400
Off-Grid Home Blueprint
Full 48V house system ~$9,800
Code-Compliant 48V System
Permit & inspection ready ~$13,500
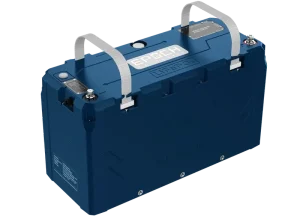
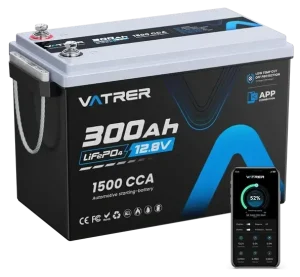
Mobile, 12V, tight on space and weight
Marine-rated, waterproof, heated cells
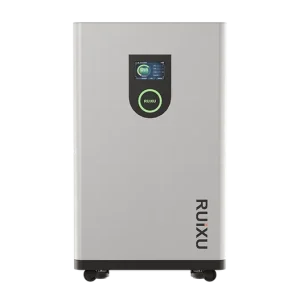
Small off-grid build, 12V or 48V
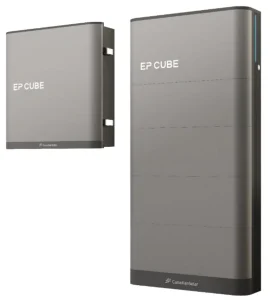
Off-grid or grid-tied with backup
Full 48V house system ~$9,800
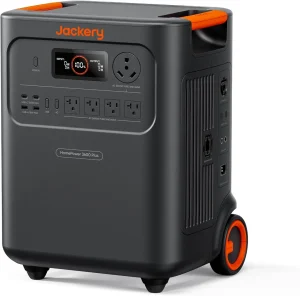
A rugged, portable 48V power system built on a hand-truck frame for easy transport and quick deployment. Perfect for job sites, off-grid setups, RVs, and backup power applications.
Built with premium components and advanced software for maximum efficiency, reliability, and long-term performance.
This is a cut above the rest.
Affiliate links below
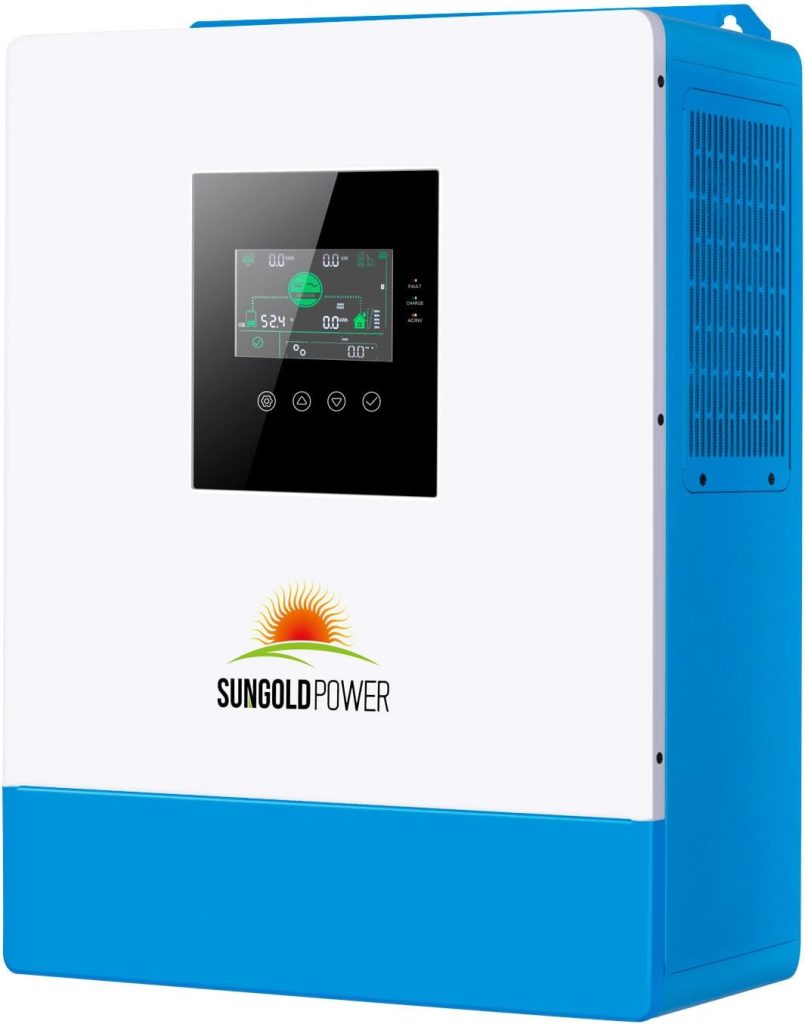
If you are running a house, cabin or RV with offgrid solar, the most popular option is an “Offgrid Specific 48V All-in-one Inverter”.
Below are the most popular and reliable all-in-ones that I have tested.
Small
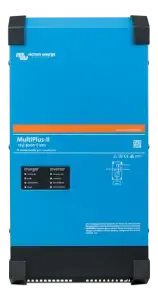
Great for Vans, RV’s and Mobile Systems
Medium
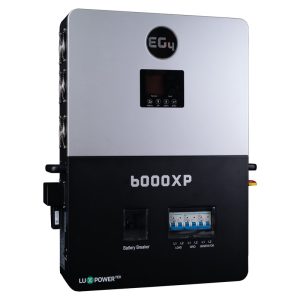
Great for Large RV’s and Cabins
Large
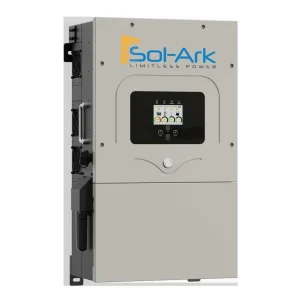
10kW solution for whole-home backup and off-grid use.
Extra Large
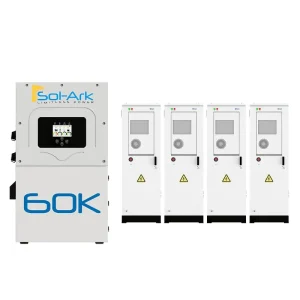
Built to Run a House! Connect 2X for 24,000W!
Sold Out
If you wish to build a solar system you can throw outside and forget about, check out my DIY Hybrid System Builder. Running hybrid inverters offgrid is becoming extremely popular. Higher upfront cost, but lots of benefits.
There are lots of options available! These are the most popular options:
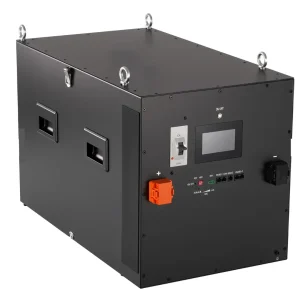
Same hardware as the more expensive packs but no UL listing. These cannot be installed in inspected systems! This is the most popular choice for offgrid systems.
Need to pass inspection?
This is what you’ll need
The only downside is you need room to mount them. If you have zero space available, I strongly suggest hiring a professional to assess your houses roof and have them mount your array. That way they can pick the right equipment for the job and pull the required permits.
See my picks →
See my picks →
See my picks →
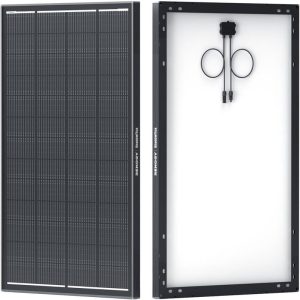
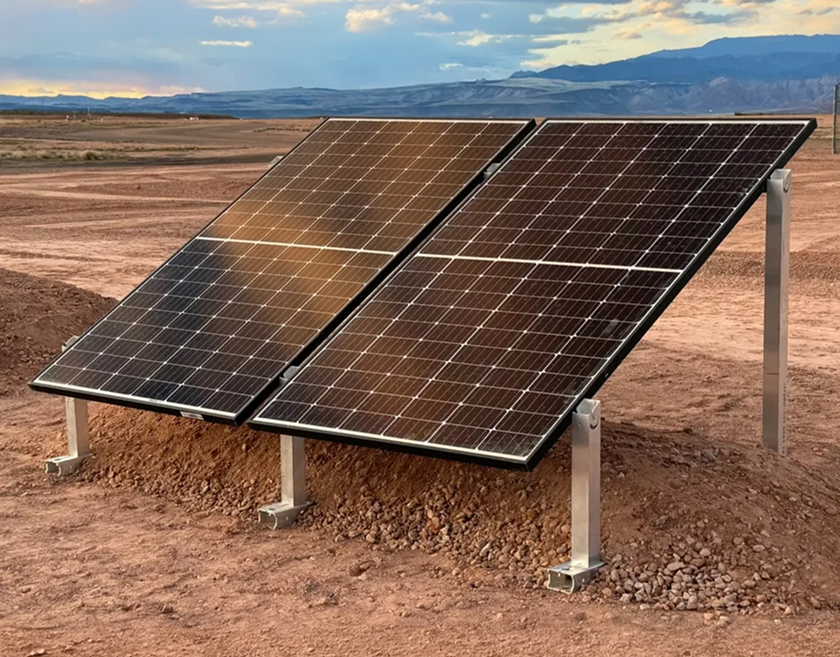
Most solar panels today have incredible quality and output. They can last decades with zero issues.
Lowest price. But is it worth it? Used panels have great output, but the warranty is pretty limited. Be sure to buy spares!
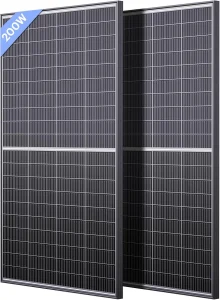
Fantastic deals on new panels. If something goes wrong with shipping, you’re good to go!
The best method to get a good price on new panels is to get a package deal with Signature Solar.
You will need to go to the hardware store and make a list of everything you need. You can buy the best kit on the planet, but it usually won’t come with everything you need. Here are some things you might miss:
01
THHN Wire
THHN Wire to connect inverter to load panel. This is the good stuff. The larger your inverter, the larger the wire you need to connect it.
03
Flex Conduit
Beginner friendly method to connect the inverter to a breaker box. Easy to purchase at any hardware store.
04
Romex
This is a commmon name for the wire you run from a load panel to an outlet. For most home circuits, 12AWG Romex will work great.
05
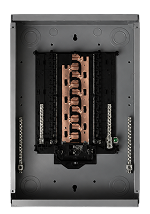
Circuit Breakers and Load Panel
Do not let this device scare you! It is super easy to install and use. If you are intimidated by it, hire an electrician. But they will charge a ton. You can easily find these devices at the hardware store.
If at any time you do not understand what you are doing, hire a professional. These systems are very simple, but do not be shy to ask for help. No matter what size system you are building, you can follow the step by step list below:
Breaker Panel
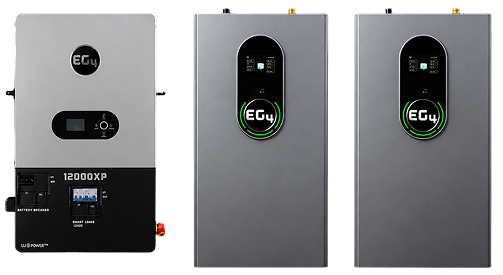
All-In-One Batteries
Mount the Batteries
They are the heaviest part of the system. Always ensure that they are switch “off” before moving or working on them. If you want to back up your whole home, you will need to think of a strategic way to mount them next to your breaker panel.
Mount the Inverter
There will be a mounting plate (included with the inverter) that you attach to a stud in your wall. Then you ask a friend for help and lift the inverter.
Mount a Load Panel Next to the Inverter
If you do not have a load panel but wish to safely attach loads, go to the hardware store and buy a panel. Attach it to the wall next to the inverter.
Once everything is in position, connect it all together! Be sure that everything is in the “off” position!
Connect the batteries in parallel.
Then connect them to the all-in-one. Attach the positive red wire to the positive terminal.
Connect the all-in-one to the load center or breaker box.
This will require THHN wire. Look inside the manual of your inverter to know what size wire to use.
Connect the solar array wires to the all-in-one.
Do not connect the solar panels yet! Just the wires that you have run out to the array. Make sure the PV disconnect switch is switched to “off”.
This can actually be dangerous. Be sure to follow the steps below:
Wait until nighttime and connect the solar panels in series.
You can cover the panels up with a blanket during the day, but if this is your first system, just do it at night. Daisy chain the panels in series. The MC4 connectors on the panels will only allow you to connect them in this way. This will connect the positive of one panel to the negative of the panel next to it, and so on.
Connect your solar array to the wires that run back to your system.
Again, ensure that the PV disconnect switch on the all-in-one is switched to “off”.
Final step is to check the polarity at the PV input on the all-in-one.
Before turning your system on, you want to ensure that the positive solar array wire is connected to the postive input, and that the negative solar array wire is connected to the negative input. The best way to do this is to not disconnect anything, but to use a multimeter at the PV input to measure the voltage. Even at night, your array will have 2-5 Volts. There will be small holes next to the input that you can push a multimeter probe into. If the Voltage you measure is a positive number, you are set. If it is a negative number, check your wiring. You switched the wires somewhere between the array and the PV input.
You now have a solar power system. Most of the settings should be good, but be sure to read the manual and test everything to make sure it works. If you connect 4000W of panels and it is only charging with 300W in full sunshine, something is wrong. If you need further help with setup, post your problems on the beginner forum.
The Instructions above are for offgrid specific systems. If you wish to connect your system to the grid, you will need to change some settings on your system.
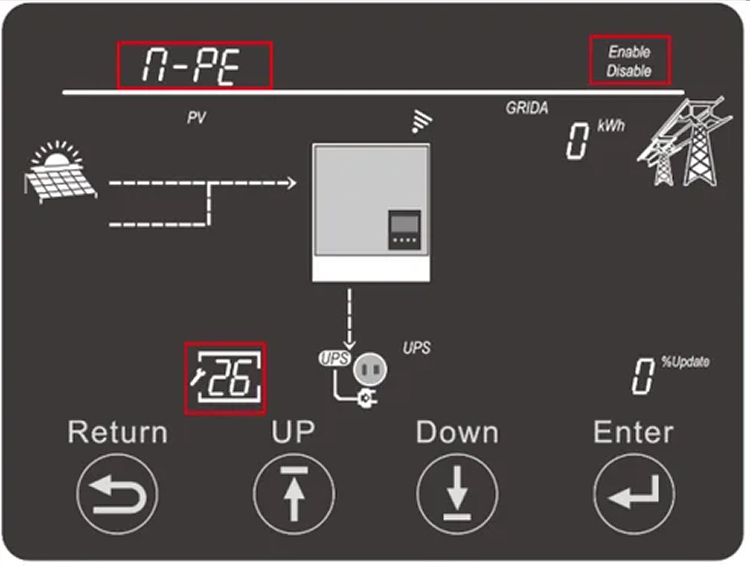
This setting allows the user to enable or disable the internal neutral-ground bond. The inverter must be in standby to make this change. Turn the “EPS Output” switch to off to engage standby mode.
Range: Enable/Disable
Default: Enable
Many all-in-ones have a setting to creat what is called a “ground neutral bond”. This is an electrical connect between the neturals and the earth ground, and can only exist at one location in your system. For example, on the 6000XP, it is setting #26 (see picture). This will create or remove a ground neutral bond. Each system can have only ONE ground neutral bond. But realize that if you are connecting your offgrid inverter to the grid, and your house has it’s own ground neutral bond, then you will have two! That is not good. You will need to change the settings on your inverter:
And you’ll notice that if you are using this unit for mobile application (like a hand cart solar system) and “plugging in” to an AC source, you have to change this setting every single time. Not fun!
If your inverter does not have a setting for ground neutral bond, you will need to create one in your load center. Your load center will have a “ground neutral bonding screw” which is usually green, included. Or you can buy one for a couple of dollars. Add this screw and connect all of your grounds and neutrals on the neutral bus bar. That’s it!
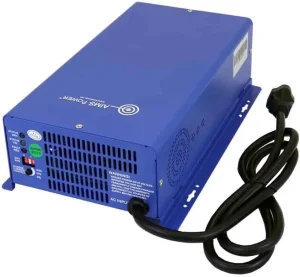
If you need your system to run with its own ground neutral bond but you still need it to charge from the grid for a couple days during winter, use a dedicated AC charger. This will fix all of your problems and you wont have to worry about the ground neutral bond. Just hook up the charger and plug it in. You can use a wifi outlet switch or a timer switch to run the charger for certain times throughout the day.

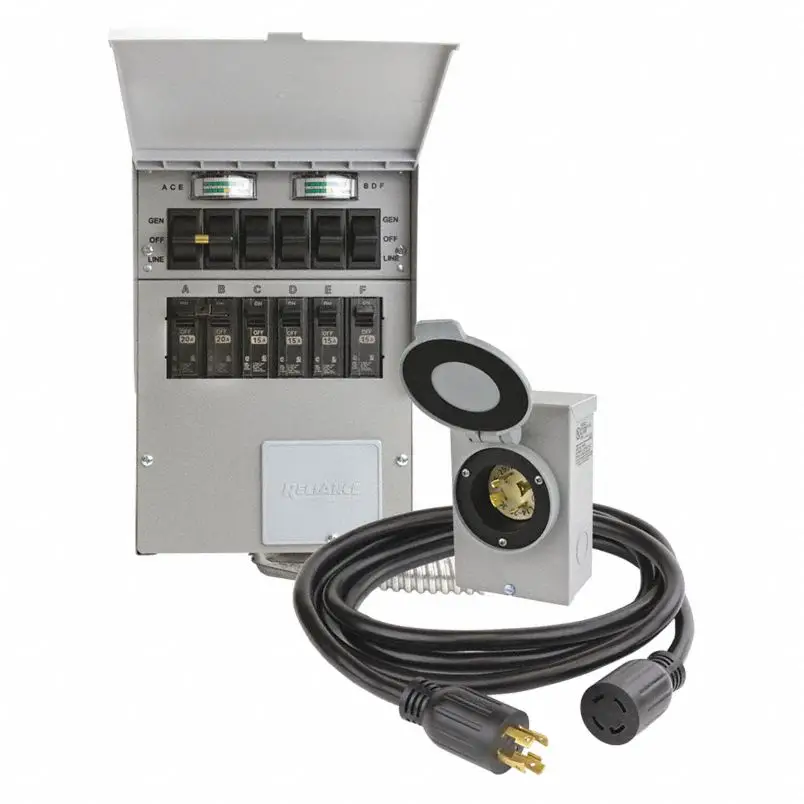
The best method to use this system in a legal fashion, is to hire a licensed electrician to install a transfer switch for your homes critical loads. Then have the electrician connect the transfer switch to your offgrid solar power system’s load center. They will run the proper size conductors, and ground the system to NEC code.
This can be quite tricky, and will depend on where your system is located, if you have multiple buildings, and if you are in a lightning prone area. They will install a ground rod if they feel that it is necessary. Do not earth ground your system if you are not qualified.
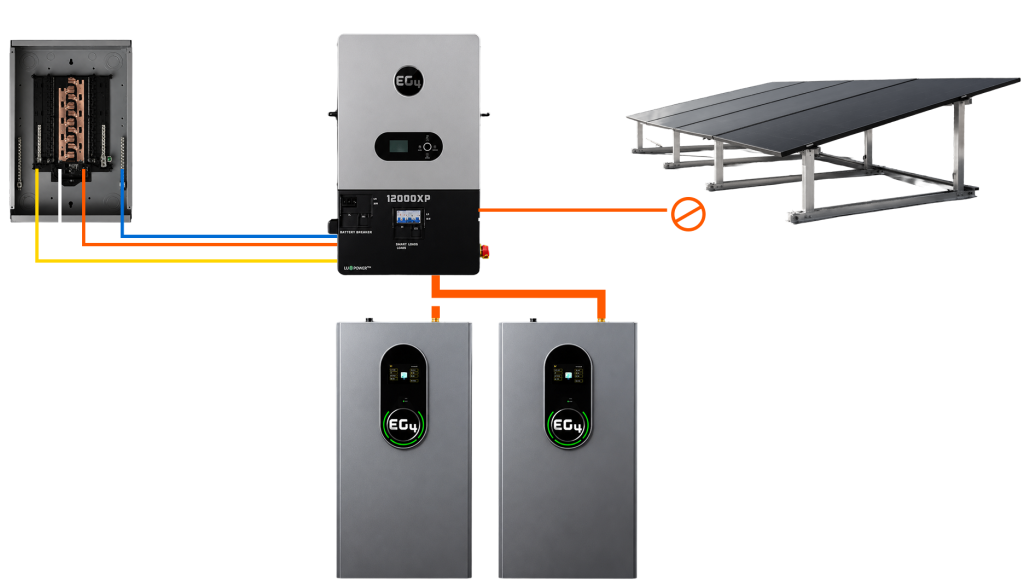
You could also have the electrician install what is called a RCD (residual current device) or SPD (surge protection device) if your system needs it.
I think most things can be done on your own, but not this. There is a lot to understand, and you cannot screw this connection up. Setup the system above as an offgrid system, and have an electrican finish it up.