Batteries
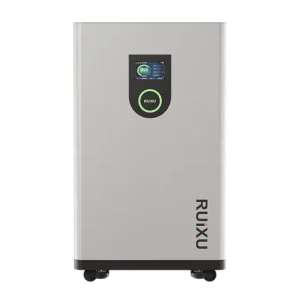
12V UL Certified Certified to UL1973. Consistent quality, audited over time.
12V UL-certified LiFePO4 battery
12V UL Certified
Certified to UL1973. Consistent quality, audited over time.
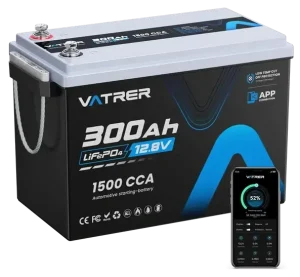
12V Budget Cheaper per amp-hour. Reliable today, no long-term guarantee.
12V budget LiFePO4 battery
12V Budget
Cheaper per amp-hour. Reliable today, no long-term guarantee.
48V UL Certified Required if you are permitting your system or tying…
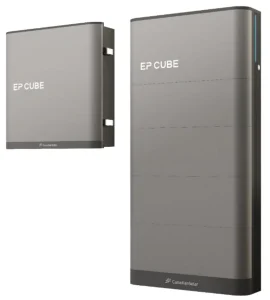
48V UL-certified wall-mount home battery
48V UL Certified
Required if you are permitting your system or tying to the grid.
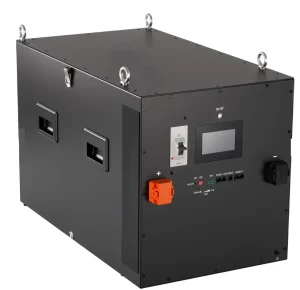
48V Budget Great build quality, but off-grid use only — not permit-legal.
48V budget server rack battery
48V Budget
Great build quality, but off-grid use only — not permit-legal.
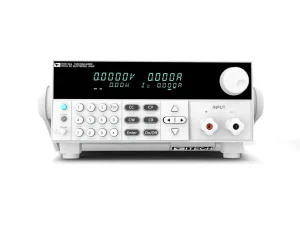
Battery Capacity Testers After a few years, you need to test the…
ITECH battery capacity tester
Battery Capacity Testers
After a few years, you need to test the capacity of your system.
Inverters
12V Off-Grid RVs, boats, vans and small cabins. 1,000–3,000W.
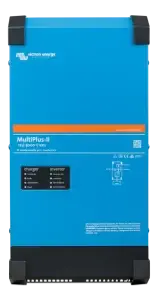
Victron MultiPlus-II 12V inverter charger
12V Off-Grid
RVs, boats, vans and small cabins. 1,000–3,000W.
48V Off-Grid Run a whole house off-grid. 6,000–12,000W.
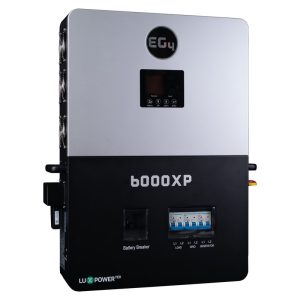
EG4 6000XP 48V off-grid inverter
48V Off-Grid
Run a whole house off-grid. 6,000–12,000W.
48V Hybrid Grid-tied plus battery backup. Certified for interconnection.
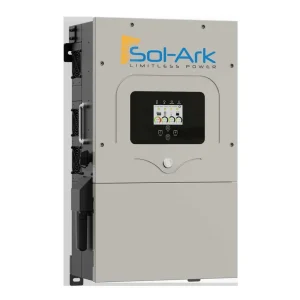
48V hybrid inverter
48V Hybrid
Grid-tied plus battery backup. Certified for interconnection.
High-Voltage Residential Highest efficiency. This is what I run in my own…
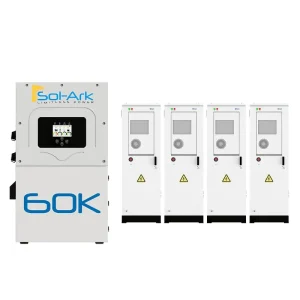
High-voltage residential inverter
High-Voltage Residential
Highest efficiency. This is what I run in my own home.
3-Phase Commercial Take an entire warehouse off-grid. Effectively unlimited capacity.
3-phase commercial inverter
3-Phase Commercial
Take an entire warehouse off-grid. Effectively unlimited capacity.
Solar Panels
Mobile Panels Lightweight and low-profile for RVs, vans and trailers.
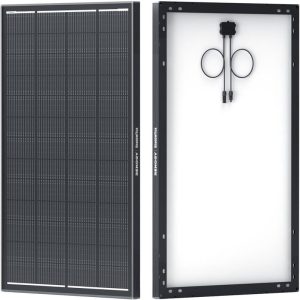
Flexible mobile solar panel
Mobile Panels
Lightweight and low-profile for RVs, vans and trailers.
Standard Panels Best cost per watt for homes, ground mounts and carports.
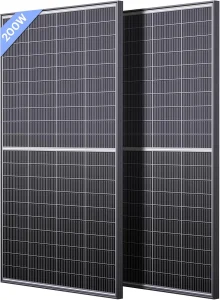
Standard rigid solar panel
Standard Panels
Best cost per watt for homes, ground mounts and carports.
Solar Mounting
Ground Mount Fast to assemble, engineered and legal for permitted installs.
Solar panel ground mount
Ground Mount
Fast to assemble, engineered and legal for permitted installs.
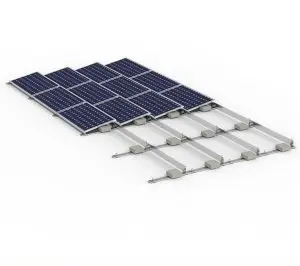
Roof Mounted Low-profile systems engineered for secure, long-lasting roof installations.
Roof-mounted solar panels
Roof Mounted
Low-profile systems engineered for secure, long-lasting roof installations.
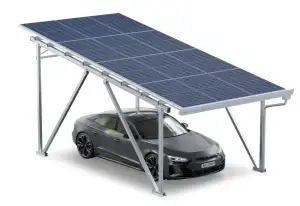
Solar Carports Dual-purpose structures that provide shade while generating clean energy.
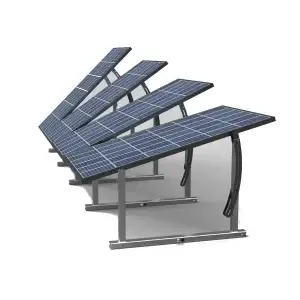
Solar carport
Solar Carports
Dual-purpose structures that provide shade while generating clean energy.
Generators
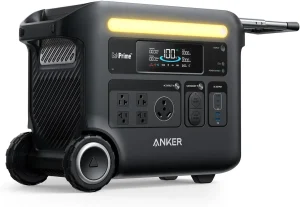
Anker Solar Generators Build a system in minutes! Beginner friendly and reliable.
Anker SOLIX solar generator
Anker Solar Generators
Build a system in minutes! Beginner friendly and reliable.
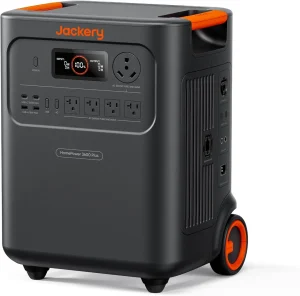
Jackery HomePower This is the only Jackery that I like. The output…
Jackery HomePower solar generator
Jackery HomePower
This is the only Jackery that I like. The output for the size and price is fantastic.
System Packages
Don't Want to Piece it Together?
These are complete, wire-by-wire builds I’ve assembled and tested myself. Every fuse, lug and breaker is specified, so nothing shows up missing on install day.
Hand-Truck 48V System

Hand-Truck 48V System

Portable 5 kWh, builds in 25 minutes ~$1,900

Budget Whole-Home Backup

Budget Whole-Home Backup

10 kW inverter, 16 or 32 kWh battery, ties into your panel

Off-Grid Home Blueprint

Off-Grid Home Blueprint

Whole-house off-grid, 5–12 kW ~$9,800

Code-Compliant 48V System

Code-Compliant 48V System

Grid-tie hybrid, permit & inspection ready ~$13,500

Components
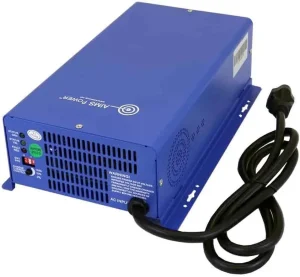
Battery Chargers Reliable charging for lithium batteries.
Lithium battery charger
Battery Chargers
Reliable charging for lithium batteries.
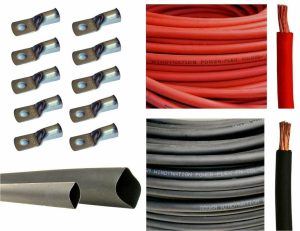
Wire & Connectors Wiring essentials for a clean, reliable setup.
Solar wire and connectors
Wire & Connectors
Wiring essentials for a clean, reliable setup.
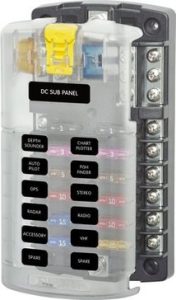
Fuses & Breakers Essential protection for your electrical system.
DC fuses and circuit breakers
Fuses & Breakers
Essential protection for your electrical system.
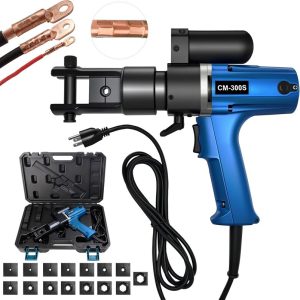
Crimpers & Tools Tools for building and maintaining your system.
Battery cable crimping tool
Crimpers & Tools
Tools for building and maintaining your system.
Battery Monitors Track your battery’s power and performance.
Battery monitor with shunt
Battery Monitors
Track your battery’s power and performance.
Solar-friendly A/C Efficient cooling built for off-grid power.
Solar-friendly mini split air conditioner
Solar-friendly A/C
Efficient cooling built for off-grid power.
12V Fridges Efficient cooling for life on the road.
12V portable fridge
12V Fridges
Efficient cooling for life on the road.
Components
Van or RV

Van or RV

Mobile, 12V, tight on space and weight

Boat

Boat

Marine-rated, waterproof, heated cells

Cabin or Shed

Cabin or Shed

Small off-grid build, 12V or 48V

Whole House

Whole House

Off-grid or grid-tied with backup

Budget Whole-Home Backup

10,000W inverter with 16 or 32kWh of battery

How to build a whole-home backup system from one 10,000W all-in-one inverter and a 16kWh or 32kWh battery.

Follow the five steps in order. You build the system, and an electrician makes the final connection to your panel.

Affiliate links below

Budget Whole-Home Backup System

Step 01: get the inverter. Step 02: pick a battery. Step 03: choose how it connects to your panel. Step 04: gather the cable and tools. Step 05: build it, one card at a time.

Everything stays off until the last card.

What this system does

The Inverter

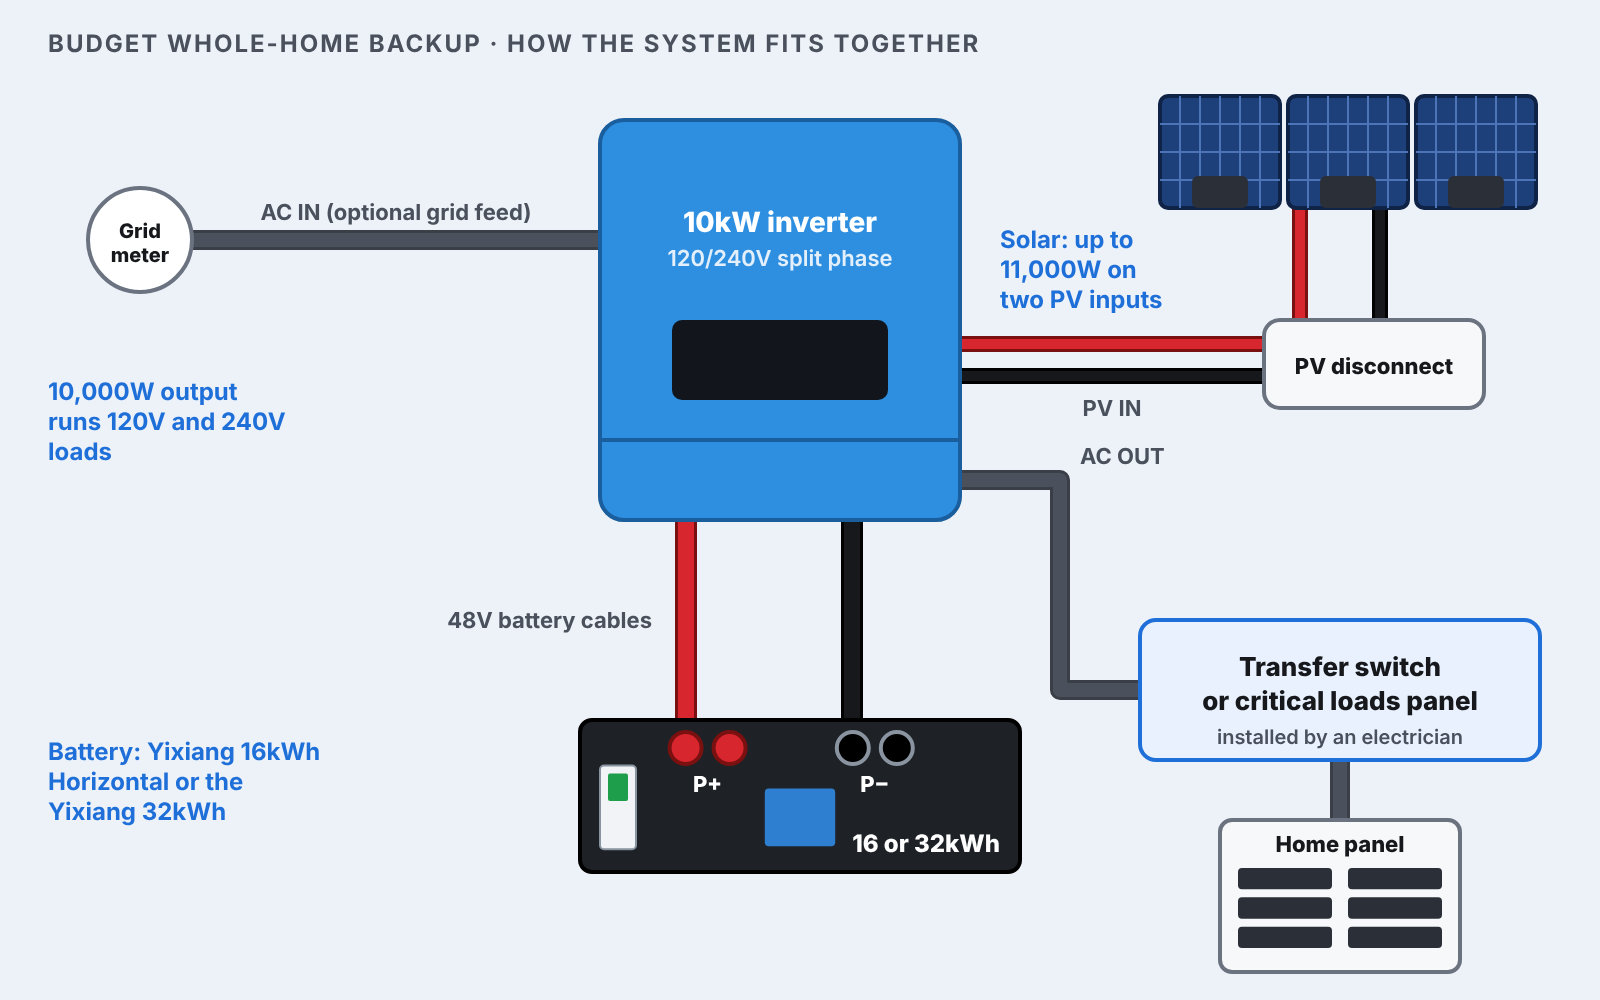
One 10,000W all-in-one. The inverter, the solar charge controller and the battery charger are in the same box, so there is nothing to wire between them.

SUNGOLDPOWER 10000W Inverter

Inverter, solar charger and battery charger in one box.

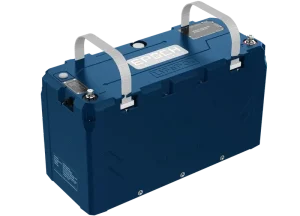
The 48V Battery

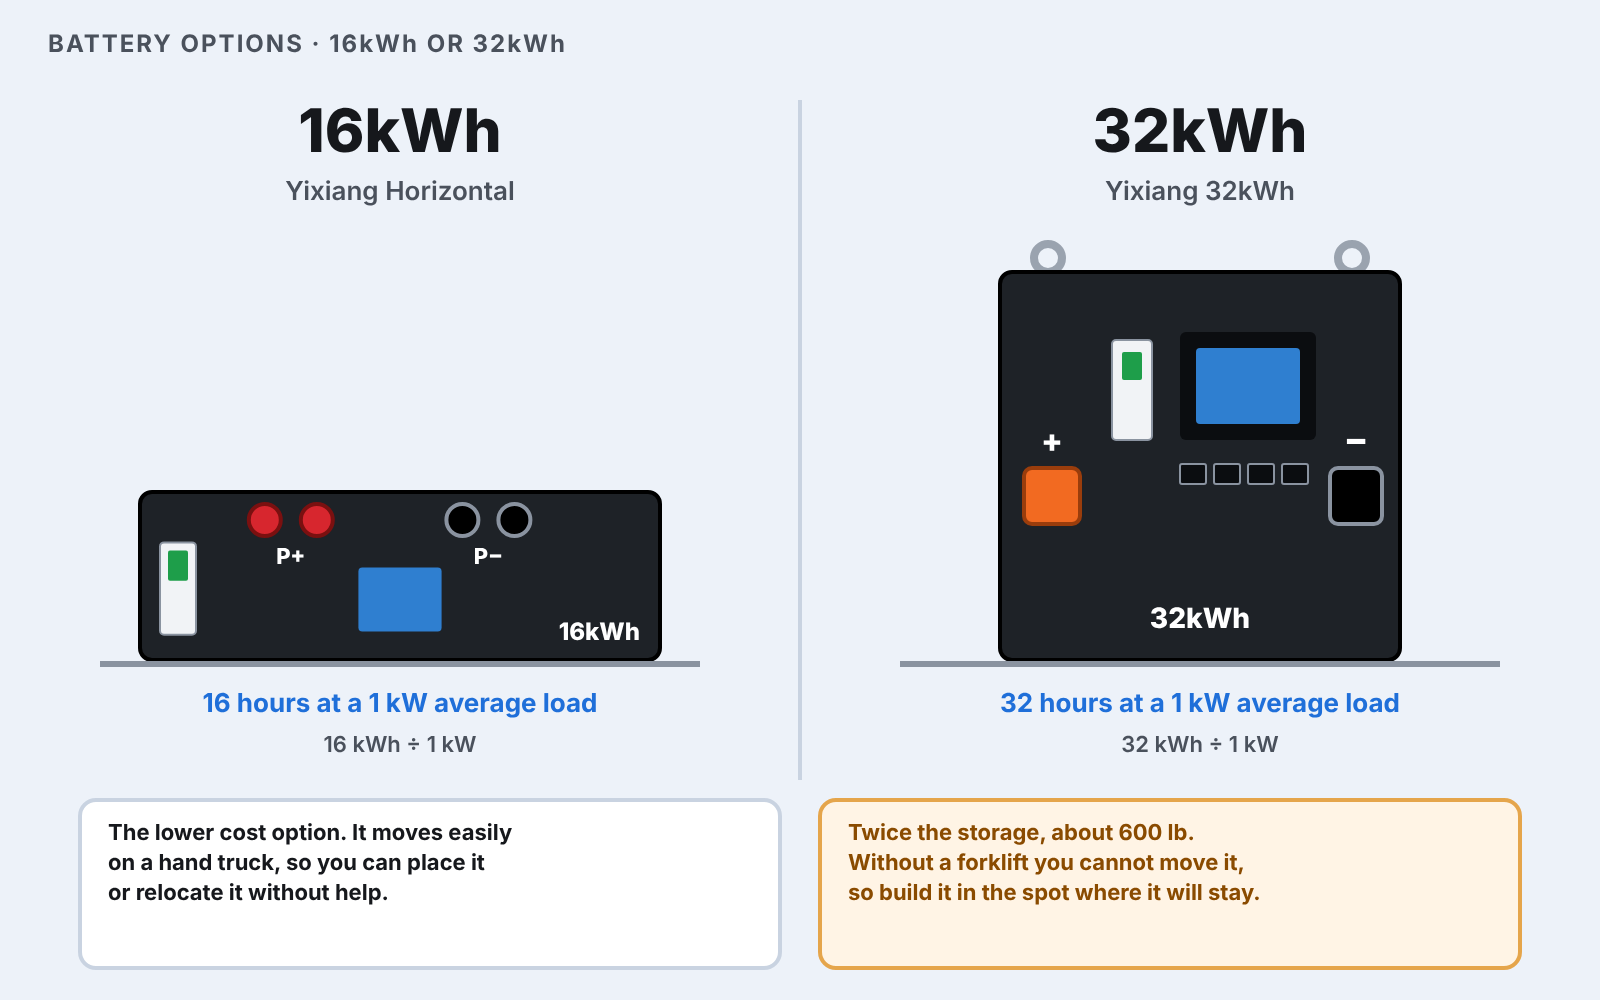
Pick one. The 16kWh Horizontal costs less and moves easily on a hand truck. The 32kWh doubles the storage, but it weighs about 600 lb. Without a forklift you cannot move it, so it has to be built in the spot where it will stay.

16kWh Yixiang Horizontal

The lower cost option. Moves easily on a hand truck.

Yixiang 32kWh

Twice the storage. About 600 lb, so build it in place.

Pick 16kWh or 32kWh

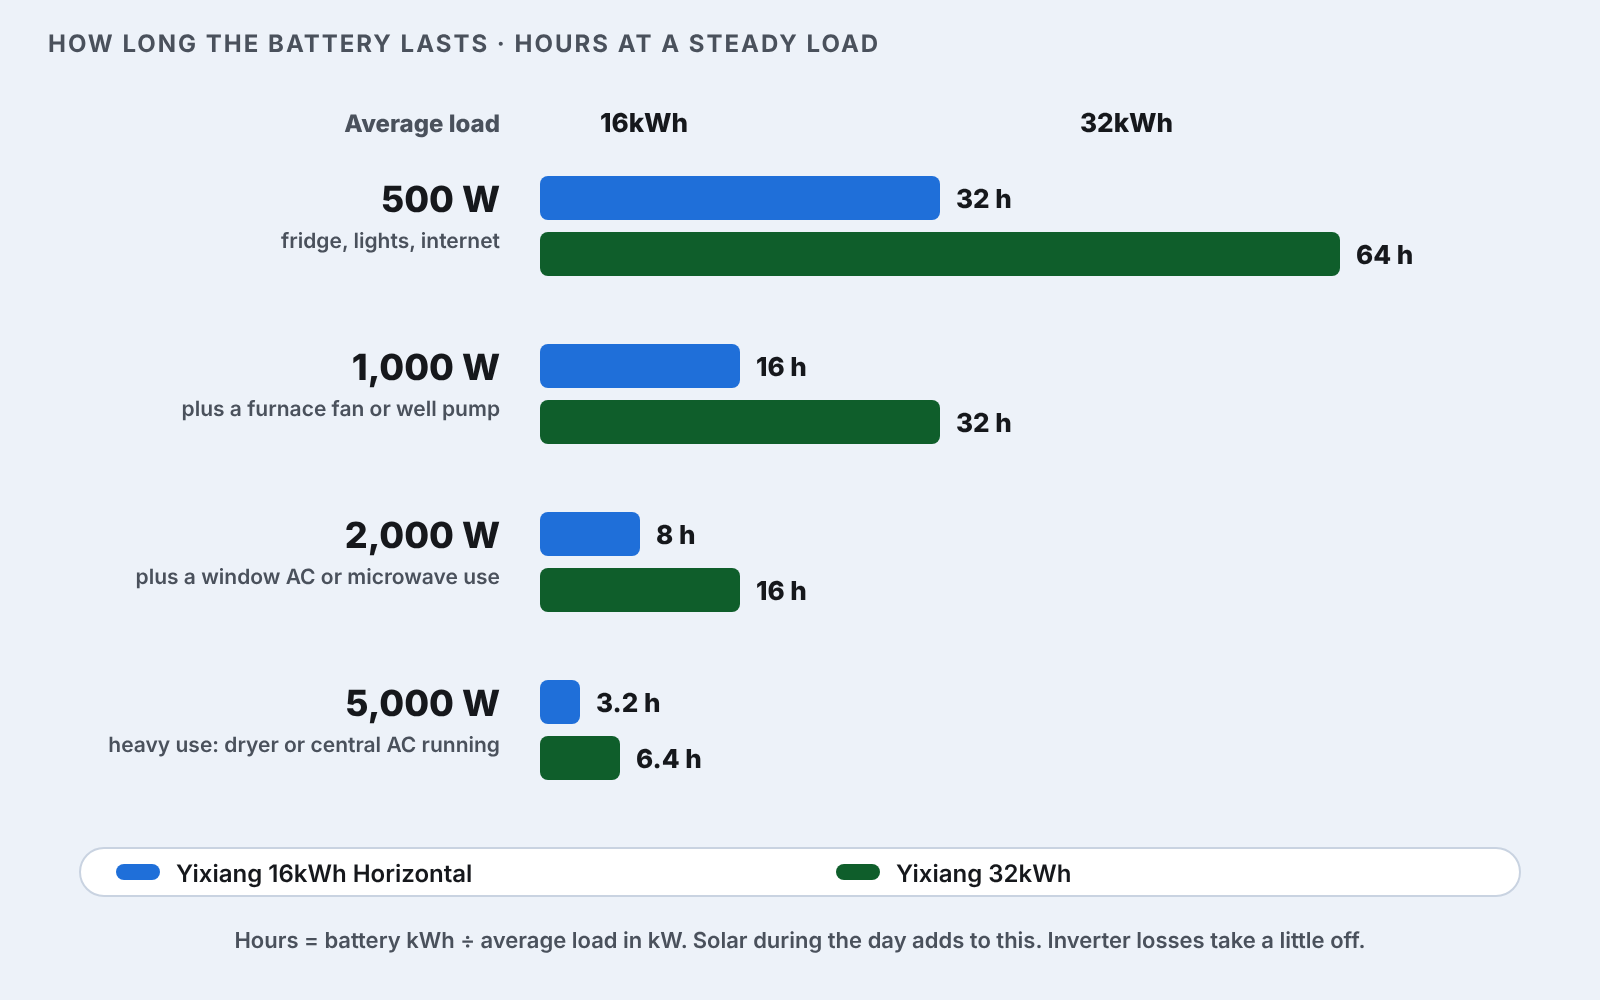
Pick one of the two batteries. To estimate runtime, divide the battery’s kWh by your average load in kW.

01

Two batteries to pick from. The Yixiang Horizontal holds 16kWh, costs less and rolls into place on a hand truck. The Yixiang 32kWh has twice the storage and weighs about 600 lb. Most people do not have a forklift, so build it where it will stay.

02

How long it lasts. At a steady 1,000W, 16kWh lasts 16 hours and 32kWh lasts 32 hours. Heavy loads shorten that fast: at 5,000W, 16kWh lasts 3.2 hours. Solar during the day adds hours.

Choose How It Connects to Your Home

The inverter makes the power. An electrician connects it to your house wiring. There are two ways to do it, and both use the same inverter and battery. Pick one before you order parts.

Option A

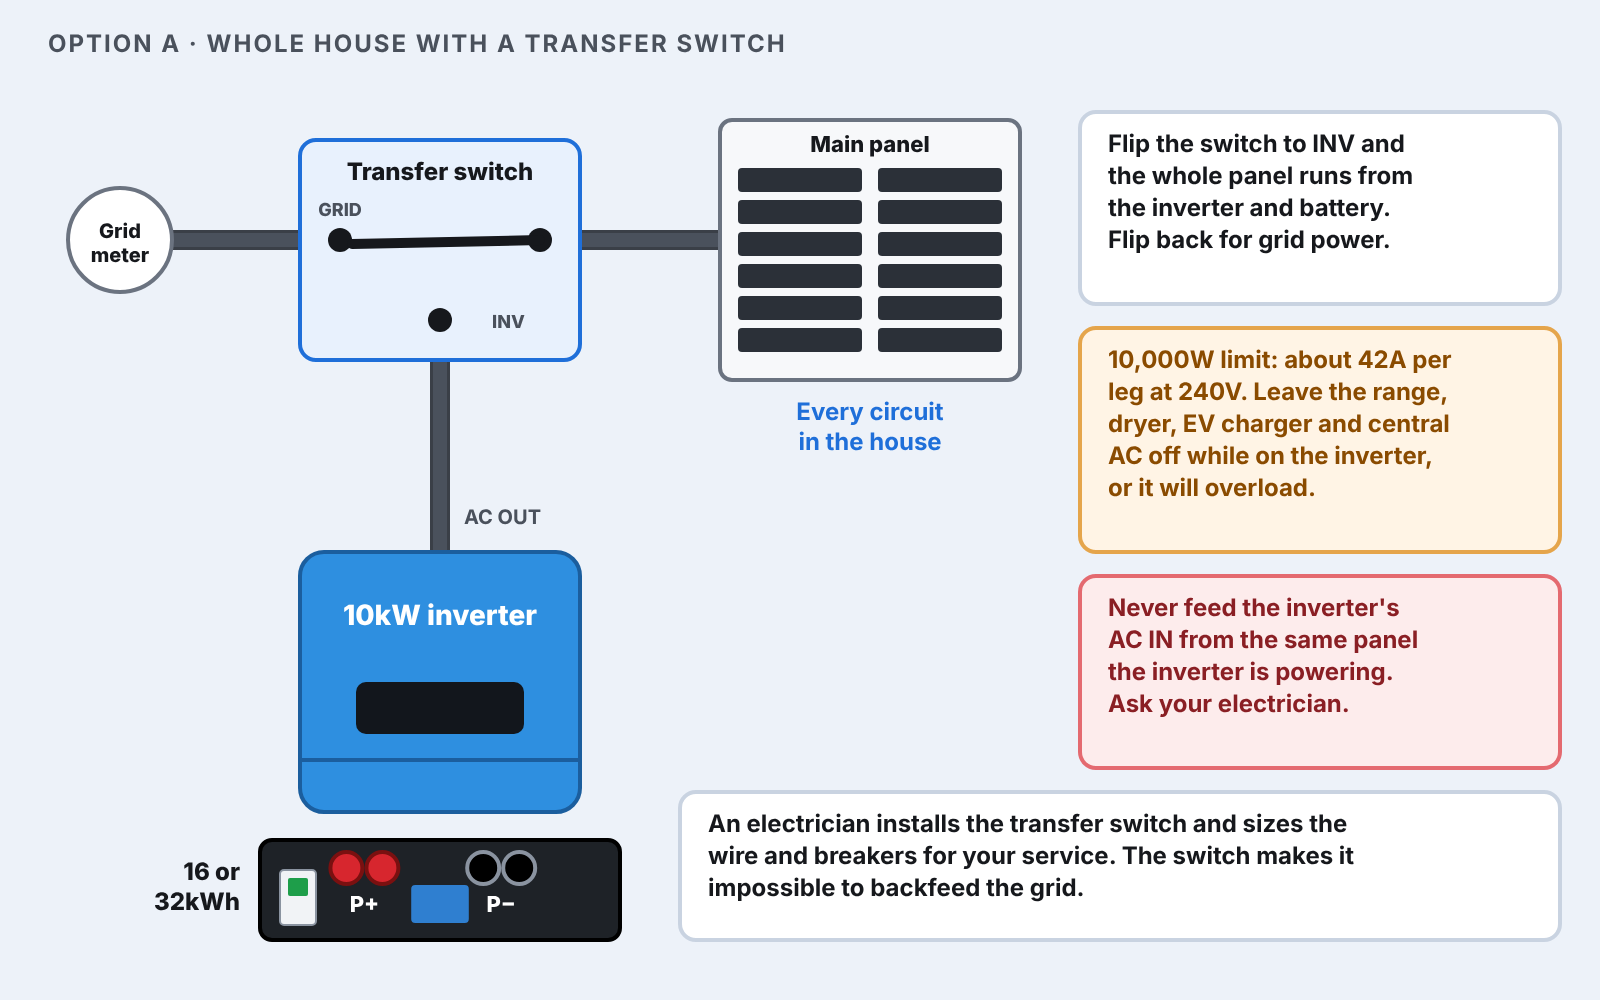
Whole house with a transfer switch. The switch sits between your meter and your main panel. Flip it and every circuit in the house runs from the inverter. You manage the load: the inverter tops out at 10,000W, so the range, dryer, EV charger and central AC stay off while you are on the inverter.

Option B

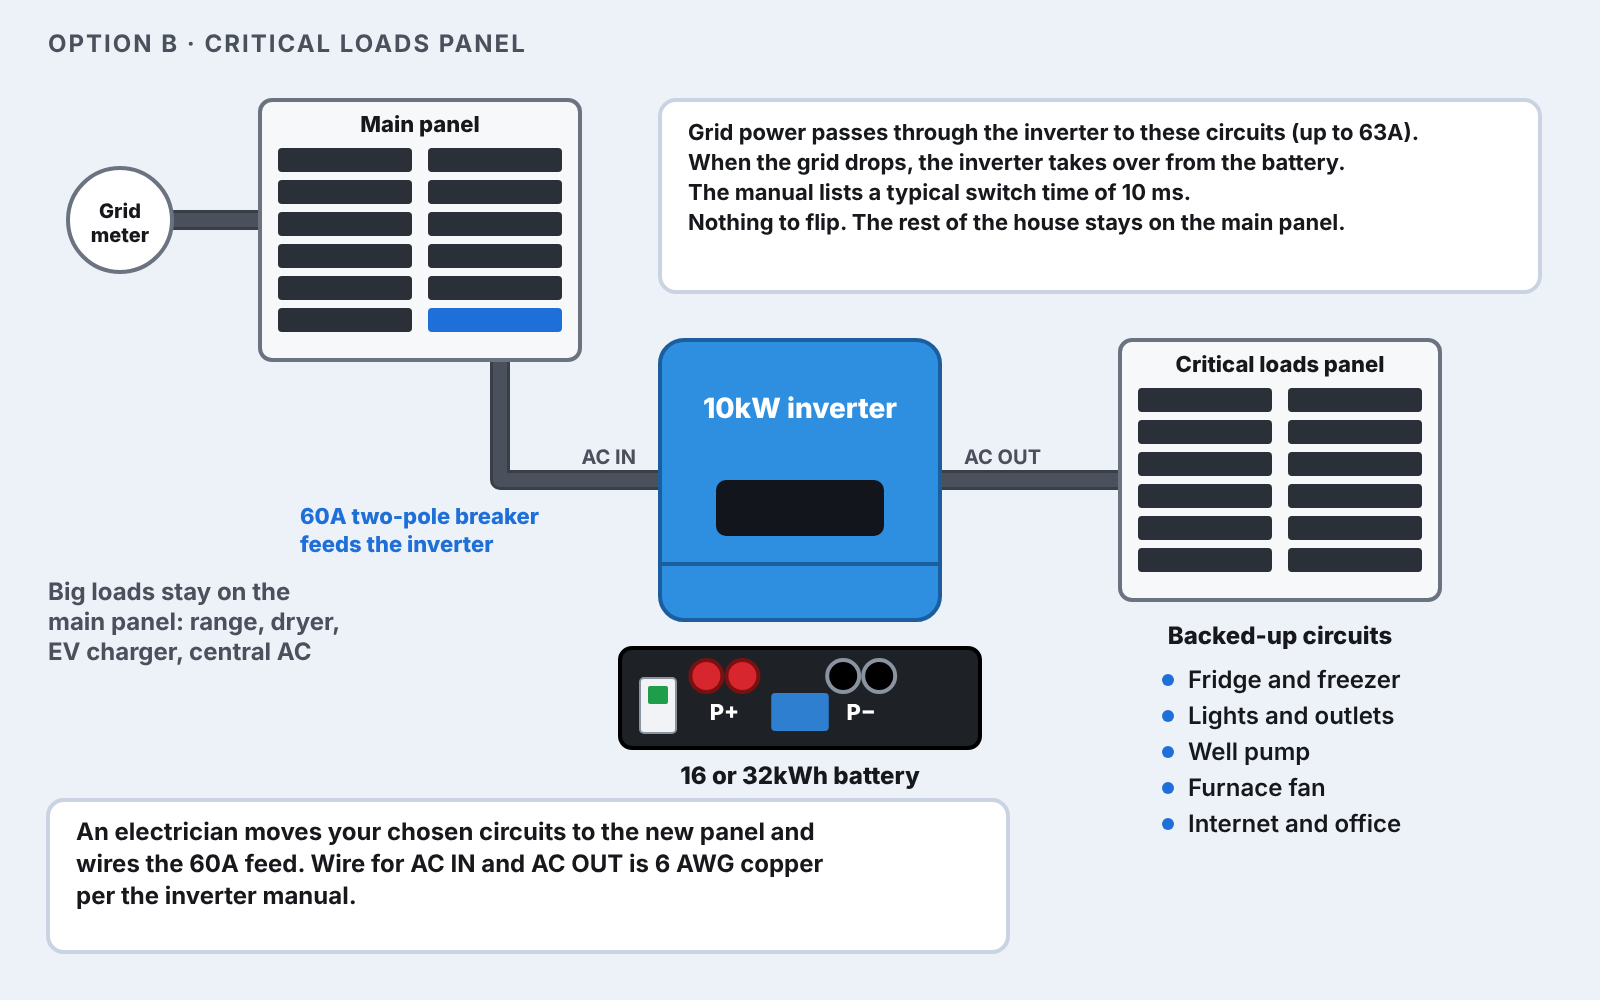
Critical loads panel. A 60A breaker in your main panel feeds the inverter, and the inverter feeds a second panel that holds the circuits you pick. Grid power passes through until an outage, then the battery takes over on its own. The big loads stay on the main panel.

Everything Else You Will Need

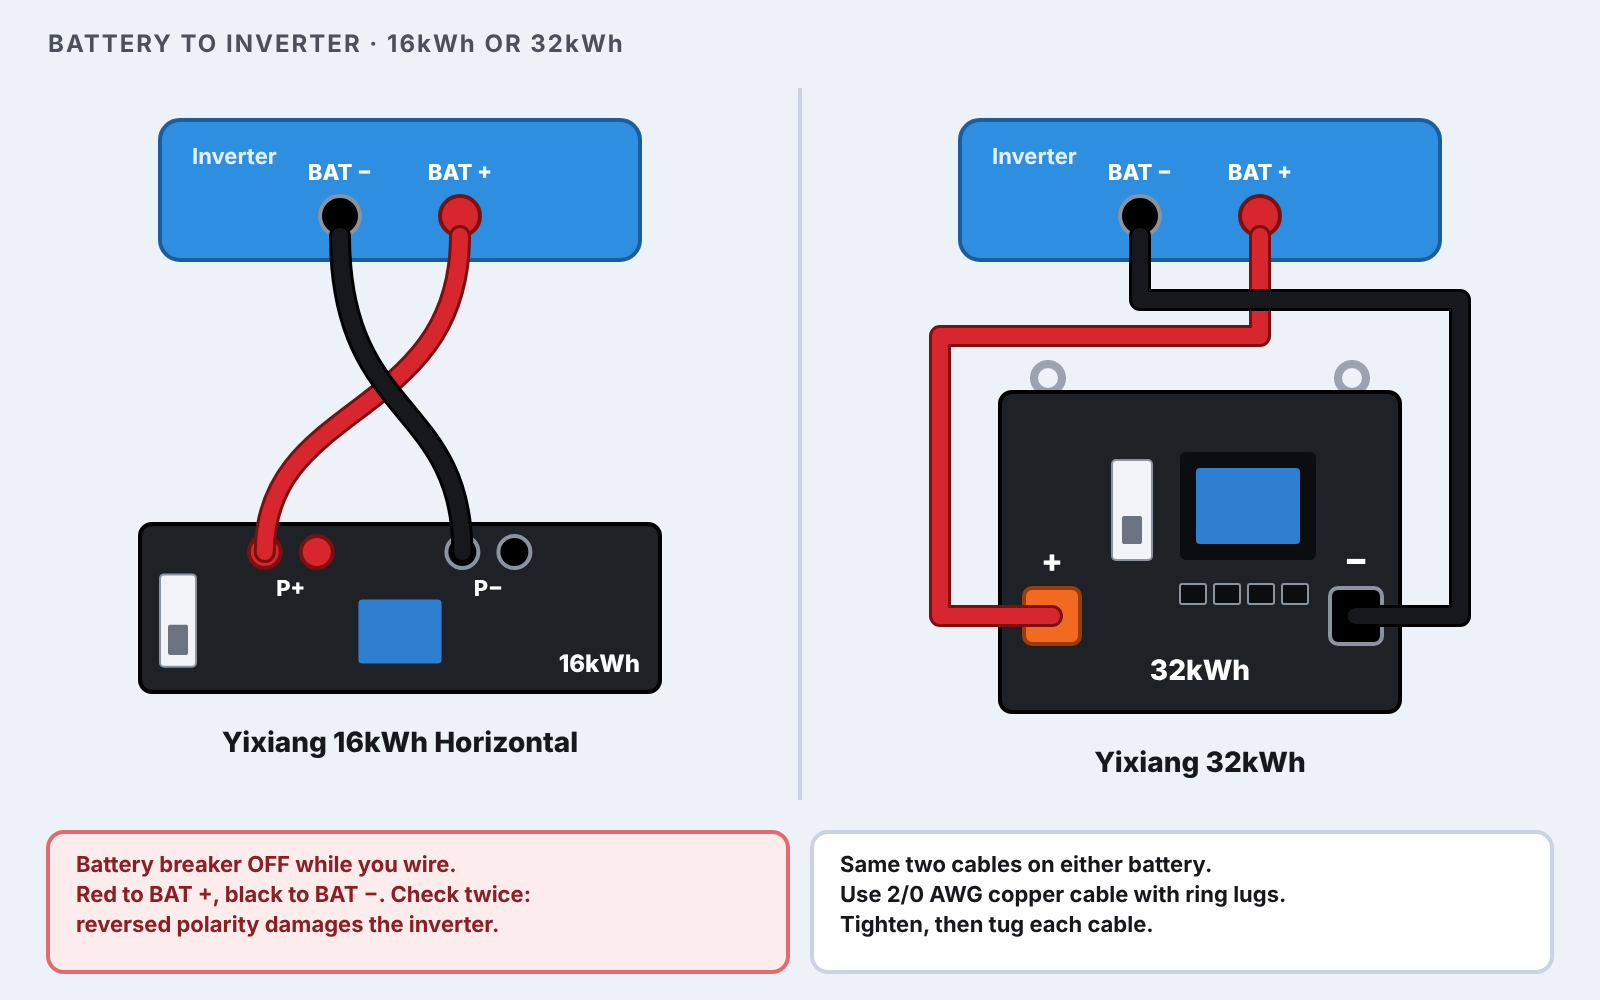
Battery cables: use 2/0 AWG copper. The inverter can pull up to 220A from the battery, and 2/0 carries that with room to spare. Keep the cables short and make the red and black the same length.

From the hardware store or your electrician: 6 AWG THHN wire in black, red, white and green, a 60A two-pole breaker that fits your panel, and the transfer switch or critical loads panel.

2/0 AWG Battery Cable Kit

Wire, lugs and heat shrink for the two cables between the battery and the inverter

Ratchet Cable Cutter

Cuts 2/0 battery cable square. Also cuts the 6 AWG THHN

Large Gauge Cable Stripper

Strips the 2/0 battery cable without cutting strands

Large Wire Crimper

Battery powered hydraulic crimper for the 2/0 lugs

Hydraulic Crimper

Manual, lower cost way to crimp the 2/0 lugs. Slower, same result

Heat Shrink with Adhesive

Seals each lug after you crimp it

Heat Gun

Shrinks the heat shrink on the battery cable lugs

Inch Pound Torque Wrench

Tightens the battery and inverter studs to the torque printed in their manuals

Torque Screwdriver

Tightens the AC and PV screw terminals to spec

Multi-Size Wire Stripper

Strips the 6 AWG THHN and the 10 AWG PV wire

Ferrule Crimping Kit

Crimper and ferrules for every stranded wire going into the AC screw terminals

Clamp Meter

Checks battery and solar polarity and voltage before you turn anything on

10 AWG MC4 Extension Cable

Connect any solar panels to this system with this cable

Solar Disconnect Switch

Build It Step by Step

Do the cards in order. Keep every breaker and disconnect off until card 08. If a step is not clear, stop and ask on the DIY Solar Forum or hire a professional.

01

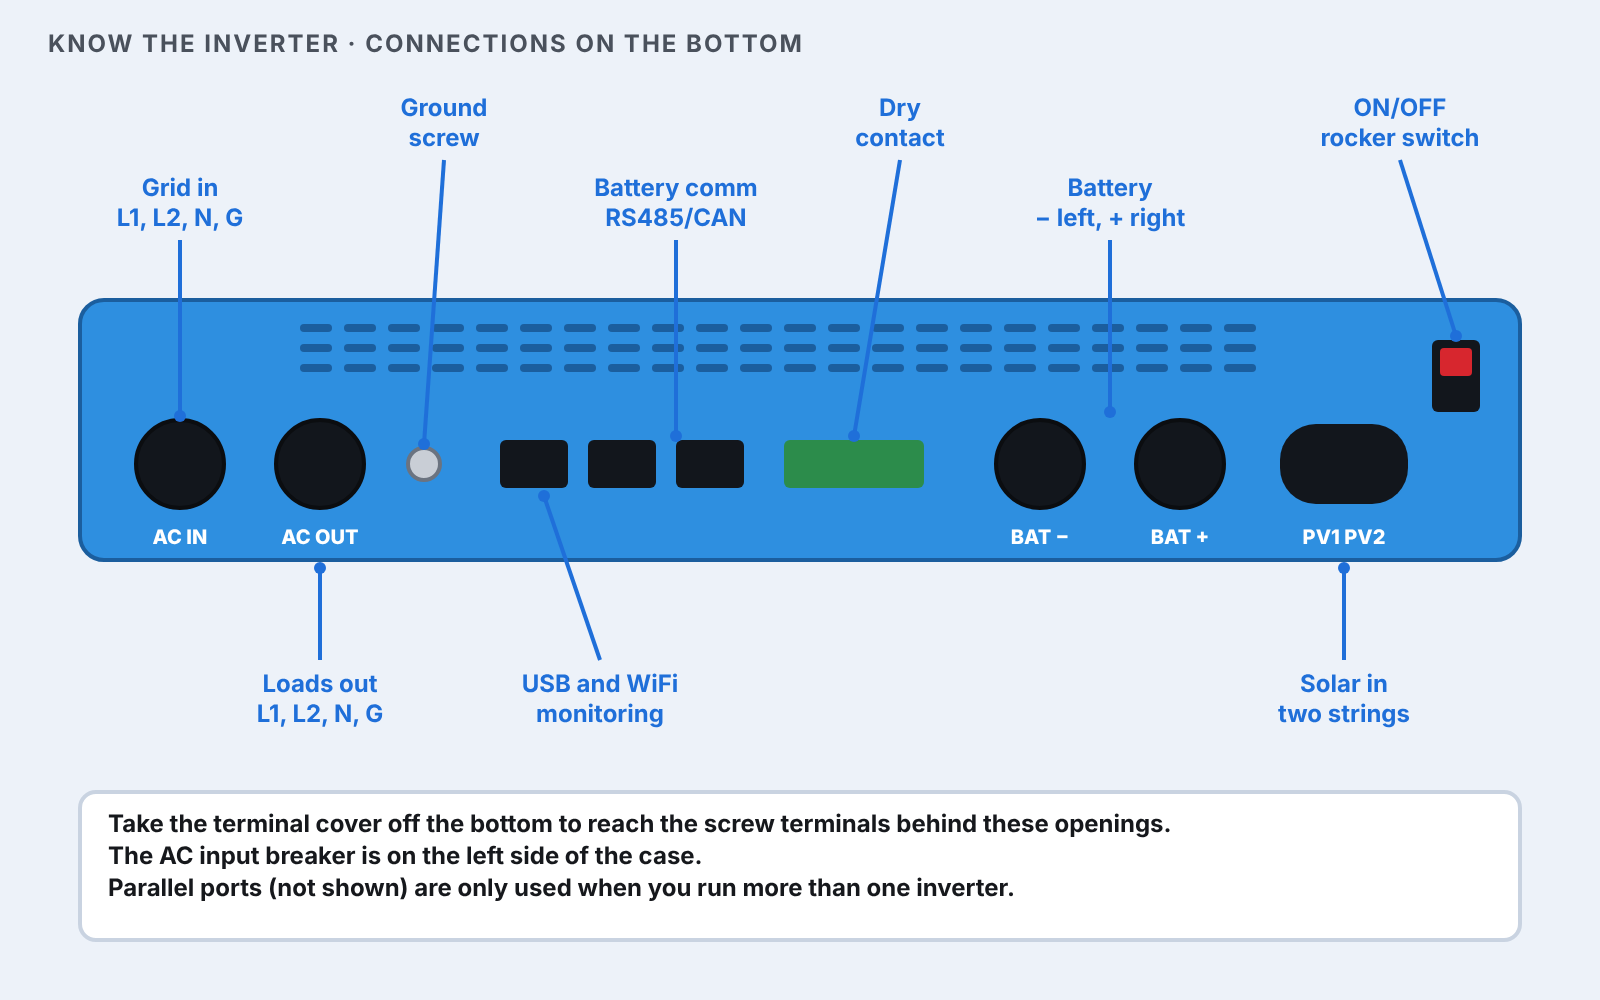
Learn the connections.

  1. Take the terminal cover off the bottom of the inverter.
  2. Left: AC IN and AC OUT.
  3. Middle: the two battery studs.
  4. Right: the two solar inputs.

02

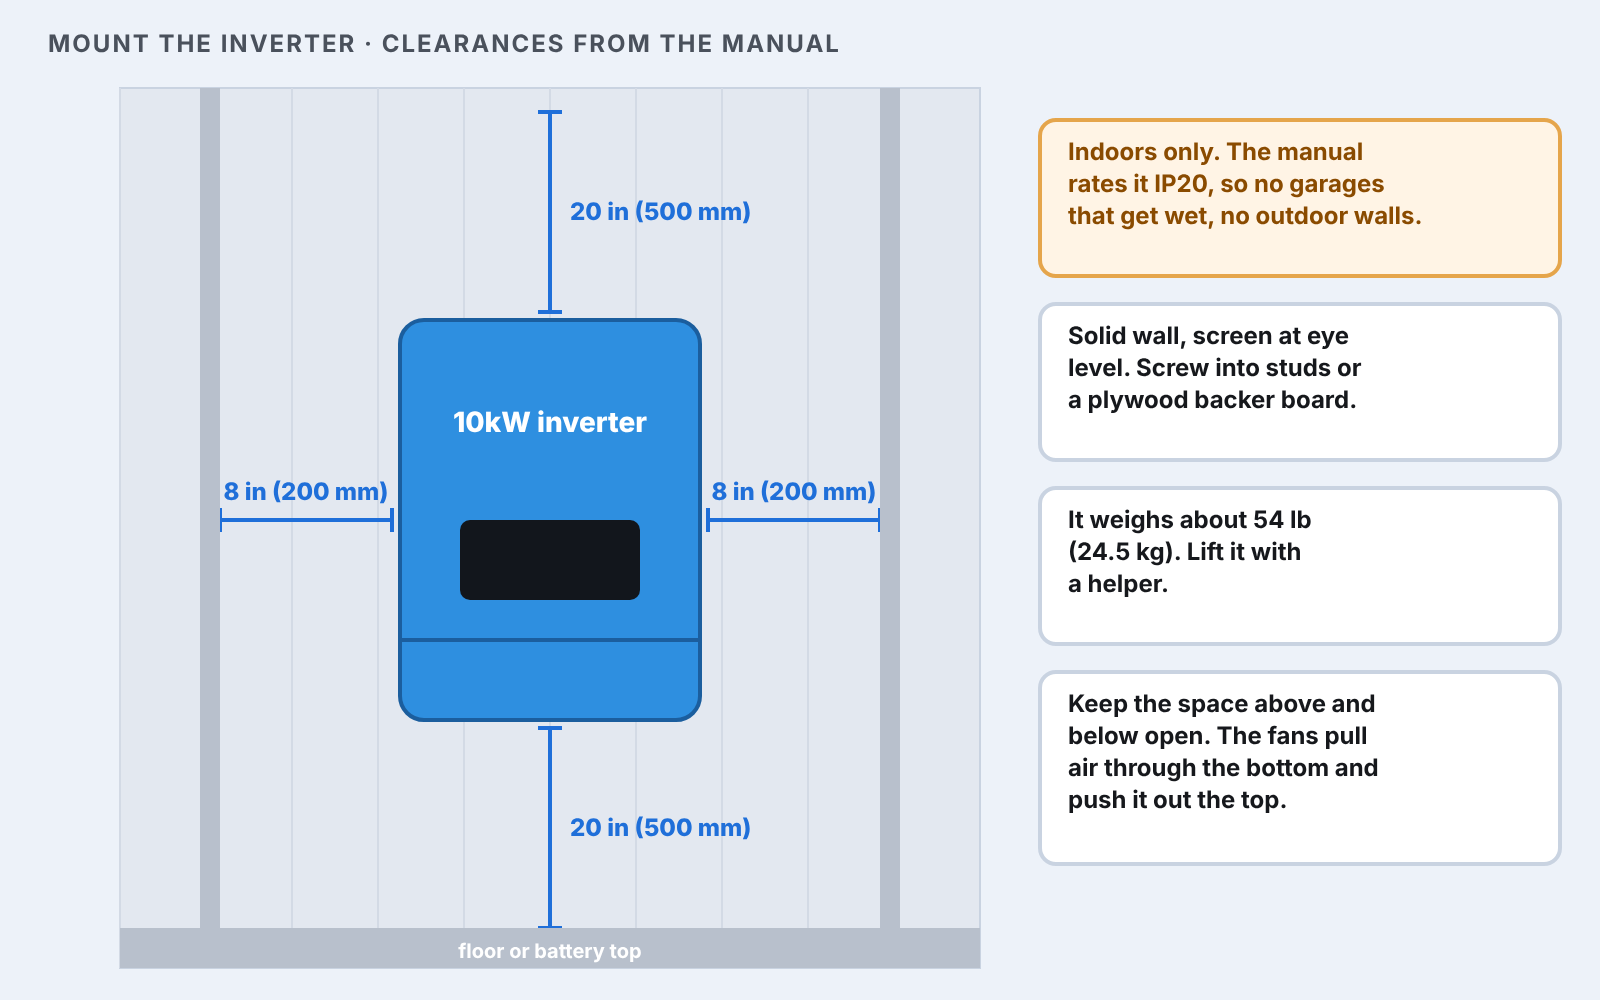
Mount the inverter.

  1. Pick an indoor wall near your panel and the battery.
  2. Leave 20 inches open above and below and 8 inches on each side.
  3. Hang it on the two top screws, then add the two bottom screws.
  4. It weighs about 54 lb. Lift it with a helper.

03

Connect the battery.

  1. Put the battery in its final spot. Breaker off.
  2. Build the two 2/0 AWG cables (see Build the Battery Cables below).
  3. Red cable: battery + to BAT+.
  4. Black cable: battery − to BAT−.
  5. Tighten, then tug each cable.

04

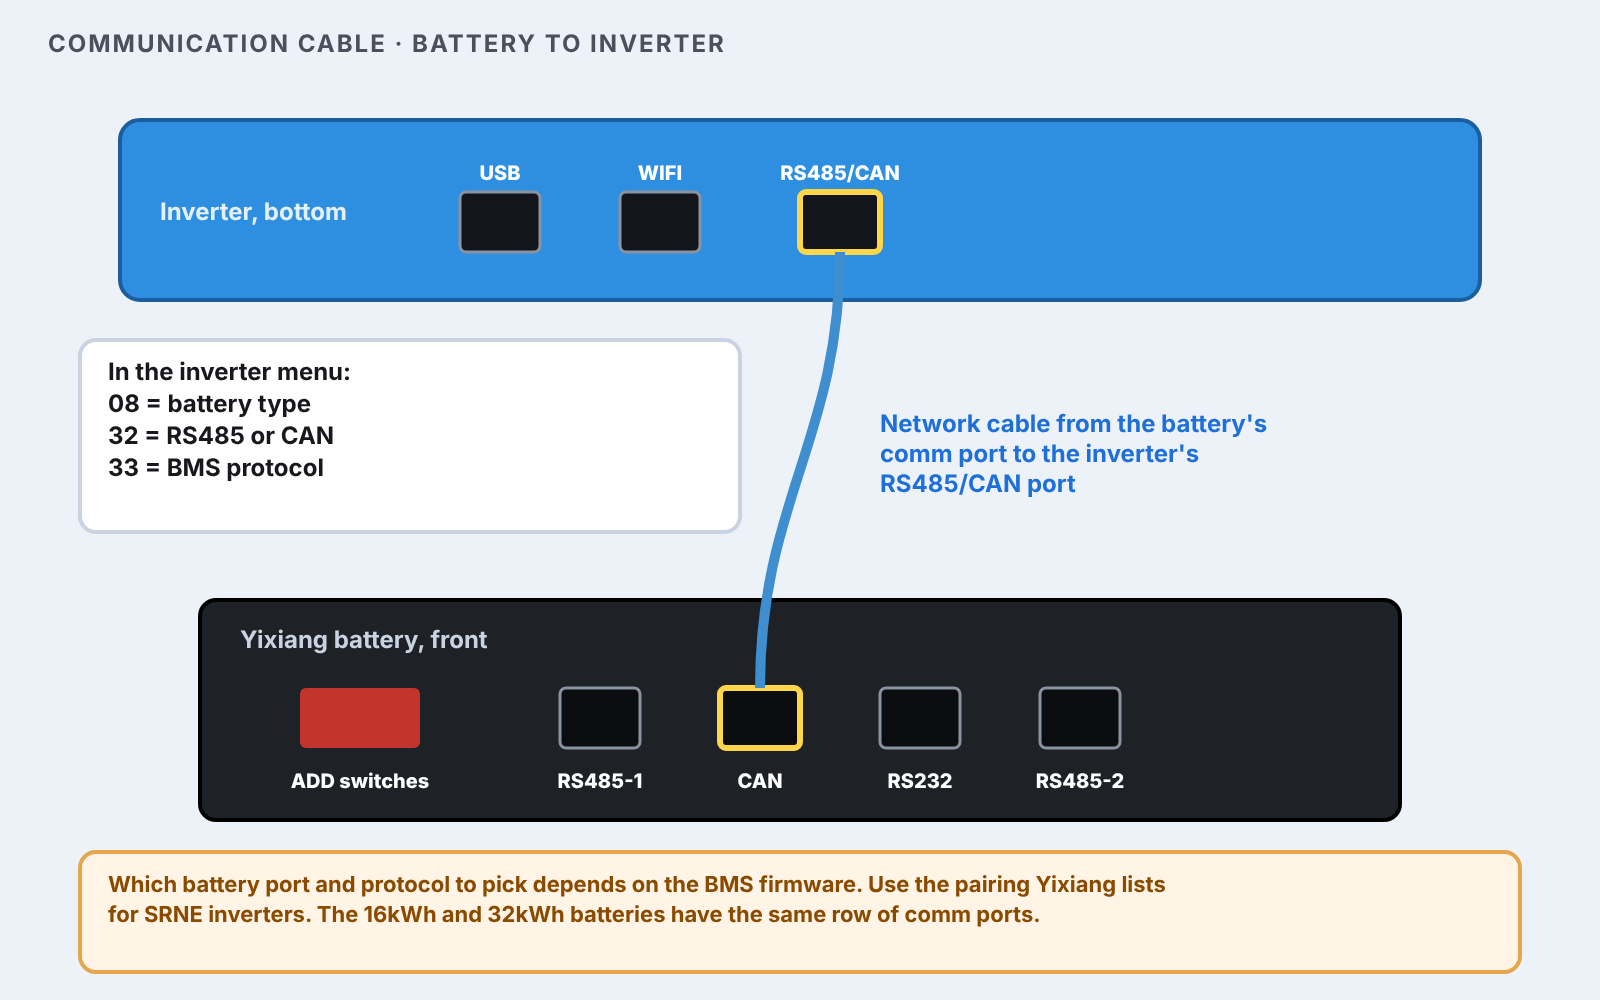
Plug in the communication cable.

  1. Plug a network cable into the battery comm port.
  2. Plug the other end into the inverter RS485/CAN port.
  3. After startup, set menu items 08, 32 and 33 to match the battery.

05

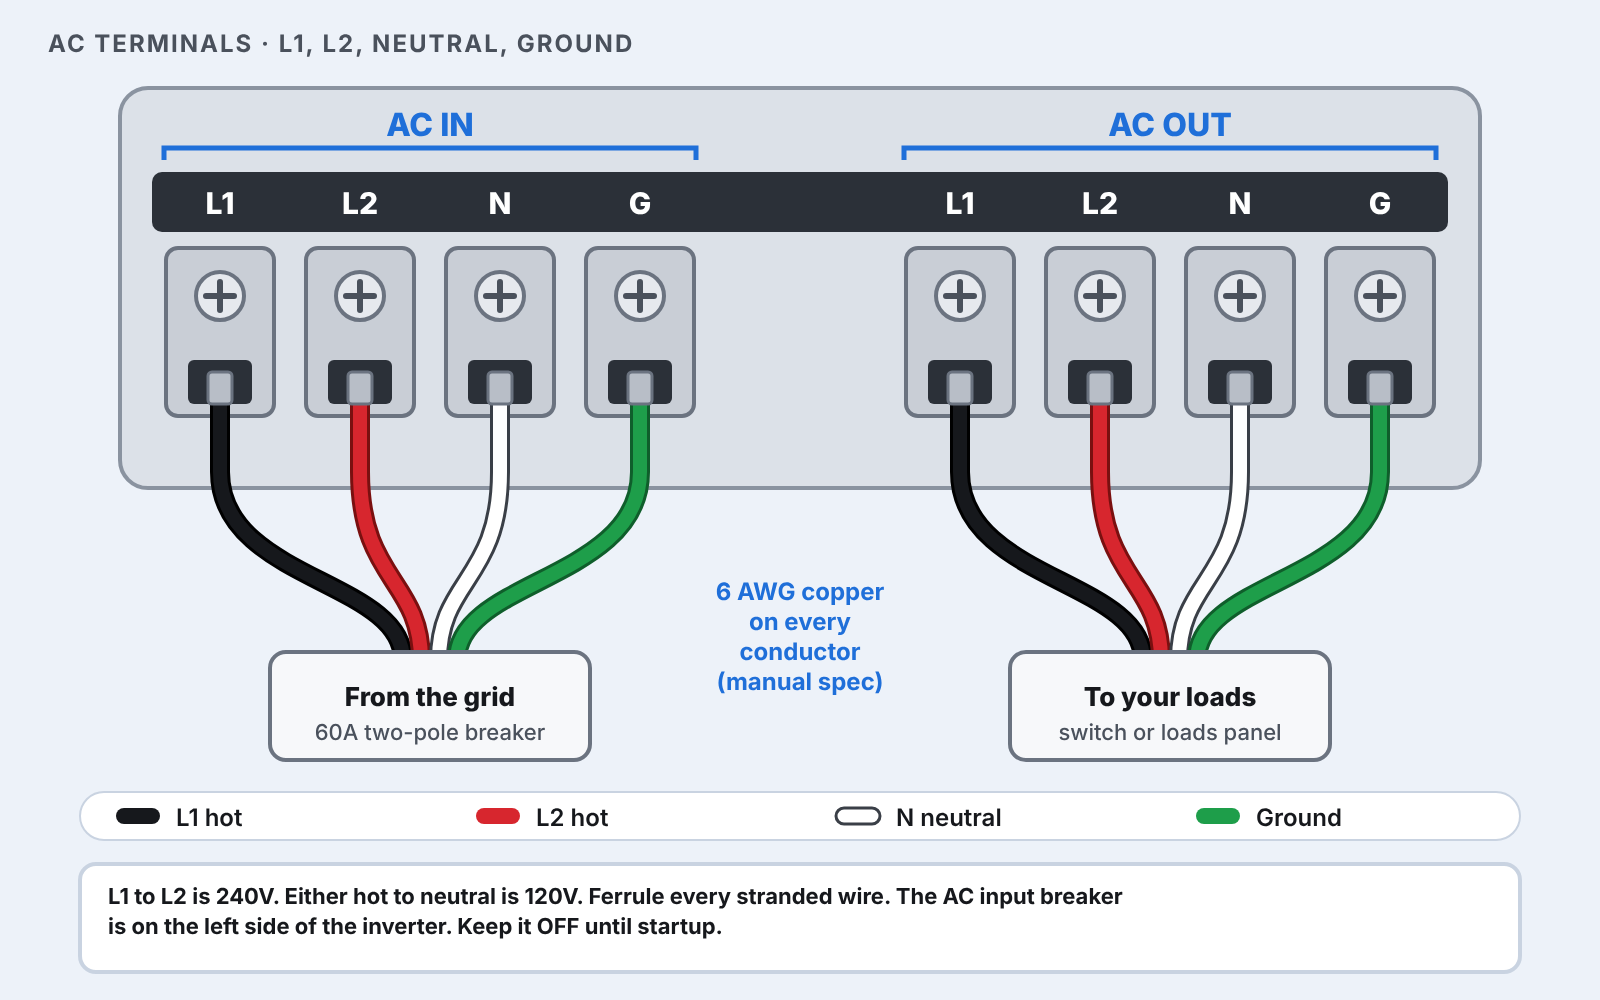
Wire the AC side.

  1. Run 6 AWG copper for L1, L2, neutral and ground.
  2. Crimp a ferrule on each wire end.
  3. AC IN comes from the grid breaker.
  4. AC OUT goes to the transfer switch or critical loads panel.
  5. Have your electrician make these connections.

06

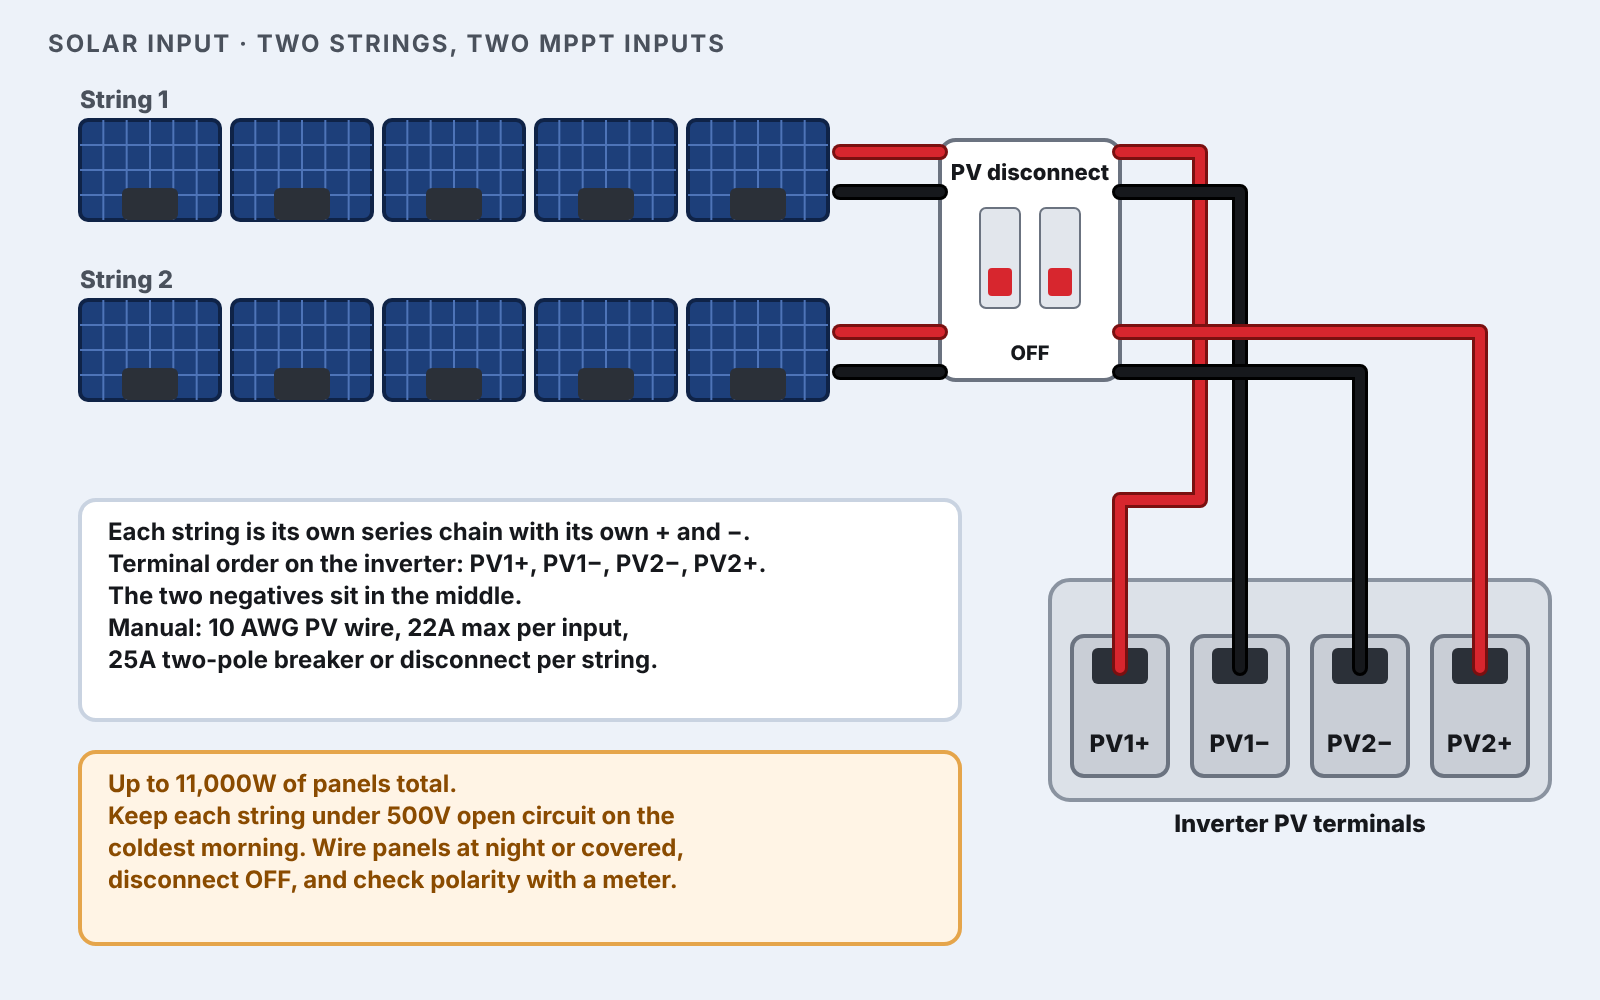
Run the solar wires.

  1. Run 10 AWG PV wire from each string to a disconnect. Disconnect off.
  2. String 1 lands on PV1+ and PV1−.
  3. String 2 lands on PV2+ and PV2−.
  4. Plug in the panels at night or with them covered.

07

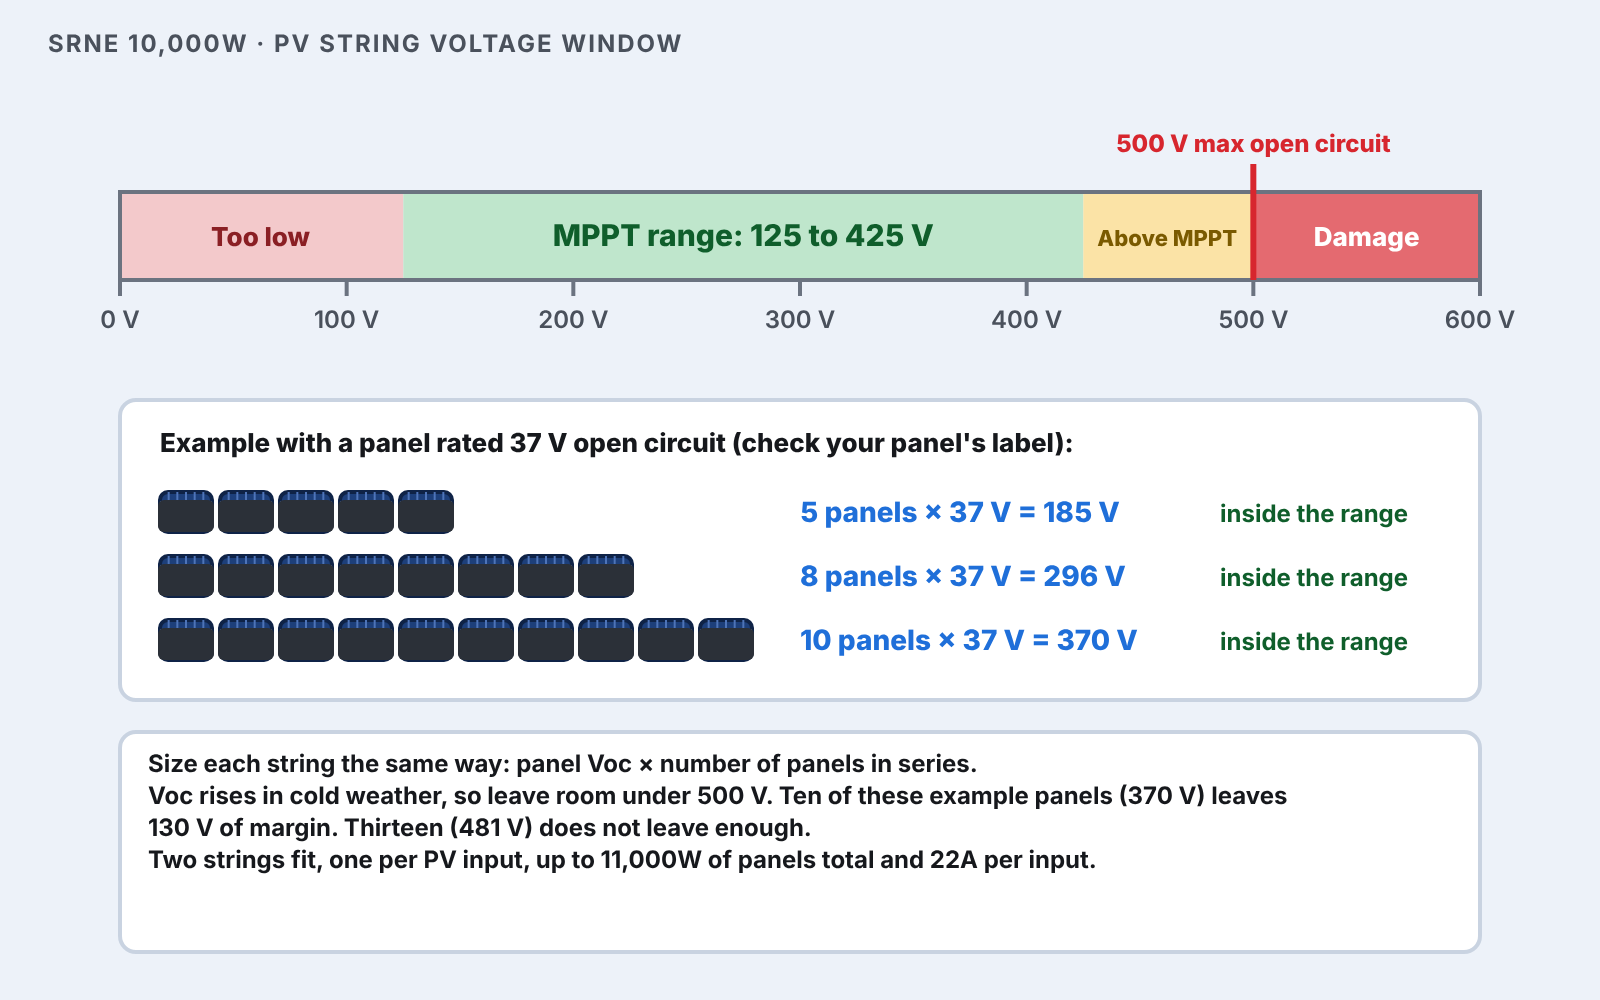
Check the string voltage.

  1. Find Voc on the label on the back of a panel.
  2. Multiply it by the number of panels in the string.
  3. The result must be between 125V and 425V.
  4. It must stay under 500V on the coldest morning.

08

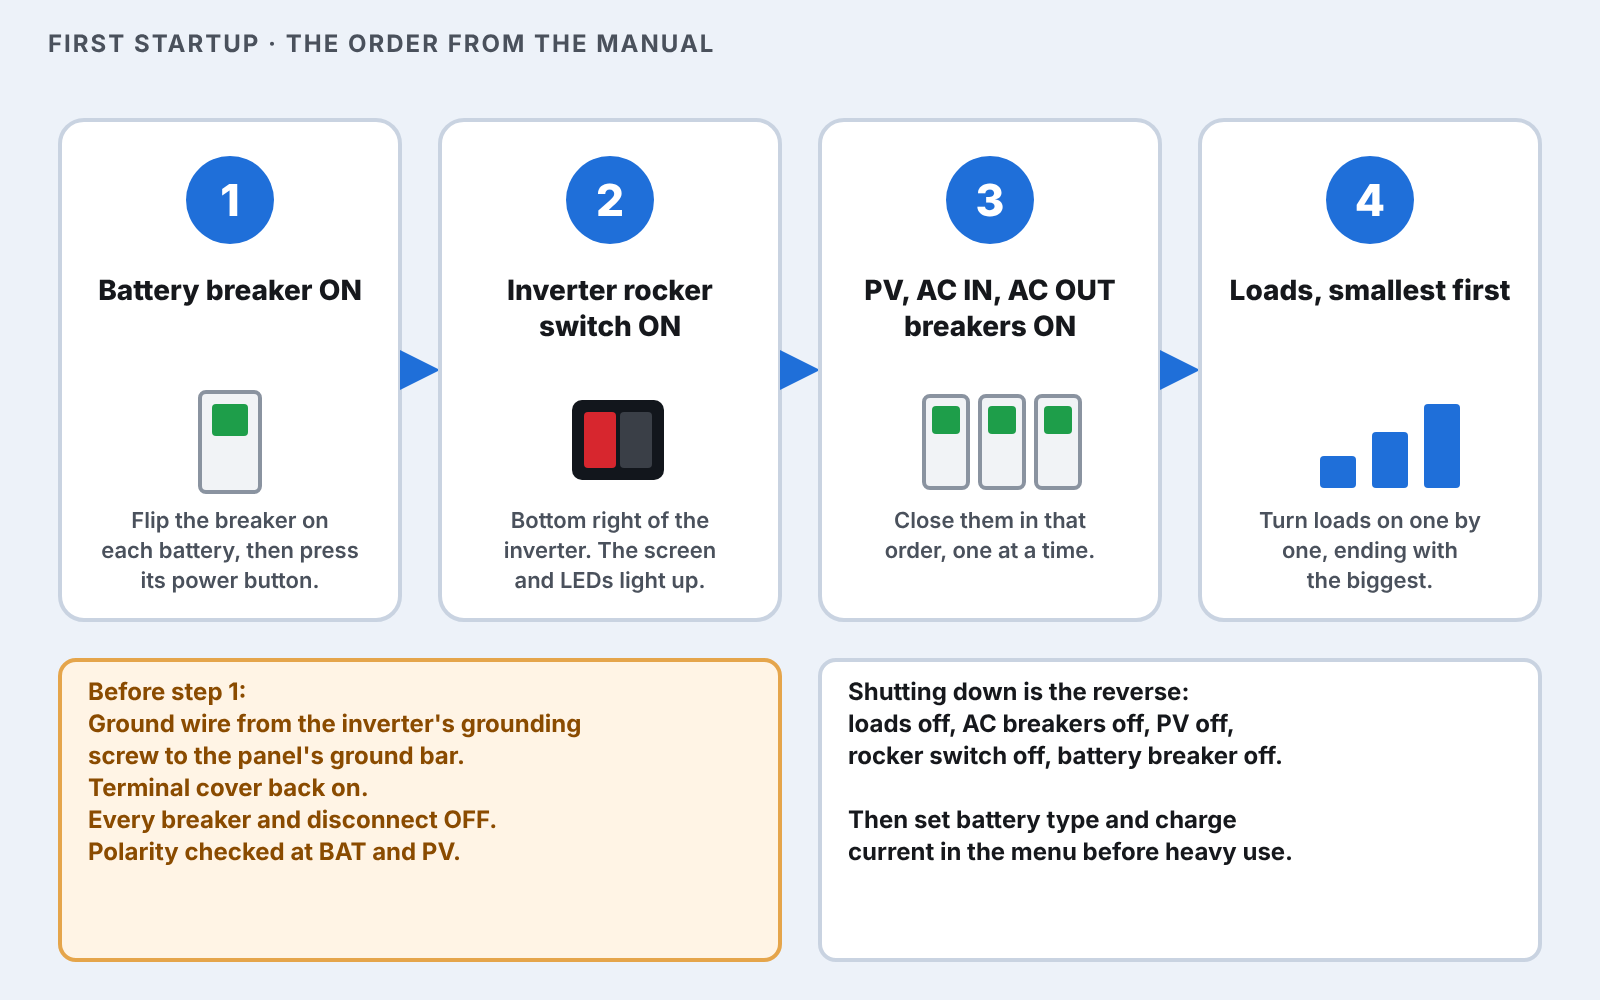
Start it up in order.

  1. Ground wire on, cover on, polarity checked with a meter.
  2. Battery breaker on.
  3. Inverter rocker switch on.
  4. PV, AC IN, then AC OUT breakers on.
  5. Loads on one at a time, smallest first.

Build the Battery Cables

You need two cables: one red, one black, both 2/0 AWG and the same length. Measure from the battery terminals to the inverter studs with the battery in its final spot, then add a little slack.

01

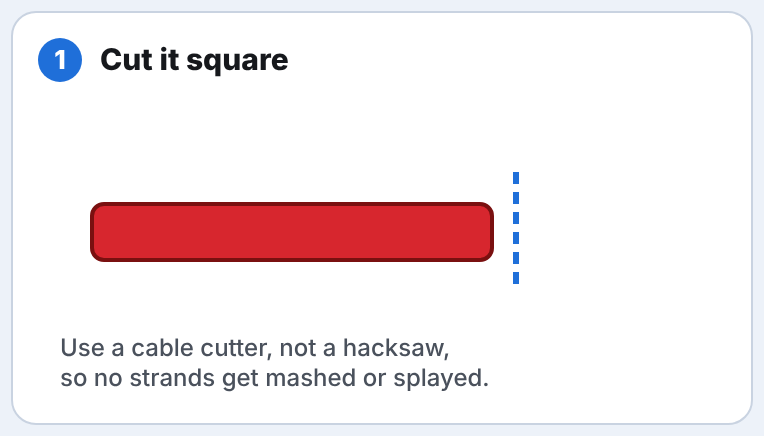
Cut it square. Cut the 2/0 cable to length with the ratchet cutter. Cut the red and the black to the same length.

02

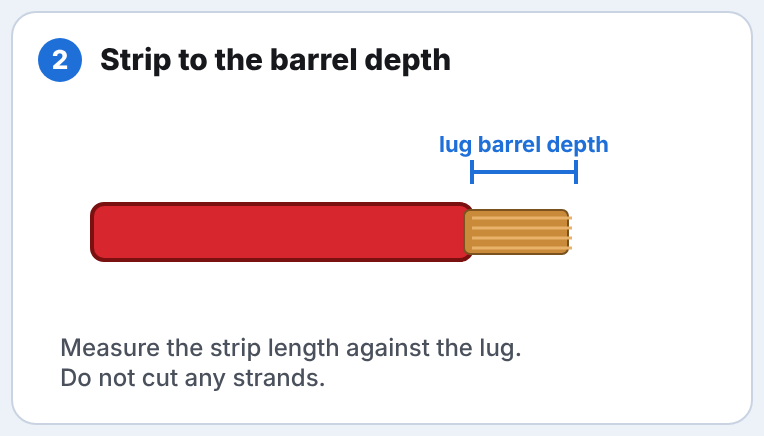
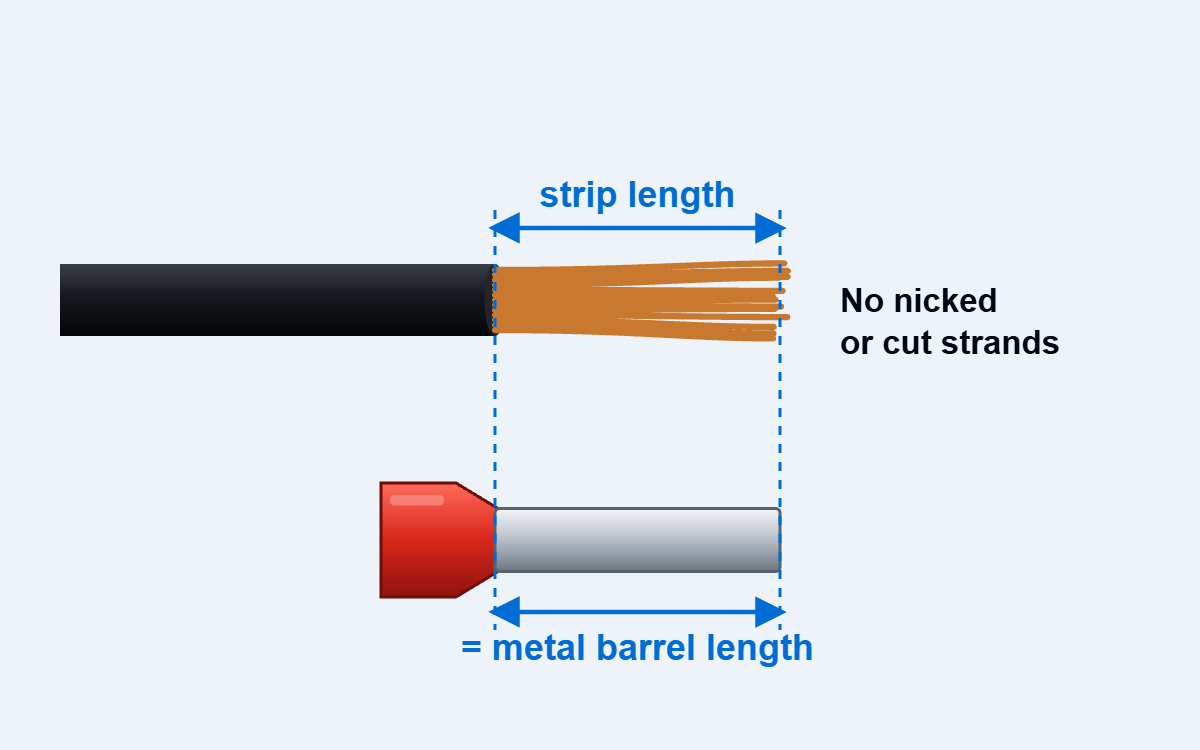
Strip to the barrel depth. Hold the lug next to the cable and strip only as much insulation as the barrel is deep. Do not cut any strands.

03

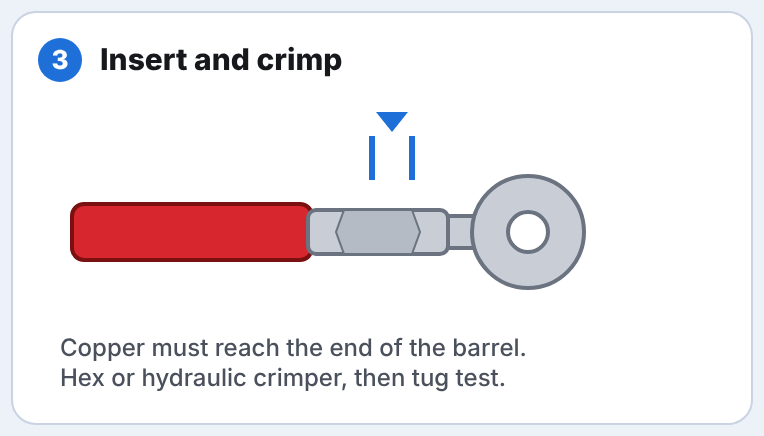
Crimp the lug. Slide a piece of heat shrink onto the cable first. Push the copper to the end of the barrel and crimp it with the 2/0 die. Pull on the lug. It must not move.

04

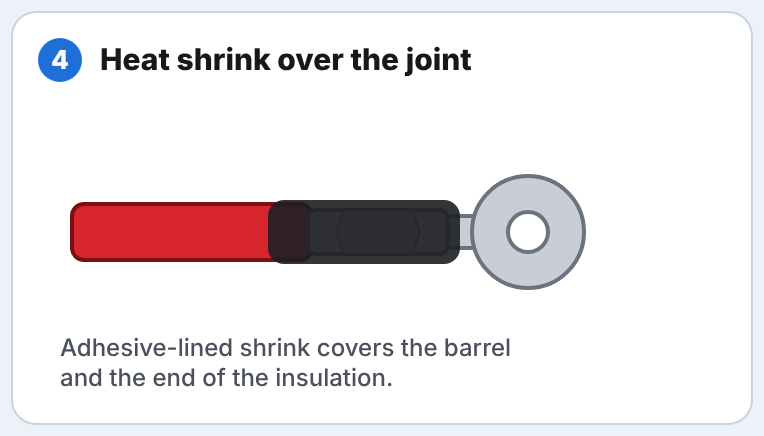
Seal it. Slide the heat shrink over the barrel and shrink it with the heat gun. Repeat for all four cable ends.

Crimp Ferrules on Stranded Wire

The AC terminals on this inverter are screw clamps. When a screw lands on bare stranded wire it spreads the strands apart, some miss the clamp, and the connection can loosen and heat up over time. A ferrule turns the strands into one solid pin the clamp can grip. Use one on every stranded wire that goes into a screw terminal: the 6 AWG AC input and AC output wires. The kit is in Step 04 above.

01

Strip to the barrel length. Pick the ferrule that matches your wire gauge (the kit lid lists the sizes). Strip the insulation back to the length of the ferrule’s metal barrel without nicking or cutting any strands.

02

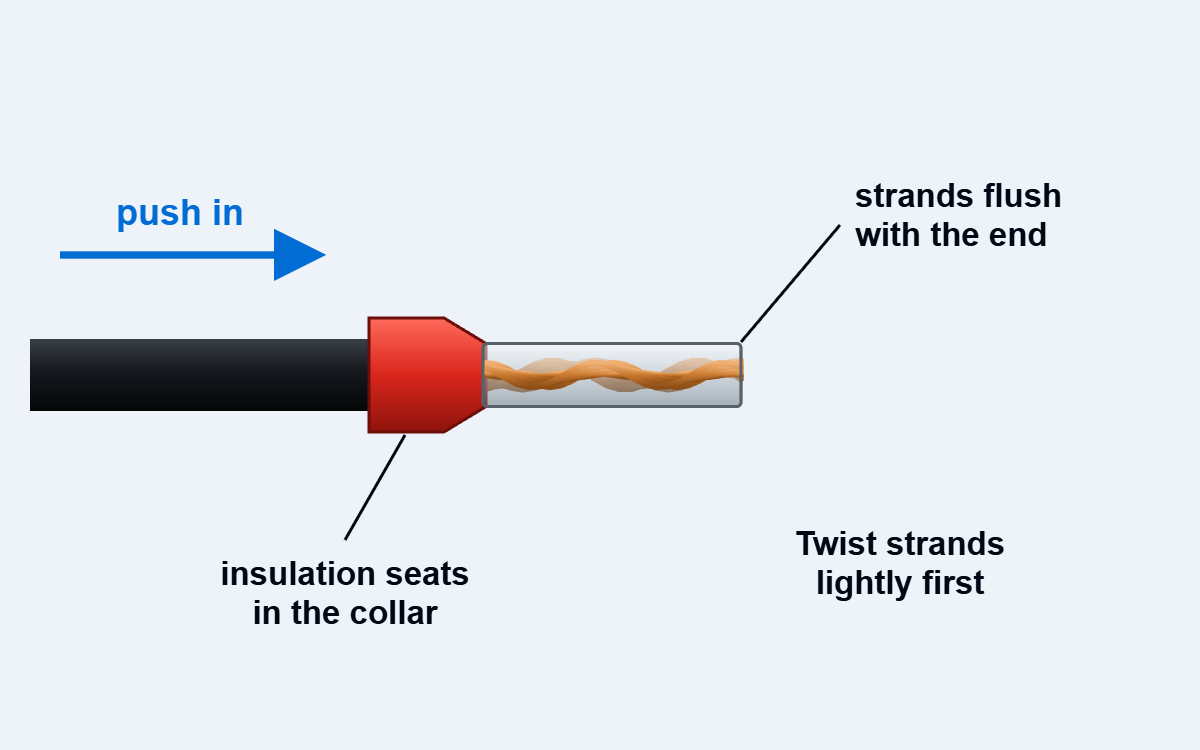
Twist and insert. Give the strands a light twist so none stick out, then push the wire in until the insulation seats inside the plastic collar. The copper should end flush with the end of the barrel.
03

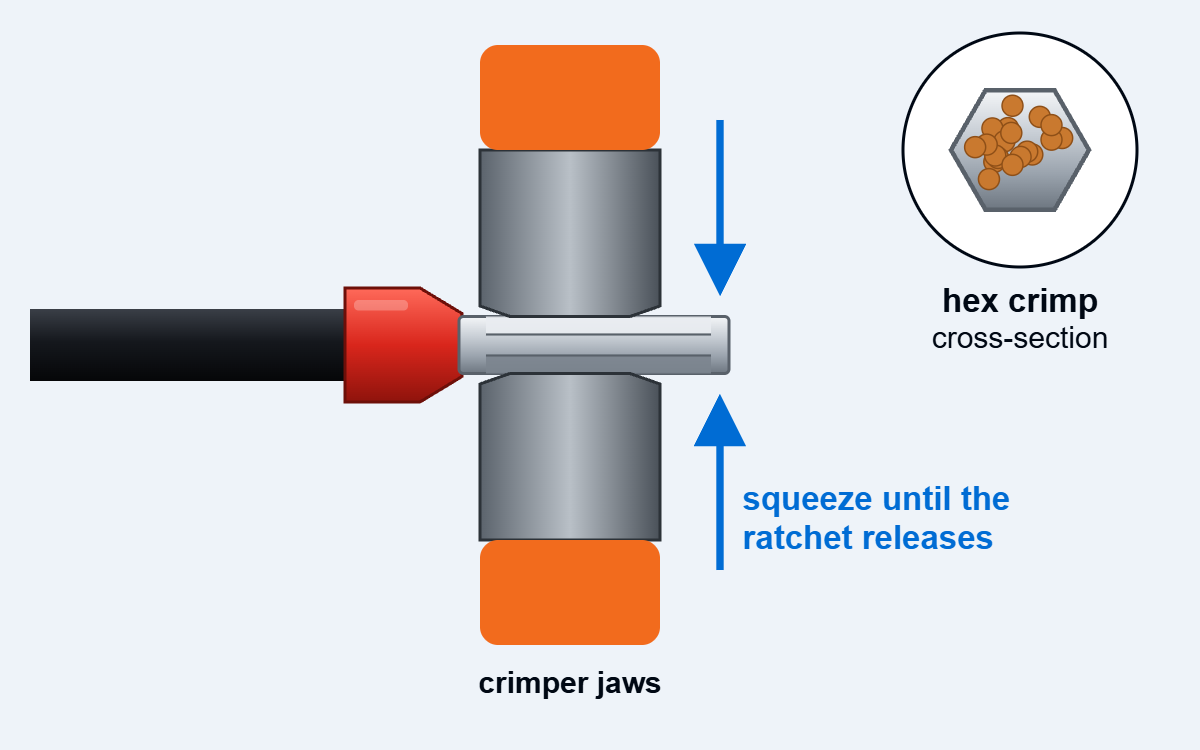
Crimp it. Set the barrel in the crimper’s hex die and squeeze until the ratchet releases. The hex crimp packs every strand into one solid pin.

04

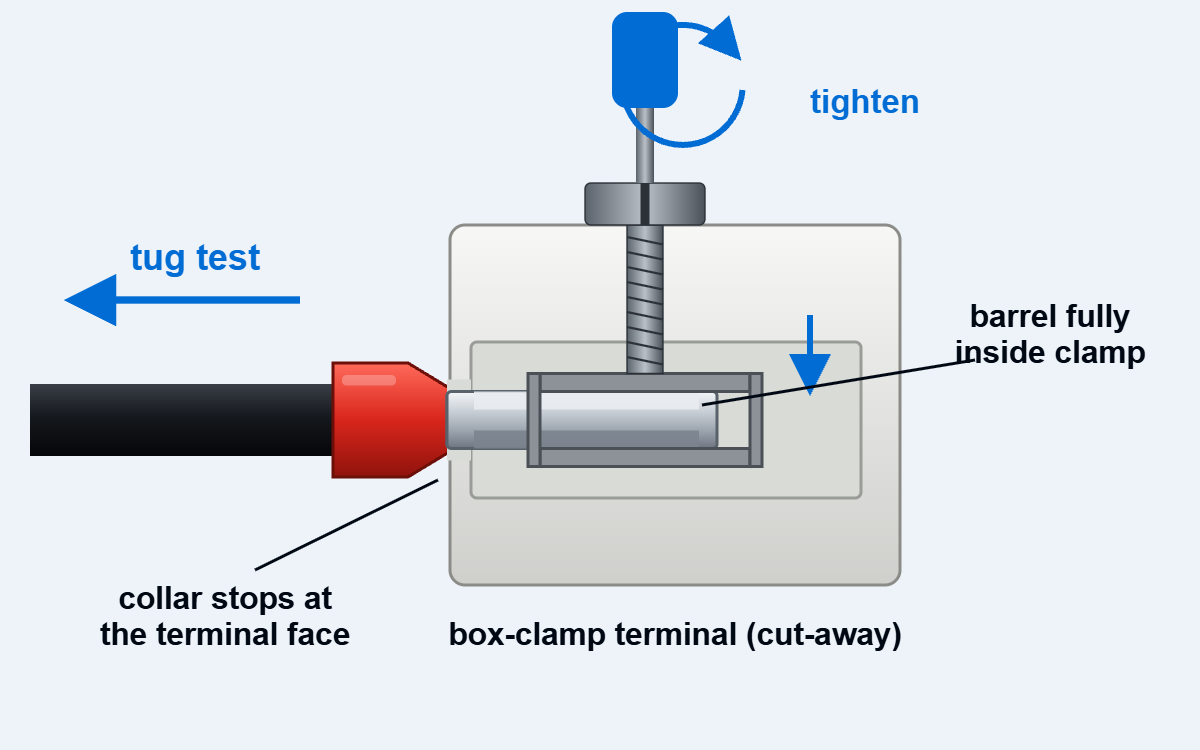
Land it in the terminal. Push the crimped ferrule all the way into the inverter’s AC terminal and tighten the screw. Tug on the wire. If it moves, tighten again.
Recommended Solar Panel Array

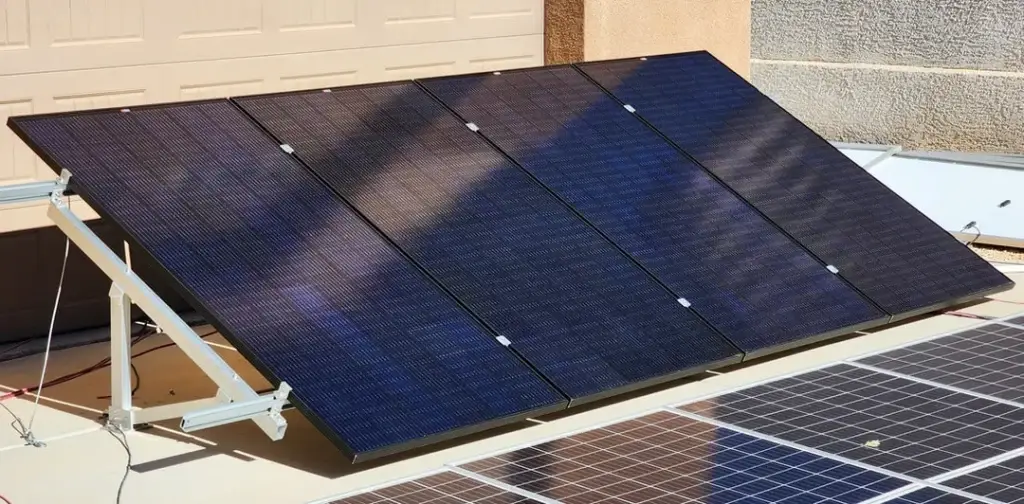
This inverter has two solar inputs. Each one takes a string of panels wired in series, and each string has to land between 125V and 425V to charge.

To size a string, multiply the Voc on your panel’s label by the number of panels in it. Do not exceed 500VDC at the PV input.

The limit is 11,000W of panels across both inputs. That is 27 panels at 400W each.

Permits, Inspection and Insurance

The Yixiang batteries are not UL listed. As I say on my budget battery page, uncertified batteries carry some risk, because the company can change cells or BMS at any time. Ask your electrician, your inspector and your insurance company what they require before you order.

If you need a listed system, see my 48V UL certified batteries and the EG4 hybrid build.

My Latest Videos

Visit my Channel
Will Prowse

Visit my Channel

DIY Solar Power with Will Prowse