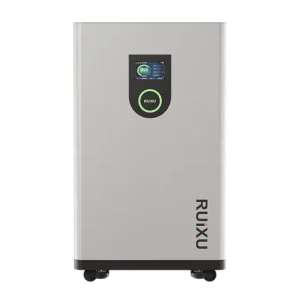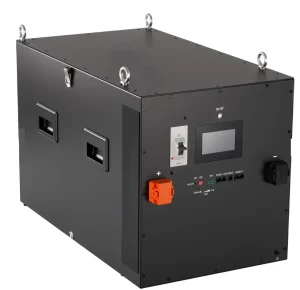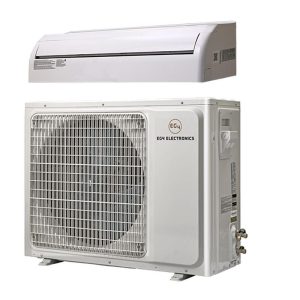
Hand-Truck 48V System
Portable 5 kWh, builds in 25 minutes ~$1,900
Budget Whole-Home Backup
12 kW inverter, 32 kWh battery from ~$4,750
Off-Grid Home Blueprint
Whole-house off-grid, 5–12 kW ~$9,800
Code-Compliant 48V System
Grid-tie hybrid, permit & inspection ready ~$13,500
Mobile, 12V, tight on space and weight
Marine-rated, waterproof, heated cells
Small off-grid build, 12V or 48V
Off-grid or grid-tied with backup
48V off-grid system from about $5,400
A complete 48V off-grid system for a house, cabin or homestead, built around an all-in-one inverter. The inverter, solar charge controller and battery charger come in one box.
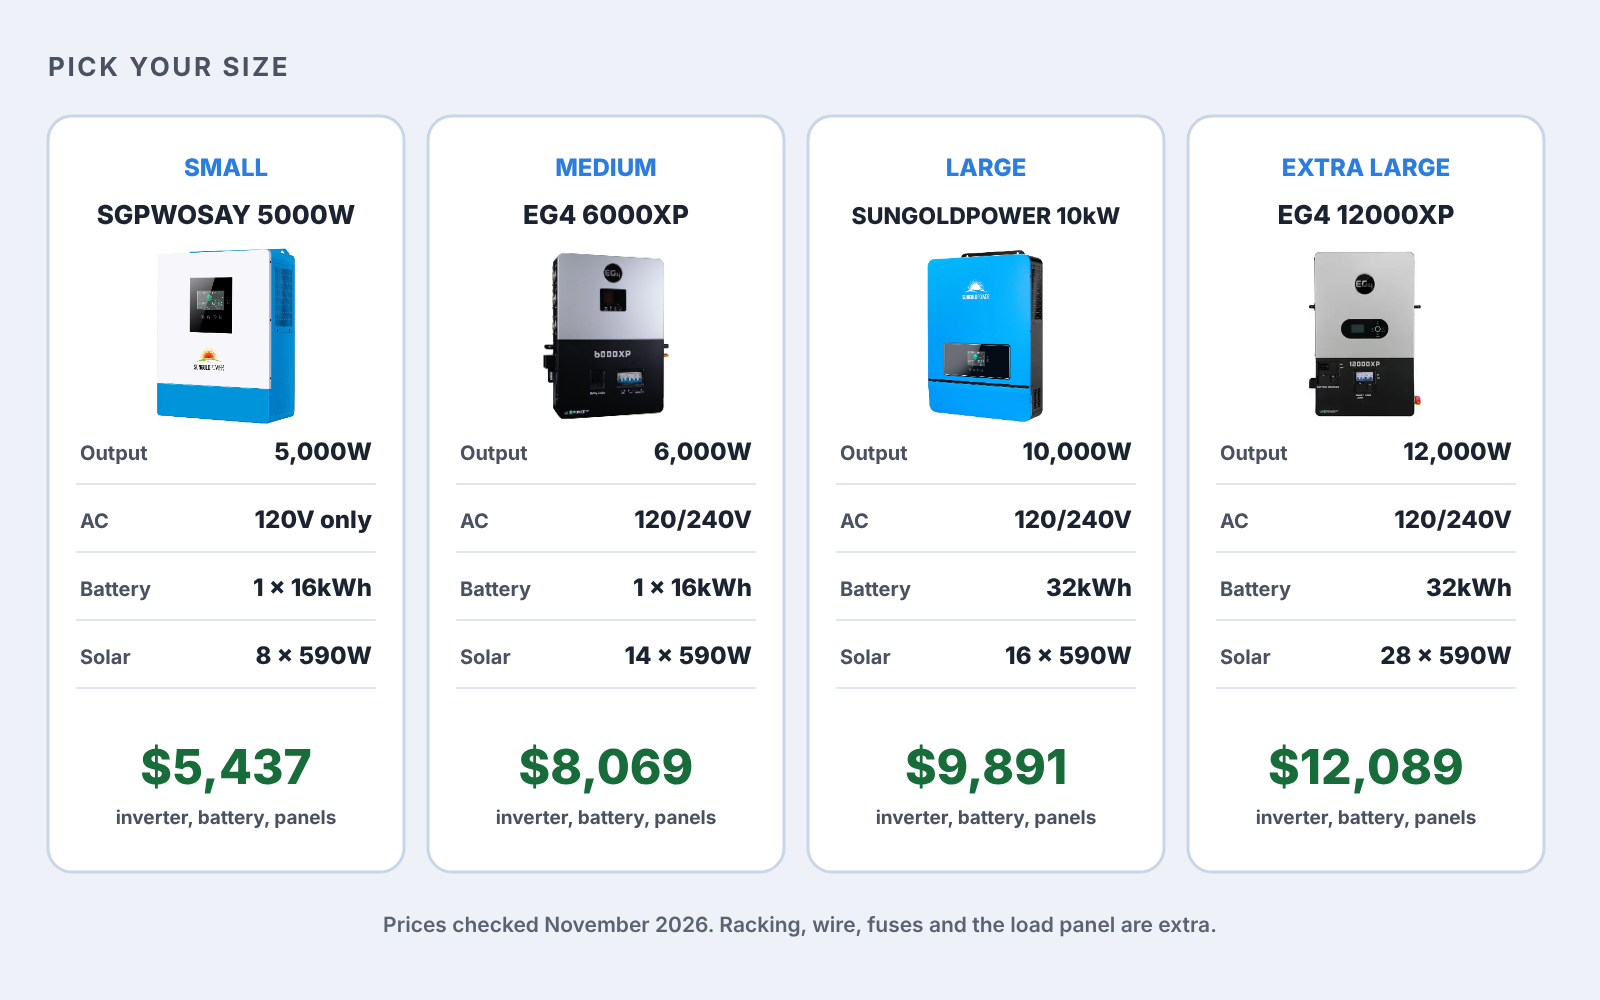
Pick an inverter size, a 48V battery, a mounting method and your solar panels, then follow the build steps. The four builds below run from $5,437 for 5kW to $12,089 for 12kW.
Jump to: How it connects · Cost · Inverter · Battery · Mounting · Panels · Panels per string · Materials · Build it · Settings · Troubleshooting
Affiliate links below
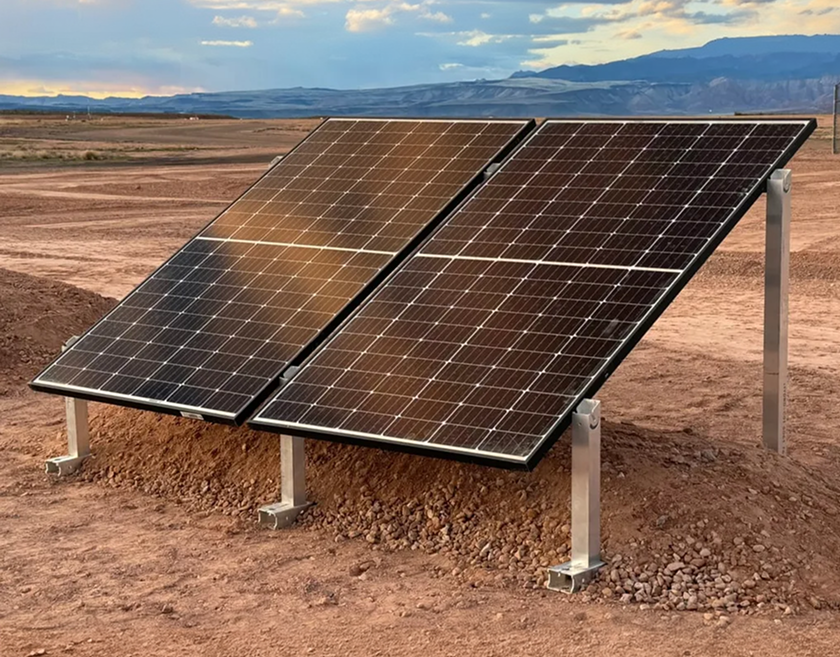
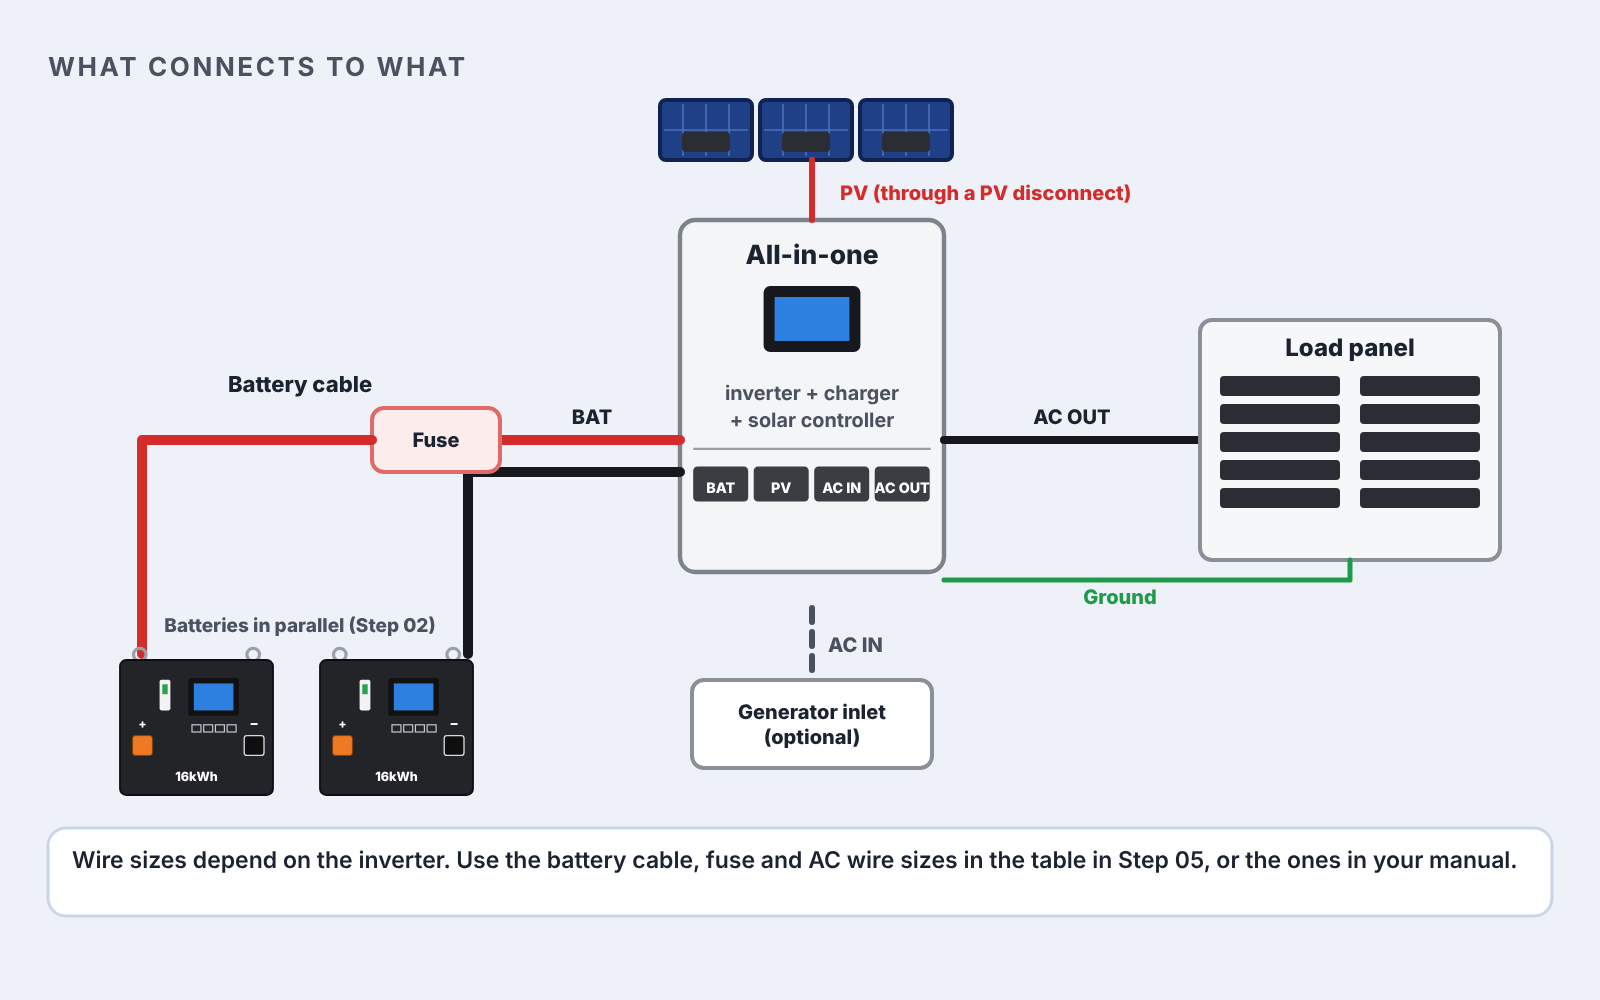
Every build on this page has the same parts: solar panels, a PV disconnect, an all-in-one inverter, a 48V battery with a fuse or breaker, and a load panel. A generator can connect to the inverter’s AC input to charge the battery through long cloudy stretches.
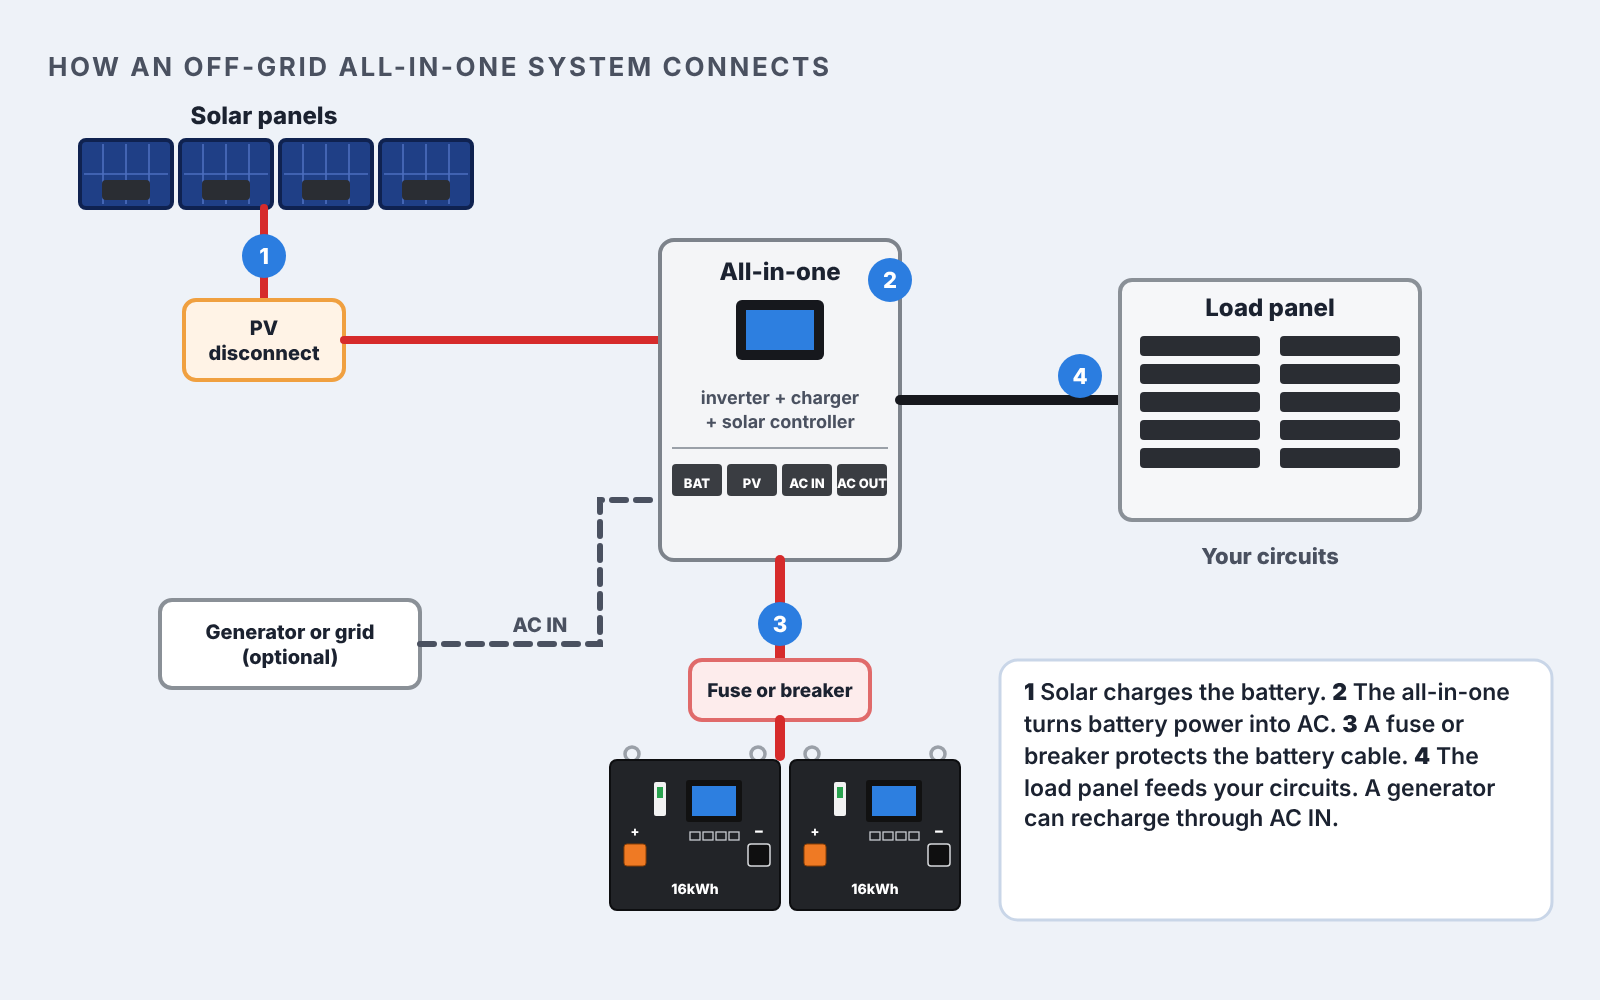
The steps below follow that order. Steps 01 to 04 pick the parts. Step 05 lists the materials. The build cards show how to mount, wire and start it.
Inverter, battery and solar panels for each size. Each build uses the battery and panel count from the sizing sections below.
| Part | Small 5kW | Medium 6kW | Large 10kW | Extra Large 12kW |
|---|---|---|---|---|
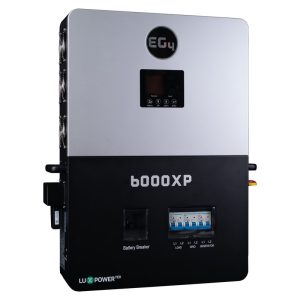
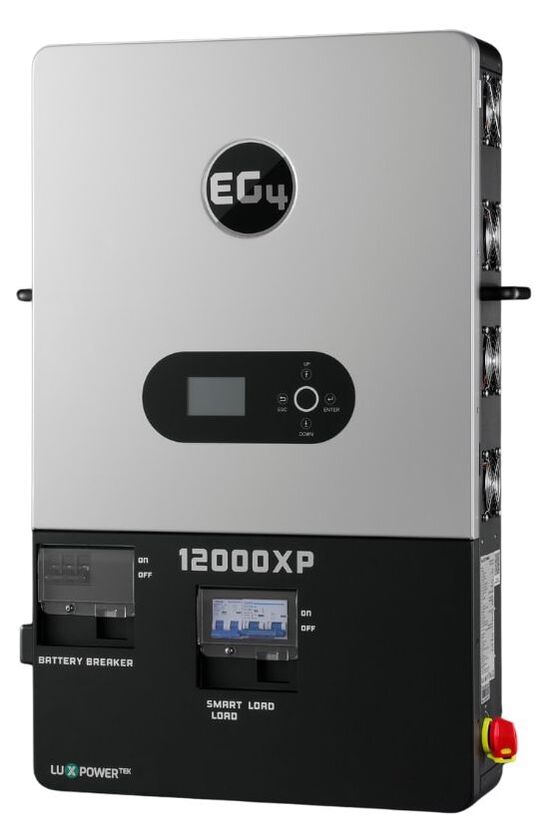
| Inverter | SGPWOSAY 5000W $768 | EG4 6000XP $1,450 | SUNGOLDPOWER 10kW $1,422 | EG4 12000XP $2,100 |
| Battery | Yixiang 16kWh $2,249 | Yixiang 16kWh $2,249 | Yixiang 32kWh $3,699 | Yixiang 32kWh $3,699 |
| Solar panels | 8 × SunGold 590W 4,720W, $2,420 | 14 × SunGold 590W 8,260W, $4,370 | 16 × SunGold 590W 9,440W, $4,770 | 31-panel pallet (28 used) 16,520W, $6,290 |
| Total | $5,437 | $8,069 | $9,891 | $12,089 |
Prices checked November 13, 2026. They change, so use the buttons below for the current price. Panel prices use ShopSolar’s 4, 6, 8 and 10 packs. Racking, wire, fuses, breakers, the load panel and tools are extra. To pass inspection, swap in a UL listed battery from Step 02: the RUiXU Lithi 16 ($3,099) in place of the 16kWh adds $850, and the ECO-WORTHY Cubix 4-pack ($3,480) in place of the 32kWh costs $219 less but holds 20.48kWh instead of 32kWh.
If you are powering a house, cabin or homestead with off-grid solar, a 48V off-grid all-in-one inverter is the simplest way to do it.
Below are the four I recommend, from 5kW to 12kW. I have tested all four.
Small
120V only. Fits cabins and small homes with no 240V loads.
Medium
Runs 120V and 240V loads in cabins and small homes.
Large
10kW for larger homes, at a lower price than the 6000XP.
Extra Large
Built to run a house. Two in parallel give 24,000W.
All four run from a 48V battery and include the inverter, solar charge controller and battery charger. The SGPWOSAY puts out 120V only, so it cannot run 240V loads like a well pump or dryer unless you parallel two or more.
| SGPWOSAY 5000W LOWEST PRICE | EG4 6000XP | SUNGOLDPOWER 10kW | EG4 12000XP | |
|---|---|---|---|---|
| Price | $768 | $1,450 | $1,422 | $2,100 |
| Output | 5,000W | 6,000W | 10,000W | 12,000W |
| AC output | 120V | 120/240V | 120/240V | 120/240V |
| Solar input | 5,500W | 8,000W | 11,000W | 24,000W |
| Solar inputs (MPPT) | 1 | 2 | 2 | 2 |
| MPPT range | 120 to 450V | 120 to 385V | 125 to 425V | 120 to 385V |
| Max PV voltage | 500V | 480V | 500V | 480V |
| Battery charging | 100A (40A from AC) | 125A solar, 115A AC | 200A | 250A |
| Generator input | Shares the AC input | Separate GEN terminals | Shares the AC input | Separate GEN terminals |
| Rated for | Indoors | Indoors | Indoors | Indoors |
Specs from each manual and data sheet. Prices checked November 13, 2026.
If you want a system you can mount outside, see my EG4 Hybrid System Builder. Hybrid inverters run off-grid too. They cost more up front, and the inverter and batteries there are outdoor rated.
Pick the battery that matches your inverter size. The top two are budget batteries with no UL listing. The bottom two carry UL listings for systems that need to pass inspection. Every button goes straight to the product.
Budget pick for the 5kW and 6kW builds. 16kWh, 51.2V, EVE 314Ah cells and a JK BMS. Arrives as a kit you assemble. No UL listing, so it cannot go in an inspected system. About $2,249.
Budget pick for the 10kW and 12kW builds. 32kWh, 51.2V, 628Ah with a JK 300A BMS. About 600 lb, so build it where it will stay. No UL listing. About $3,699.
Code-compliant pick for the 5kW and 6kW builds. 16kWh, 51.2V, 314Ah. The seller lists UL 1973 and UL 9540. IP55 case with self-heating and wheels. About $3,099.
Code-compliant pick for the 10kW and 12kW builds. Four 5.12kWh batteries, 20.48kWh total, UL 9540 and UL 1973 listed. Each handles 100A, 400A for the four. Parallel and communication cables included. 10-year warranty. About $3,480.
At full output the inverter pulls its watts ÷ 48V from the battery. A 10,000W load pulls 10,000 ÷ 48 = about 210A. Pick a battery that can deliver that.
| Inverter | Battery current at full output | Budget battery | Code-compliant battery |
|---|---|---|---|
| SGPWOSAY 5000W | About 105A | One Yixiang 16kWh | RUiXU Lithi 16 |
| EG4 6000XP | 140A max (manual) | One Yixiang 16kWh | RUiXU Lithi 16 |
| SUNGOLDPOWER 10kW | About 210A | Yixiang 32kWh, or two 16kWh in parallel | ECO-WORTHY Cubix 100, 4-pack |
| EG4 12000XP | 250A max (manual) | Yixiang 32kWh, or two 16kWh in parallel | ECO-WORTHY Cubix 100, 4-pack |
The EG4 12000XP manual calls for at least 400Ah of battery. One Yixiang 16kWh is 314Ah, so it takes the 628Ah 32kWh pack or two 16kWh packs. The 32kWh pack costs less ($3,699) than two 16kWh packs ($4,498) and has a JK 300A BMS.
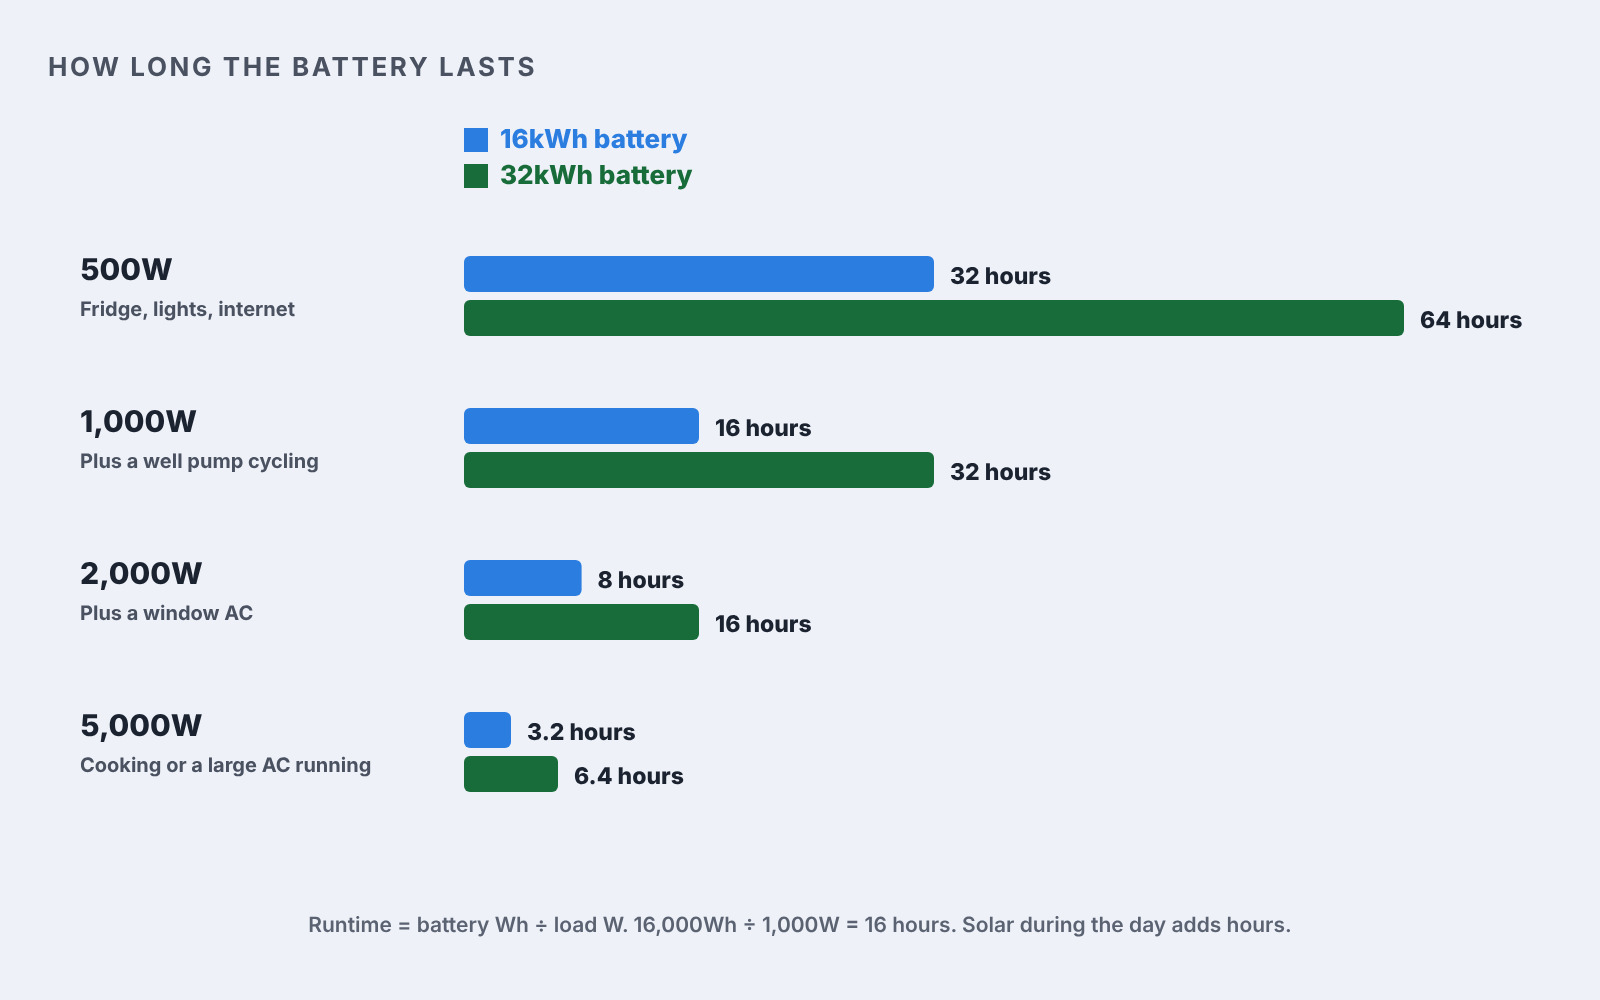
Runtime = battery Wh ÷ load W. A 16kWh battery holds 16,000Wh, so at a steady 1,000W it lasts 16 hours. Solar during the day adds hours.
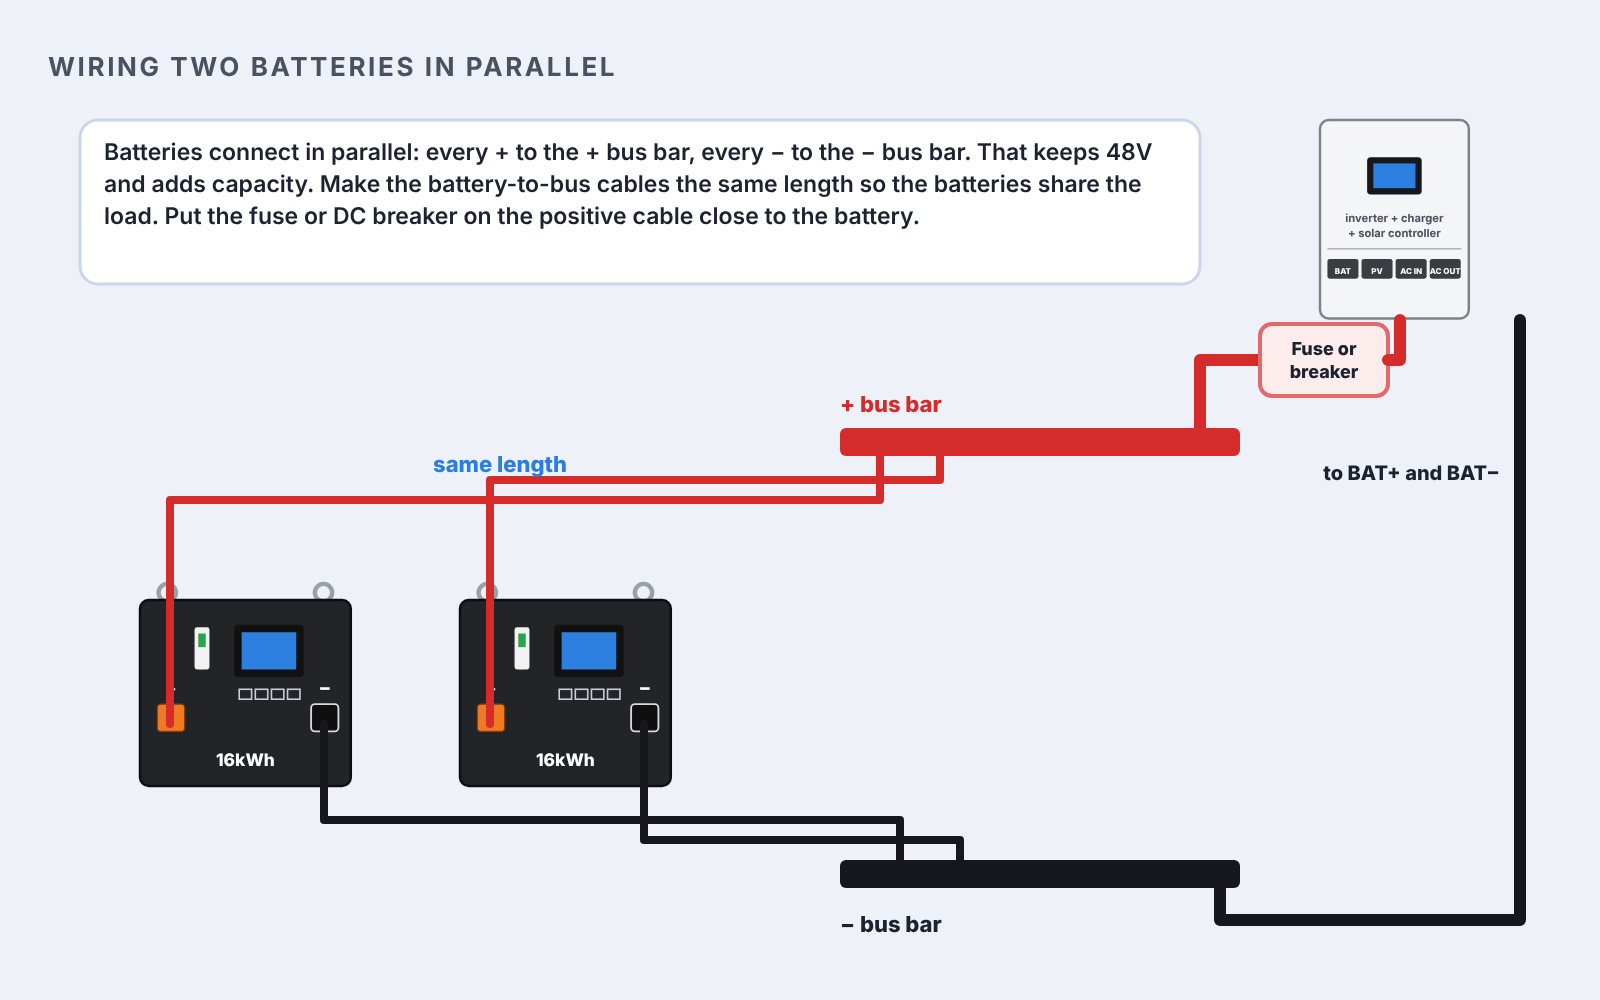
Wire them in parallel through bus bars: every + to the + bus bar, every − to the − bus bar, with cables of the same length. One fuse or DC breaker goes on the positive cable to the inverter. Sizes are in Step 05.
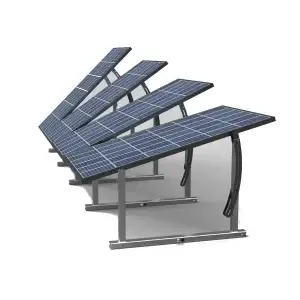
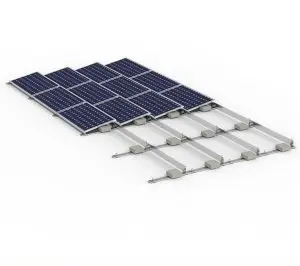
The only downside is you need room to mount them. If you have zero space available, I strongly suggest hiring a professional to assess your houses roof and have them mount your array. That way they can pick the right equipment for the job and pull the required permits.
Most solar panels today have incredible quality and output. They can last decades with zero issues.
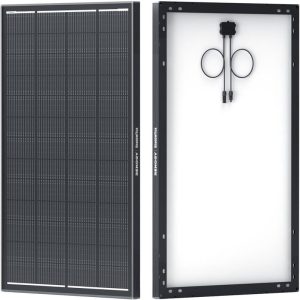
Lowest price. But is it worth it? Used panels have great output, but the warranty is pretty limited. Be sure to buy spares.
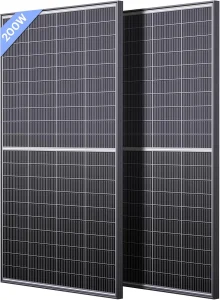
Fantastic deals on new panels. If something goes wrong with shipping, you’re good to go.
The best method to get a good price on new panels is to get a package deal with Signature Solar.
Panels wired in series make a string, and their voltages add up. The string has to sit inside the inverter’s MPPT range to charge, and stay under its max PV voltage on the coldest morning. Go over the max and you can destroy the inverter.
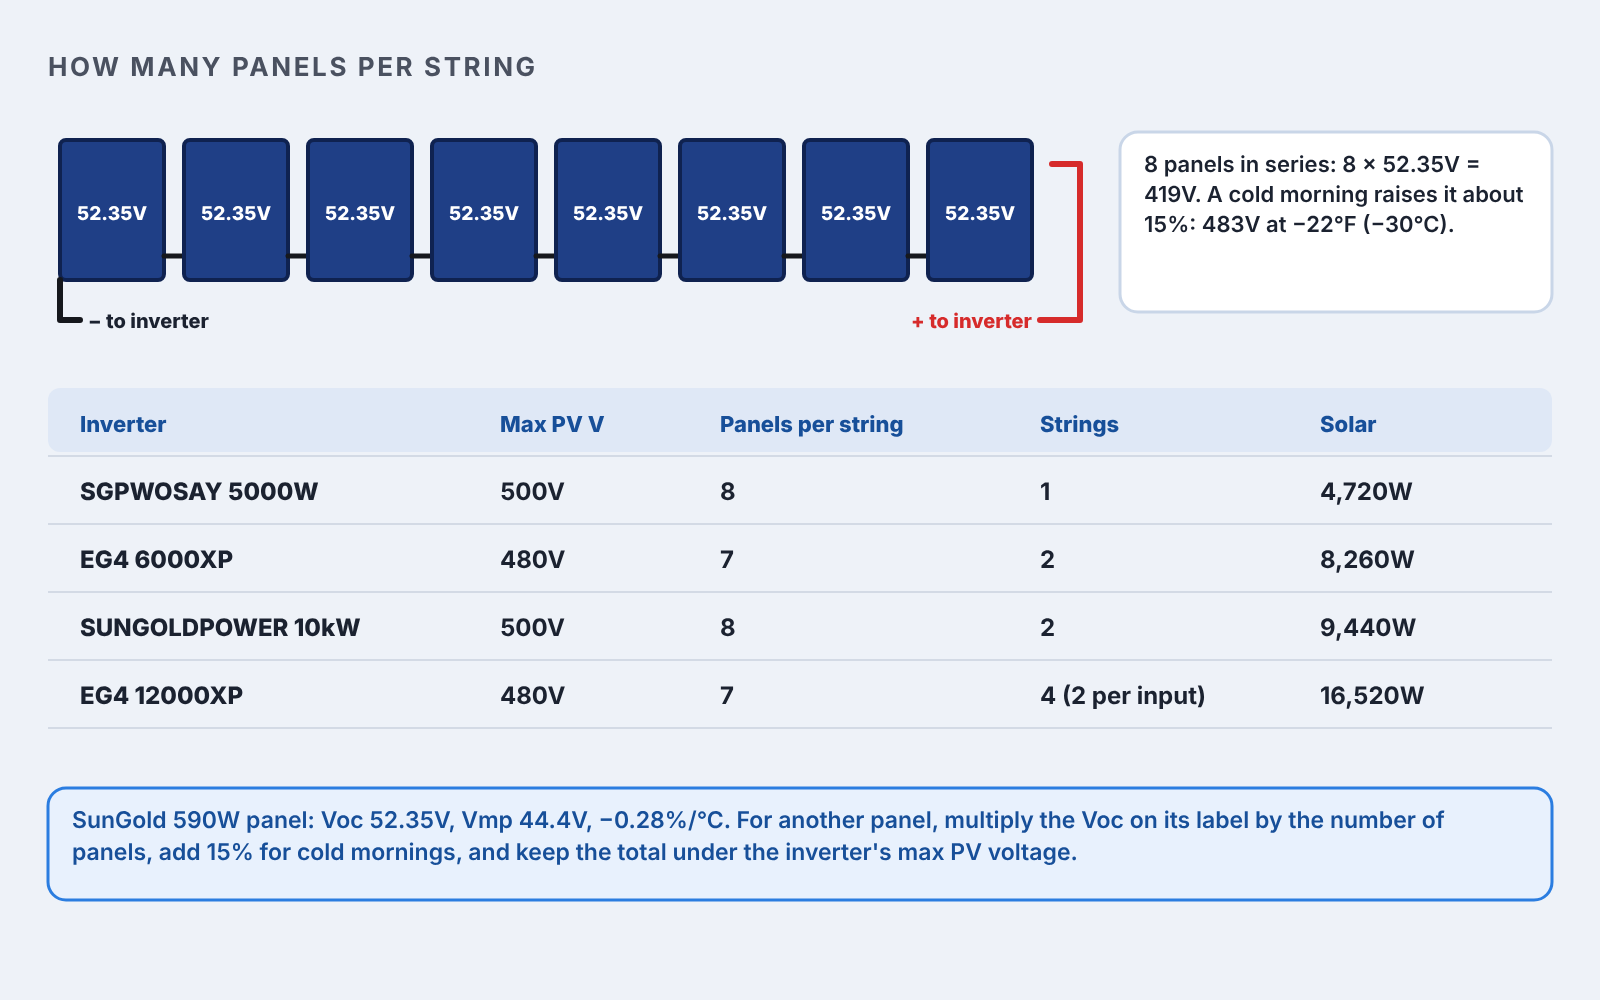
Example: 7 SunGold 590W panels on an EG4 6000XP. 7 × 52.35V = 366V, and about 423V on a −22°F morning, under the 480V max. 7 × 44.4V = 311V Vmp, inside the 120 to 385V range.
Current matters too. One string per input fits all four inverters. Two strings in parallel on one input fit only the EG4 12000XP, which takes 35A per input. The 6000XP takes 17A per input, and the SUNGOLDPOWER units take 22A.
| Inverter | Panels per string | Strings | Array |
|---|---|---|---|
| SGPWOSAY 5000W | 8 | 1 | 4,720W (5,500W max) |
| EG4 6000XP | 7 | 2 | 8,260W (8,000W used) |
| SUNGOLDPOWER 10kW | 8 | 2 | 9,440W (11,000W max) |
| EG4 12000XP | 7 | 4, two per input | 16,520W (24,000W max) |
The kits do not include everything. Here is what people miss on the first trip to the hardware store. The wire and fuse sizes for each inverter are in the table below.
01
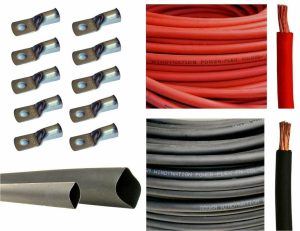
THHN Wire
THHN wire runs from the inverter to the load panel, inside conduit. The bigger the inverter, the bigger the wire. See the table below.
02
Tools
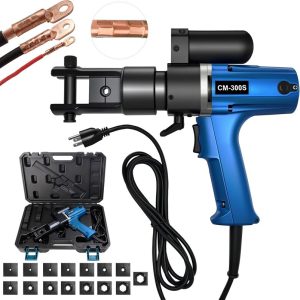
Wire strippers, a cable cutter, a crimper for the battery lugs and a torque wrench.
03
Flex Conduit
Beginner friendly method to connect the inverter to a breaker box. Easy to purchase at any hardware store.
04
Romex
Romex is the common name for the cable that runs from a load panel to an outlet. 12 AWG Romex on a 20A breaker covers most home outlet circuits.
05
Circuit Breakers and Load Panel
Do not let the load panel scare you. Hardware stores sell panels and breakers, and they are simple to wire. If you are not comfortable doing it, hire an electrician.
Battery cable, fuse and AC wire sizes from each inverter’s manual. Your electrician sizes the AC breakers and wire for your panel and run length.
| Inverter | Battery cable | Battery fuse or DC breaker | AC wire | PV wire |
|---|---|---|---|---|
| SGPWOSAY 5000W | 2 AWG | 200A | 8 AWG in and out, 63A breaker | 10 AWG |
| EG4 6000XP | 2/0 AWG | 200A | 8 AWG grid, gen and load | 10 AWG |
| SUNGOLDPOWER 10kW | 4/0 AWG | 250A | 6 AWG in and out, 63A breaker | 10 AWG |
| EG4 12000XP | 4/0 AWG, or two 2/0 AWG pairs | 300A | 3 AWG grid and load, 4 AWG generator | 10 AWG |
The 6000XP manual lists 1 AWG battery cable and no fuse size. 2/0 AWG copper is rated 175A at 75°C (NEC Table 310.16), and NEC 240.4(B) allows the next standard fuse size up, 200A. That covers the inverter’s 140A max discharge and uses the same parts as the 5kW build. The SGPWOSAY manual allows 12 AWG PV wire; 10 AWG is the same price and runs cooler.
Order online
Hardware store
Download the build sheet (PDF): specs, wire sizes, string sizing, startup order and bond settings for all four inverters on two pages.
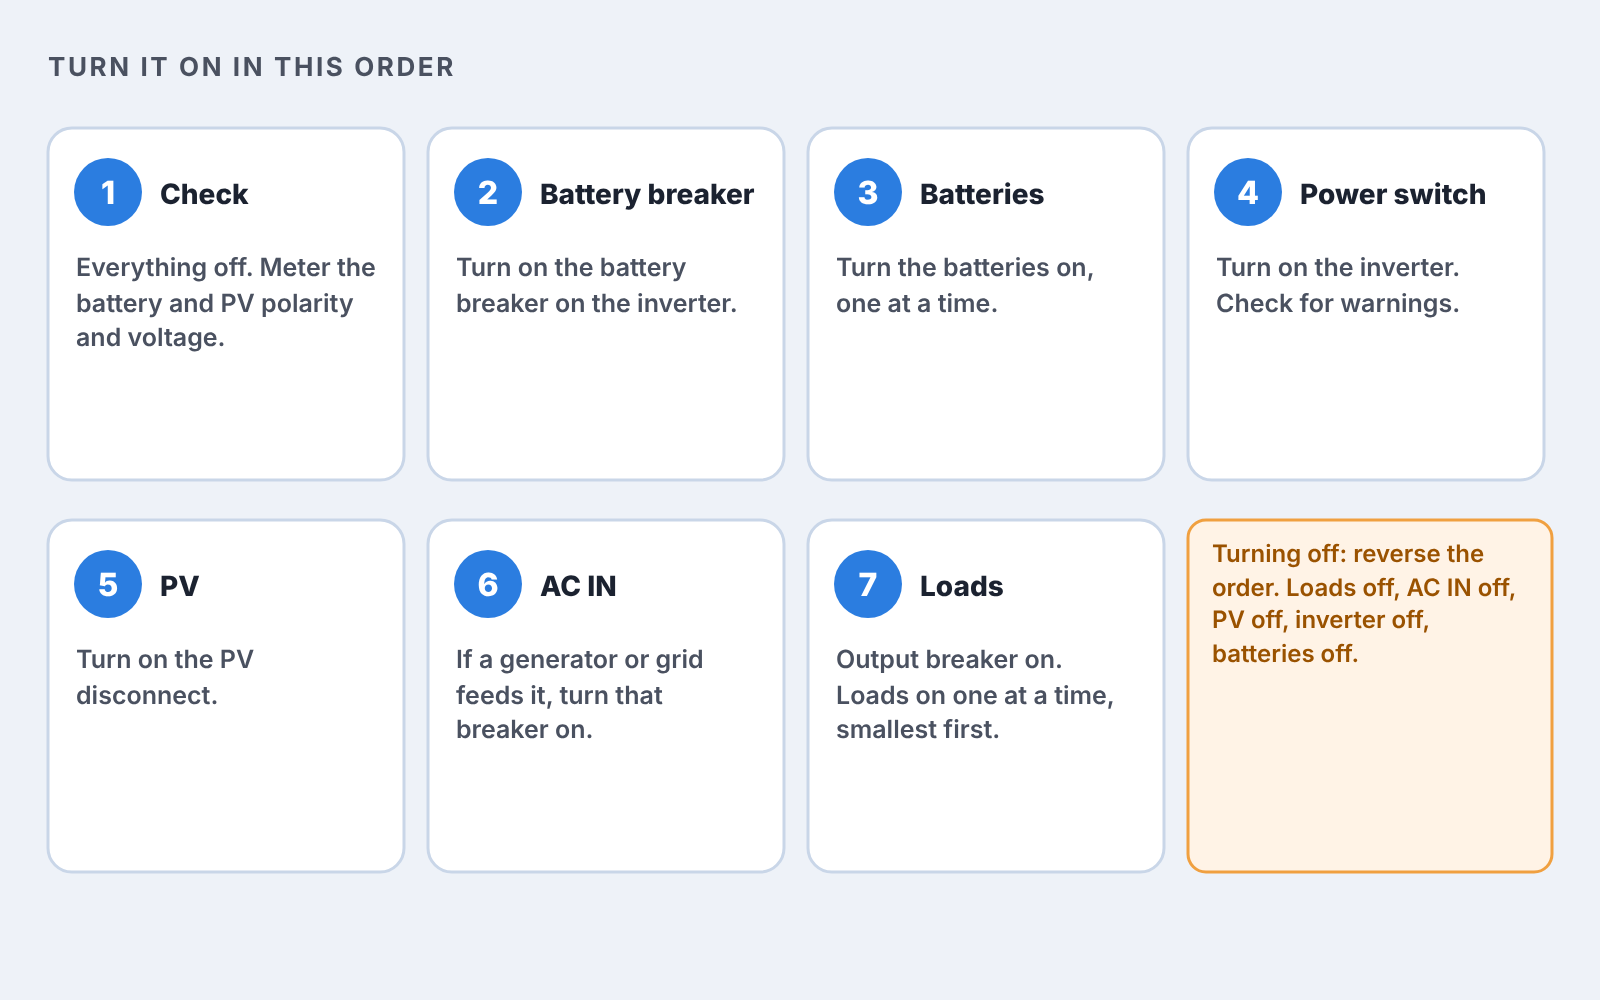
If you do not understand a step, stop and ask on the DIY Solar Forum or hire a professional. Every size on this page builds the same way. Keep every breaker and switch off until card 05.
Mount the Batteries
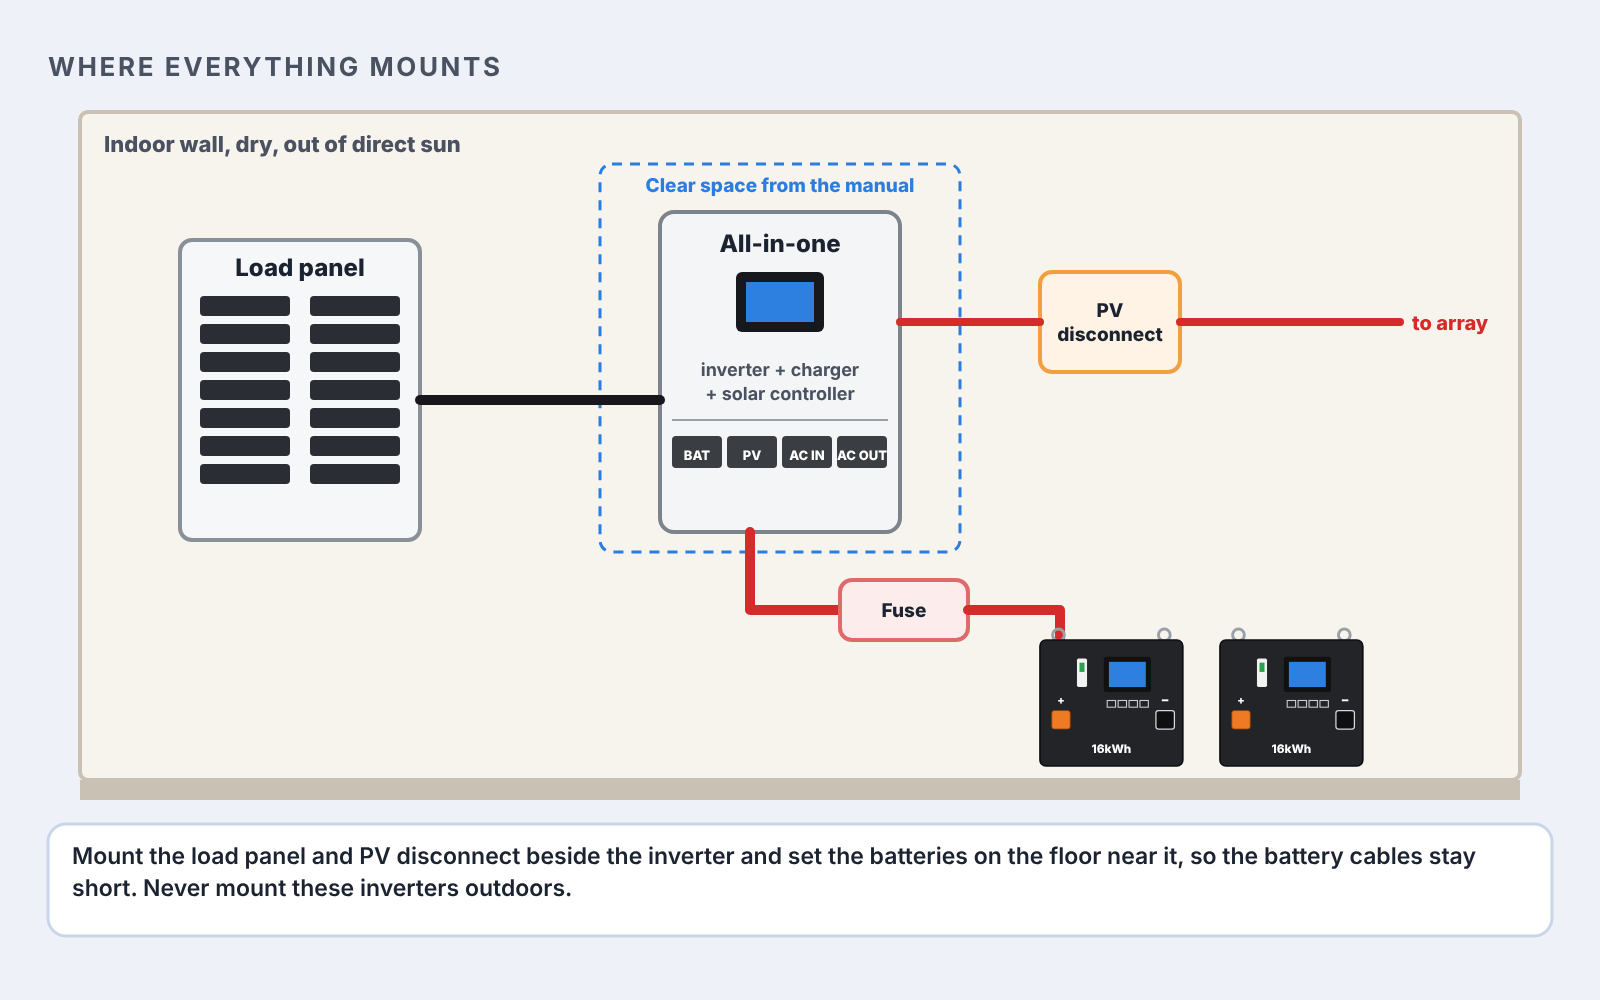
They are the heaviest part of the system. Make sure they are switched off before you move or work on them. Set them on the floor close to the inverter so the battery cables stay short.
Mount the Inverter
The inverter comes with a mounting plate. Screw it into the wall studs, then lift the inverter onto it with a helper. The EG4 6000XP weighs 53 lb and the 12000XP weighs 105 lb. Leave the clearance shown in your manual.
Mount a Load Panel Next to the Inverter
Mount a load panel on the wall next to the inverter. Every circuit the system powers runs from this panel.
Once everything is mounted, connect it together with every breaker and switch off.
Connect the batteries in parallel.
Run each battery’s + and − to a pair of bus bars, all with cables of the same length. Then run one red cable from the + bus bar to BAT+ on the all-in-one, through the fuse or DC breaker, and one black cable from the − bus bar to BAT−. Torque every lug to the value in the manual.
Connect the all-in-one to the load center or breaker box.
Run THHN wire in conduit from AC OUT to the load panel’s main breaker. The wire size for each inverter is in the table in Step 05.
Connect the solar array wires to the all-in-one.
Run the PV wire from the array to the PV disconnect, then to the PV input. Do not plug in the panels yet, and leave the PV disconnect off.
A string of panels in sunlight puts out hundreds of volts DC. Follow these steps in order.
Wait until nighttime and connect the solar panels in series.
You can cover the panels with a blanket during the day, but for a first system, do it at night. Plug the panels together in series: the + of one panel to the − of the next. MC4 connectors only plug + into −.
Connect your solar array to the wires that run back to your system.
Keep the PV disconnect off while you make this connection.
Final step is to check the polarity at the PV input on the all-in-one.
Before you turn anything on, check polarity. With the PV disconnect off, put the meter’s red probe on the + wire from the array and the black probe on the − wire. Even at night the array reads a few volts. A positive reading means the polarity is right. A negative reading means the wires are swapped somewhere between the array and the inverter. Check that the reading is under the inverter’s max PV voltage too.
Then connect the WiFi dongle, update the firmware and check the settings below. Each manual lists its own order; follow it where it differs. To shut down, reverse the order.
You now have a working solar power system. Check the charging on a sunny day: if 4,000W of panels charge at only 300W in full sun, something is wrong. If you need help with setup, post your problem on the beginner forum.
Check these on the inverter screen or app before you put a full load on it. Menu names differ by brand, so match them up in your manual.
| Setting | Set it to |
|---|---|
| Battery type | Lithium (LiFePO4). If the battery talks to the inverter over CAN or RS485, pick the BMS or closed-loop option and the protocol your battery maker lists. |
| Charge voltage | Your battery maker’s number for a 16-cell LiFePO4 pack. The Yixiang JK BMS settings on my budget backup page charge at 3.45V per cell, 55.2V. |
| Low-voltage cutoff | Your battery maker’s number. The EG4 12000XP default is 42.0V. |
| Max charge current | No higher than your battery’s BMS rating. |
| Output priority | Solar first, then battery. The grid or generator only as backup. |
| Neutral-ground bond | Enabled for a system with nothing else connected. See Helpful Tips below. |
| AC input | Generator mode if a generator feeds AC IN. |
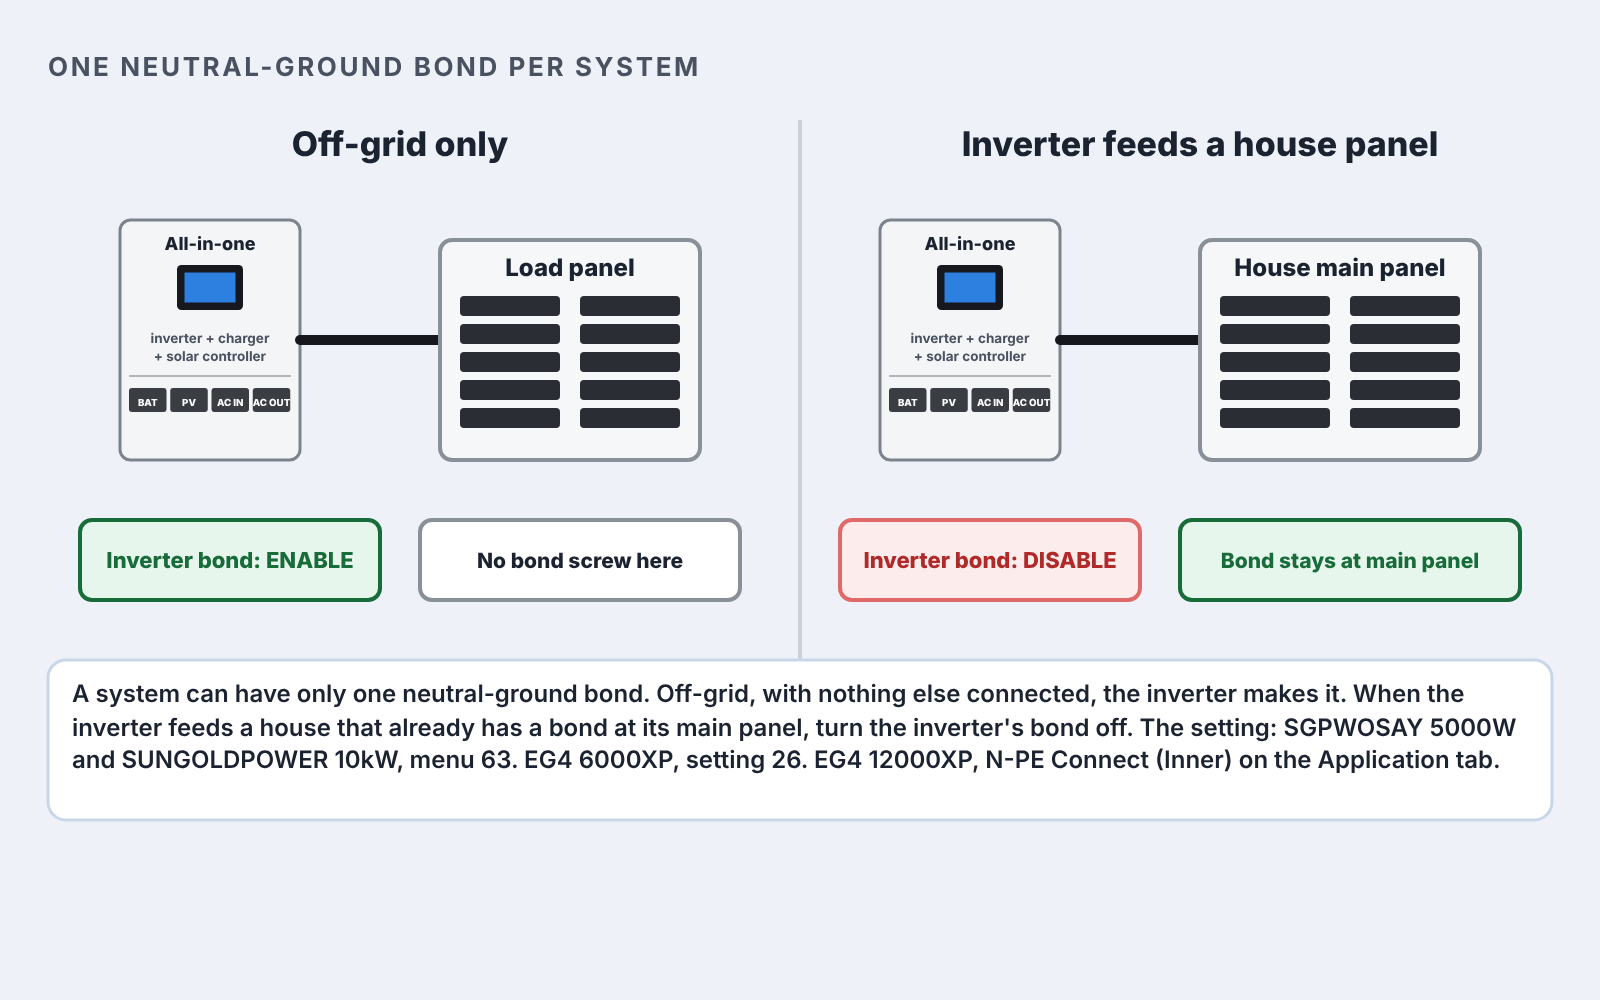
The steps above are for an off-grid system with no other power source. If you connect the inverter’s AC input to the grid, or its output to your house wiring, change the neutral-ground bond setting first.
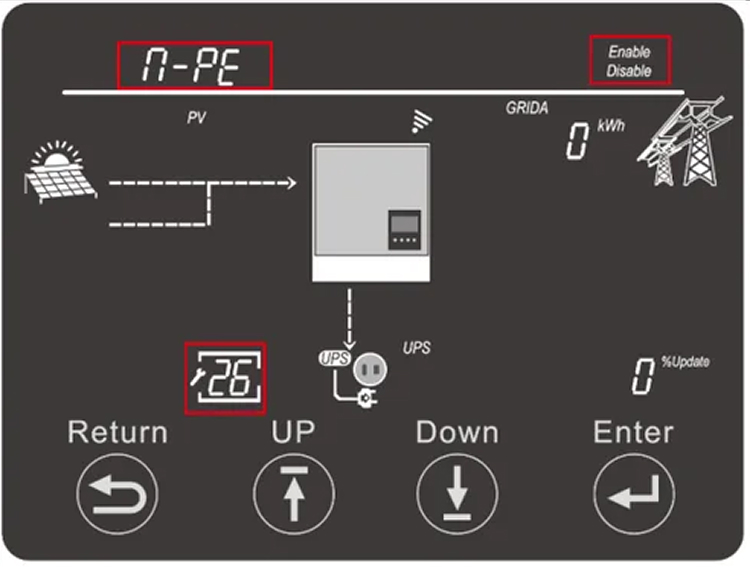
On the EG4 6000XP this is setting 26 (shown above). The inverter must be in standby to change it: turn the EPS Output switch off.
Range: Enable or Disable
Default: Enable
A neutral-ground bond connects neutral to earth ground. A system can have only one. With two, neutral current flows on the ground wires.
| Inverter | Setting | Default |
|---|---|---|
| SGPWOSAY 5000W | Menu 63, N-G automatically connect | Disabled |
| EG4 6000XP | Setting 26 | Enabled |
| SUNGOLDPOWER 10kW | Menu 63, Auto N-PE connection | Disabled |
| EG4 12000XP | N-PE Connect (Inner), Application tab | Check the screen |
On a mobile system that plugs into an AC source, like a hand cart solar system, you have to change this setting every time you plug in.
If your system keeps its own bond but needs grid charging for a few days in winter, use a separate AC battery charger. Plug it in and the inverter’s bond stays as it is. A WiFi outlet or timer can run the charger at set times.
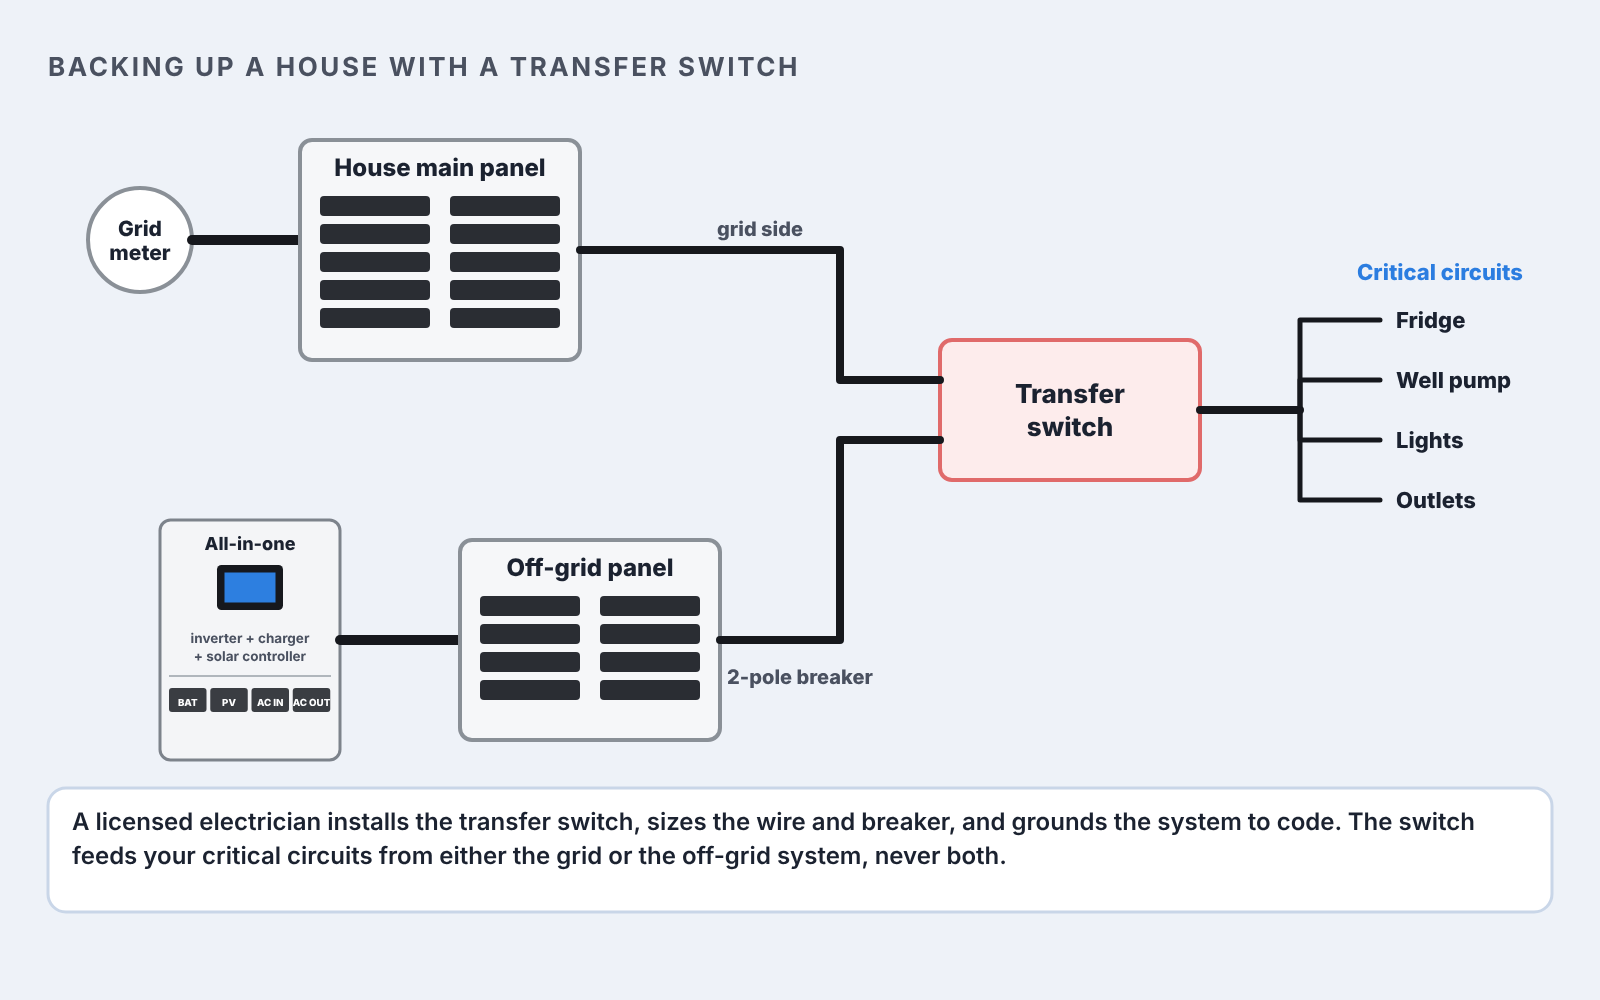
Yes, with a licensed electrician. The electrician installs a transfer switch for your critical loads and feeds it from the off-grid load panel through a two-pole breaker. They size the wire, ground the system to the NEC, and decide whether your site needs a ground rod or surge protection. Do not earth ground the system yourself if you are not qualified.
The details depend on where the system sits, whether you have more than one building, and how much lightning you get. Build the system as an off-grid system with the steps above, then have the electrician make the house connection.
Ask the electrician which neutral-ground bond setting to use. With a transfer switch that does not switch neutral, the inverter’s bond goes off.
| What you see | What to check |
|---|---|
| Blank screen | Battery breaker on the inverter on, batteries on, power switch on. Measure battery voltage at the BAT terminals. |
| Battery communication warning (EG4 6000XP Warning 00, SGPWOSAY and SUNGOLDPOWER code 58) | Network cable in the BMS port on both ends. Battery type and protocol settings match the battery. |
| Battery shuts off when the inverter starts | Inrush current into the inverter’s capacitors can trip the BMS. On a Yixiang JK BMS, use the reset and Dis-limiter fix. |
| PV over-voltage (EG4 6000XP Fault 21, SGPWOSAY and SUNGOLDPOWER code 09) | Open the PV disconnect now. The string is over the max PV voltage. Take a panel out of the string (see Panels per string). |
| Solar charging far below the array rating | String voltage inside the MPPT range, PV disconnect on, no shade, and the max charge current setting not set low. |
| Overload (EG4 6000XP Warning 28, SGPWOSAY and SUNGOLDPOWER codes 13 and 14) | Turn loads off. Start large motors one at a time. |
| Low battery (EG4 6000XP Warning 26, SGPWOSAY and SUNGOLDPOWER code 01) | Charge from solar or a generator. Check the low-voltage cutoff setting. |
| Current on the ground wires, or GFCI outlets tripping | Two neutral-ground bonds. Keep only one (Helpful Tips above). |
Codes come from each inverter’s manual. The EG4 12000XP uses its own list; look it up in its manual. If you are still stuck, post on the beginner forum with photos of the screen and your wiring.
Visit my Channel