Batteries
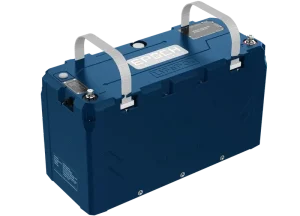
12V UL Certified Certified to UL1973. Consistent quality, audited over time.
12V UL-certified LiFePO4 battery
12V UL Certified
Certified to UL1973. Consistent quality, audited over time.
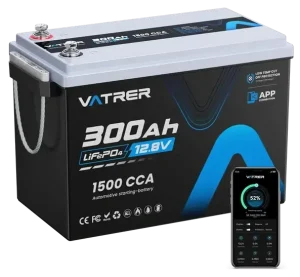
12V Budget Cheaper per amp-hour. Reliable today, no long-term guarantee.
12V budget LiFePO4 battery
12V Budget
Cheaper per amp-hour. Reliable today, no long-term guarantee.
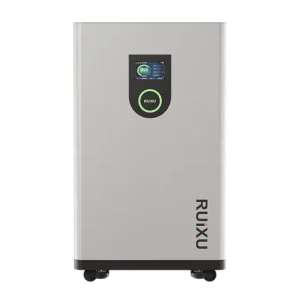
48V UL Certified Required if you are permitting your system or tying…
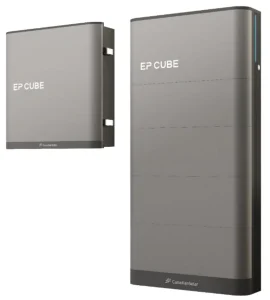
48V UL-certified wall-mount home battery
48V UL Certified
Required if you are permitting your system or tying to the grid.
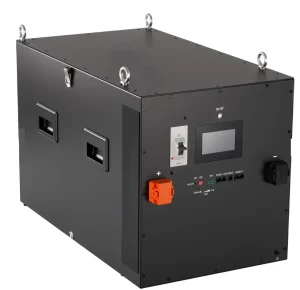
48V Budget Great build quality, but off-grid use only — not permit-legal.
48V budget server rack battery
48V Budget
Great build quality, but off-grid use only — not permit-legal.
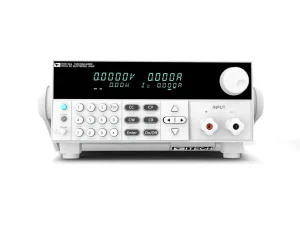
Battery Capacity Testers After a few years, you need to test the…
ITECH battery capacity tester
Battery Capacity Testers
After a few years, you need to test the capacity of your system.
Inverters
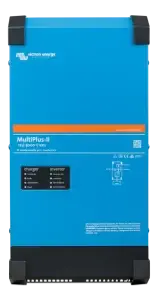
12V Off-Grid RVs, boats, vans and small cabins. 1,000–3,000W.
Victron MultiPlus-II 12V inverter charger
12V Off-Grid
RVs, boats, vans and small cabins. 1,000–3,000W.
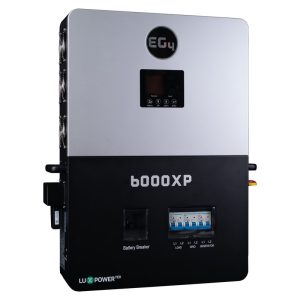
48V Off-Grid Run a whole house off-grid. 6,000–12,000W.
EG4 6000XP 48V off-grid inverter
48V Off-Grid
Run a whole house off-grid. 6,000–12,000W.
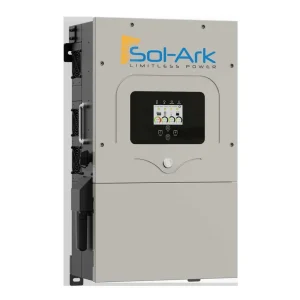
48V Hybrid Grid-tied plus battery backup. Certified for interconnection.
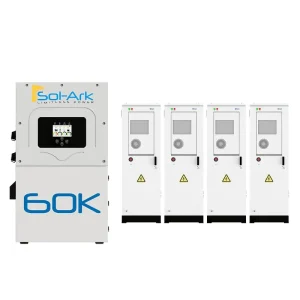
48V hybrid inverter
48V Hybrid
Grid-tied plus battery backup. Certified for interconnection.
High-Voltage Residential Highest efficiency. This is what I run in my own…
High-voltage residential inverter
High-Voltage Residential
Highest efficiency. This is what I run in my own home.
3-Phase Commercial Take an entire warehouse off-grid. Effectively unlimited capacity.
3-phase commercial inverter
3-Phase Commercial
Take an entire warehouse off-grid. Effectively unlimited capacity.
Solar Panels
Mobile Panels Lightweight and low-profile for RVs, vans and trailers.
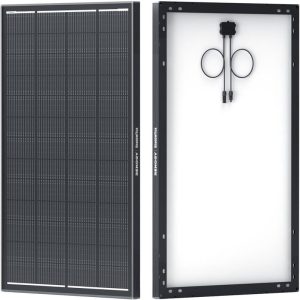
Flexible mobile solar panel
Mobile Panels
Lightweight and low-profile for RVs, vans and trailers.
Standard Panels Best cost per watt for homes, ground mounts and carports.
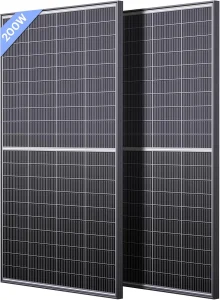
Standard rigid solar panel
Standard Panels
Best cost per watt for homes, ground mounts and carports.
Solar Mounting
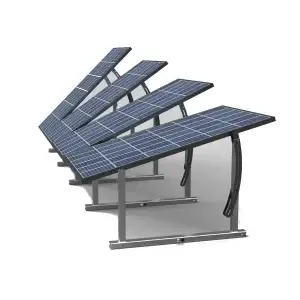
Ground Mount Fast to assemble, engineered and legal for permitted installs.
Solar panel ground mount
Ground Mount
Fast to assemble, engineered and legal for permitted installs.
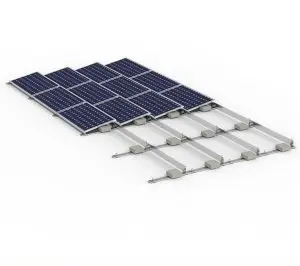
Roof Mounted Low-profile systems engineered for secure, long-lasting roof installations.
Roof-mounted solar panels
Roof Mounted
Low-profile systems engineered for secure, long-lasting roof installations.
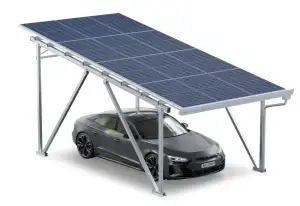
Solar Carports Dual-purpose structures that provide shade while generating clean energy.
Solar carport
Solar Carports
Dual-purpose structures that provide shade while generating clean energy.
Generators
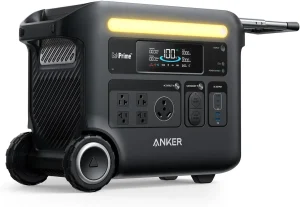
Anker Solar Generators Build a system in minutes! Beginner friendly and reliable.
Anker SOLIX solar generator
Anker Solar Generators
Build a system in minutes! Beginner friendly and reliable.
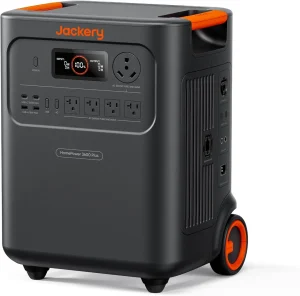
Jackery HomePower This is the only Jackery that I like. The output…
Jackery HomePower solar generator
Jackery HomePower
This is the only Jackery that I like. The output for the size and price is fantastic.
System Packages
Don't Want to Piece it Together?
These are complete, wire-by-wire builds I’ve assembled and tested myself. Every fuse, lug and breaker is specified, so nothing shows up missing on install day.
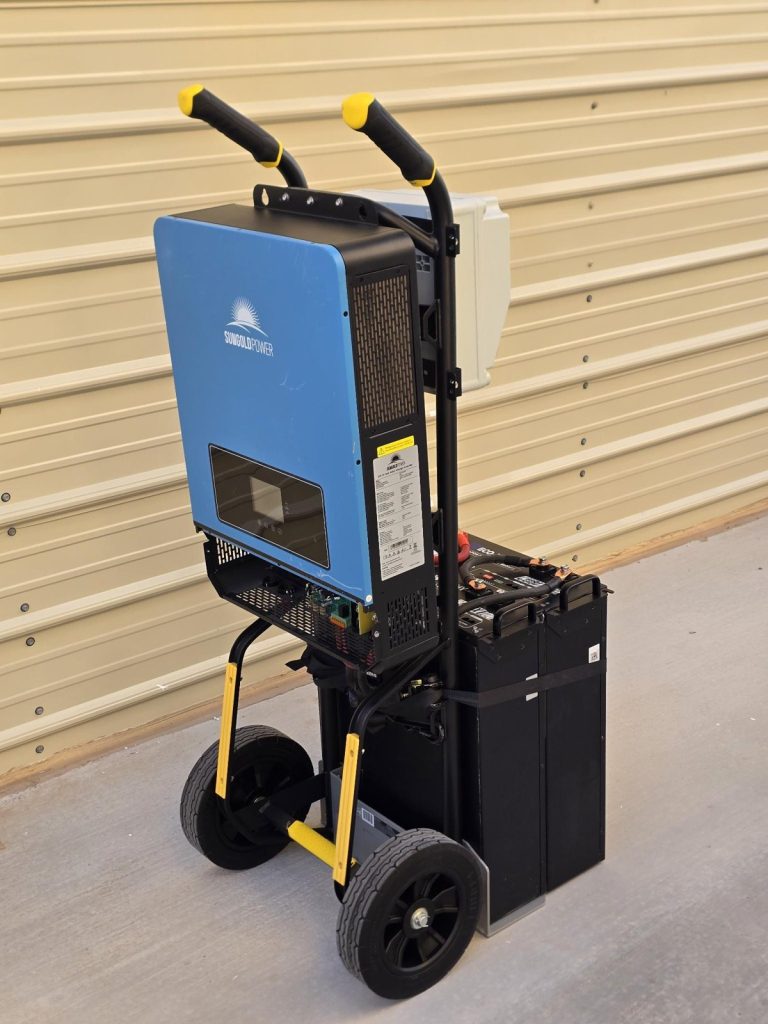
Hand-Truck 48V System

Hand-Truck 48V System

MOST POPULAR
Portable 5 kWh, builds in 25 minutes ~$2,020

120/240V 10kW Budget Hand Truck

120/240V 10kW Budget Hand Truck

MOST RECOMMENDED
10 kWh, 10 kW at 120/240V ~$3,586

Budget Whole-Home Backup

Budget Whole-Home Backup

12 kW inverter, 32 kWh battery from ~$4,750

Off-Grid Home Builder

Off-Grid Home Builder

Whole-house off-grid, 5–12 kW ~$9,800

Permitted Grid-Tied Home Builder

Permitted Grid-Tied Home Builder

Grid-tie hybrid, permit & inspection ready ~$13,500

Components
Battery Chargers Reliable charging for lithium batteries.
Lithium battery charger
Battery Chargers
Reliable charging for lithium batteries.
Wire & Connectors Wiring essentials for a clean, reliable setup.
Solar wire and connectors
Wire & Connectors
Wiring essentials for a clean, reliable setup.
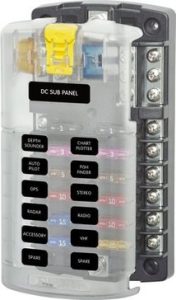
Fuses & Breakers Essential protection for your electrical system.
DC fuses and circuit breakers
Fuses & Breakers
Essential protection for your electrical system.
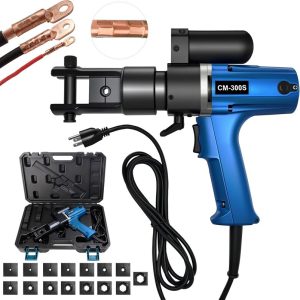
Crimpers & Tools Tools for building and maintaining your system.
Battery cable crimping tool
Crimpers & Tools
Tools for building and maintaining your system.
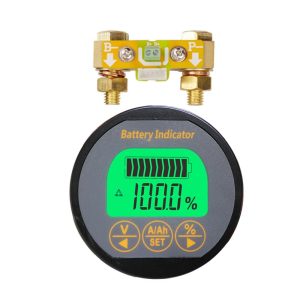
Battery Monitors Track your battery’s power and performance.
Battery monitor with shunt
Battery Monitors
Track your battery’s power and performance.
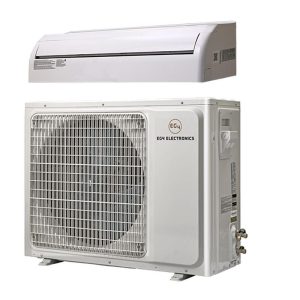
Solar-friendly A/C Efficient cooling built for off-grid power.
Solar-friendly mini split air conditioner
Solar-friendly A/C
Efficient cooling built for off-grid power.
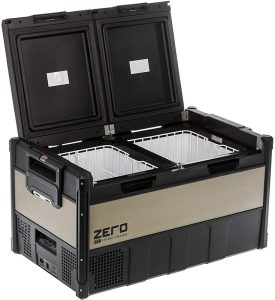
12V Fridges Efficient cooling for life on the road.
12V portable fridge
12V Fridges
Efficient cooling for life on the road.
Components
Van or RV

Van or RV

Mobile, 12V, tight on space and weight

Boat

Boat

Marine-rated, waterproof, heated cells

Cabin or Shed

Cabin or Shed

Small off-grid build, 12V or 48V

Whole House

Whole House

Off-grid or grid-tied with backup

120/240V 10kW Budget Hand Truck

MOST RECOMMENDED10kWh, 10,000W at 120/240V, about $3,586

A 48V solar power system on a hand truck: one 10,000W split-phase all-in-one inverter and two 5.12kWh server rack batteries. It puts out 120V and 240V, so it runs a well pump, a dryer, a 50A RV or an EV charger. Roll it where you need power, plug in solar or a 240V generator, and run loads from its outlet box.

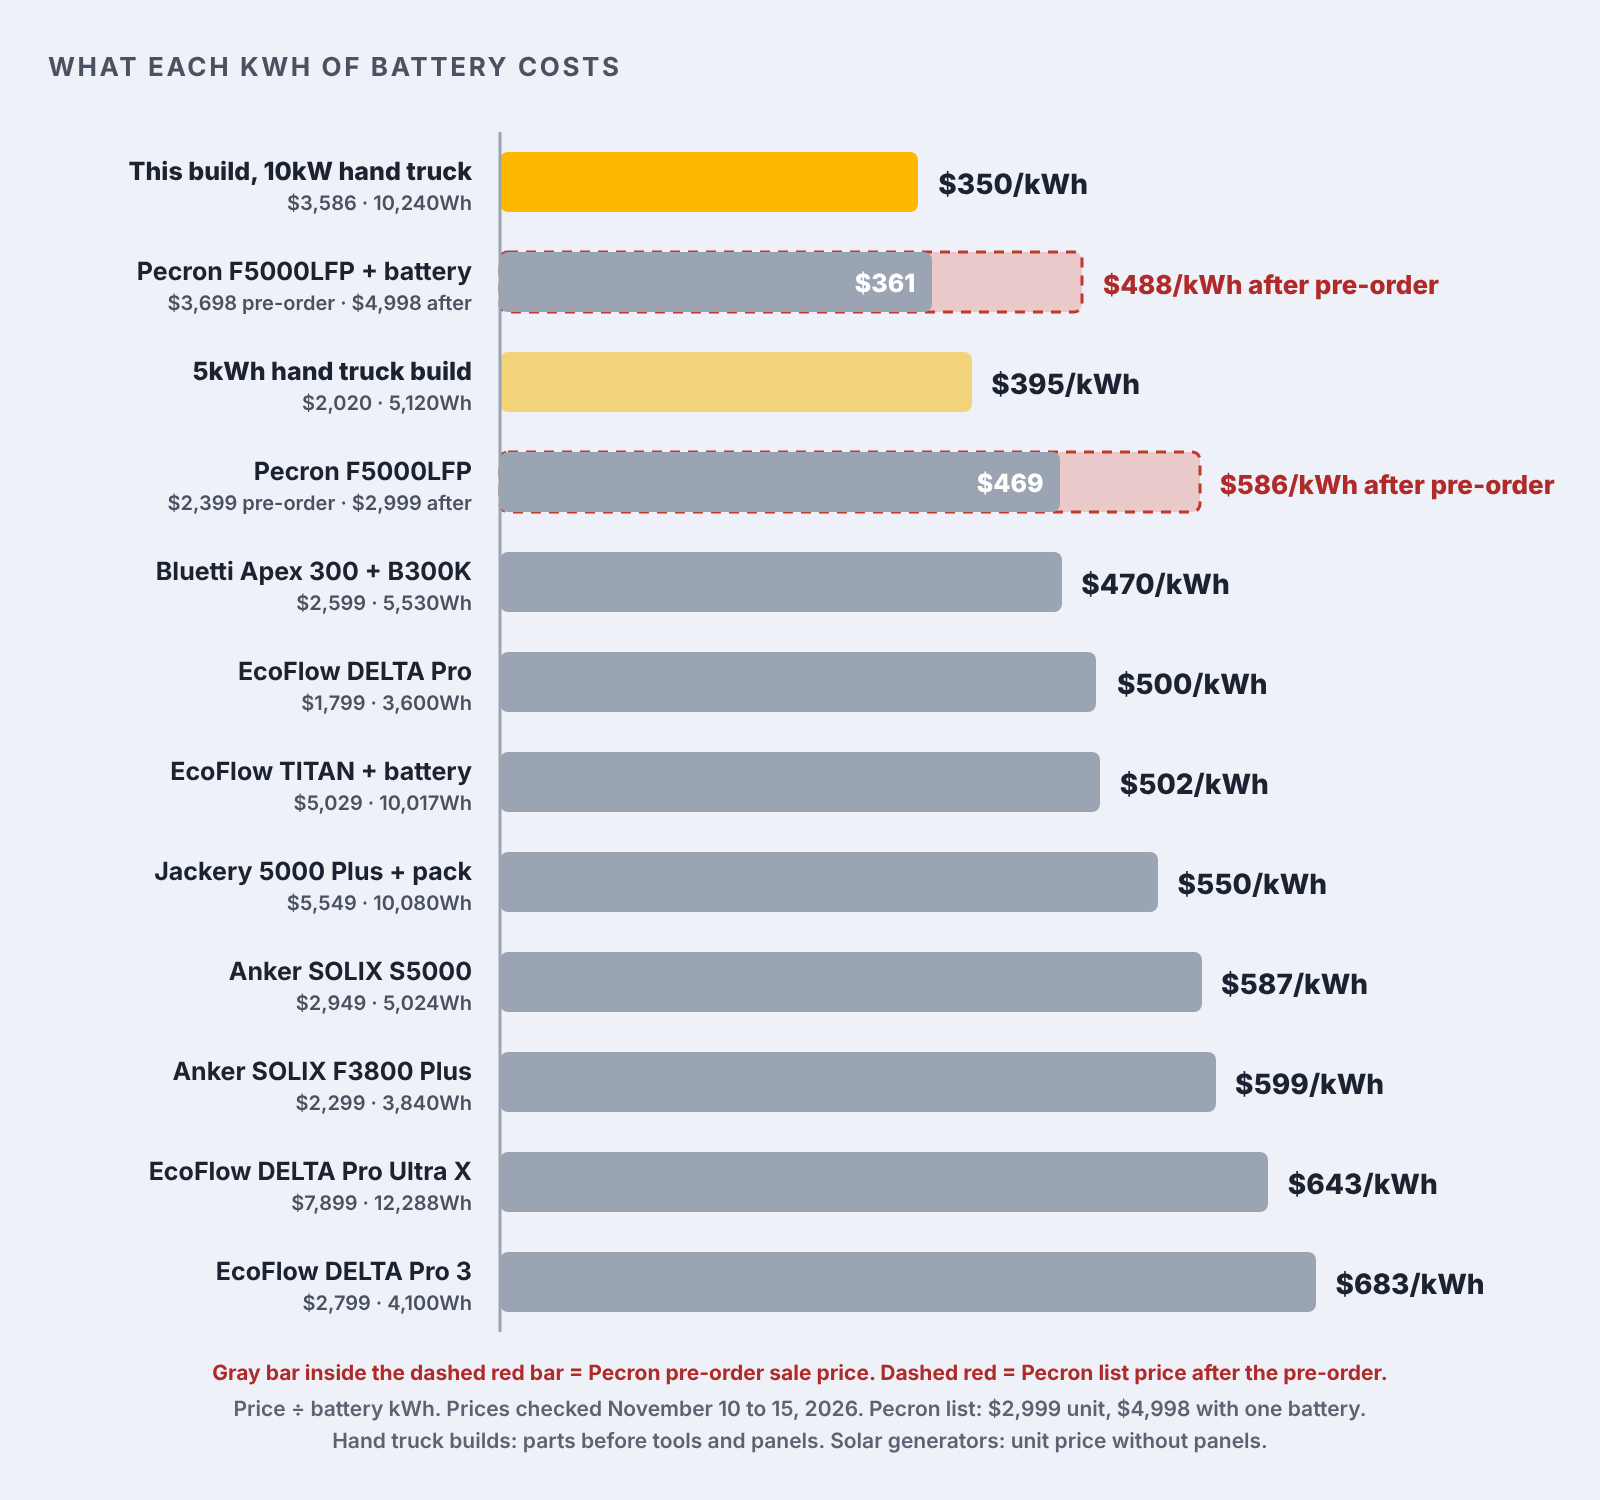
It costs $350 per kWh of battery. The ready-built 10kWh, 240V power stations I compared cost $361 to $643 per kWh. See the comparison.

Affiliate links below

Budget 120/240V Hand Truck Solar System

Turn off both batteries, make every connection, then add solar and turn it on in order. The wiring is four battery cables, two AC cords and up to two solar strings.

Plan your build · Cost and comparison · Inverter · Batteries · Hand truck · Parts · Checklist · Build it · Settings · Solar · Troubleshooting

Download the 4-page build sheet (PDF): wiring diagram, parts with prices, settings, startup order, string table, fault codes and a maintenance log.

Which Hand Truck Should You Build?

5kWh Hand Truck10kW Hand Truck (this page)
Parts costAbout $2,020About $3,586
Battery5,120Wh, one Cubix 10010,240Wh, two Cubix 100
AC output5,000W at 120V10,000W at 120/240V
Solar input5,500W, one string10,000W, two strings
Charges fromSolar, a 120V outlet or a generatorSolar or a 240V generator
WeightAbout 132 lbAbout 270 lb
Build it ifYou run 120V loads and want the lowest costYou need 240V: a well pump, dryer, 50A RV or EV charger

See the 5kWh hand truck build

What It Does

What It Costs

PartPrice
SunGold Power 10,000W split-phase inverter (SPH10048P)$1,422
Two ECO-WORTHY Cubix 100 batteries$1,780 ($890 each)
Gorilla 1,000 lb hand truck (Home Depot)$149
Four custom 2/0 AWG battery cables: red 2 ft, black 2 ft, red 1 ft, black 1 ftAbout $92
120/240V outlet box$82
6 AWG THHN kit$33
PV disconnect, DC1000V 30A$28
TotalAbout $3,586

Prices checked November 15, 2026. They change, so use the buttons below for the current price. Solar panels, the PV wire from your panels, a generator cord and tools are extra. The three tools on this page add $74 if you need them, and a second solar string needs a second PV disconnect.

Build It or Buy a Ready-Built 240V Power Station?

I compared it with the ready-built power stations that give about 10kWh and 120/240V output. Green marks the winner in each scored row.

This buildPecron F5000LFP + FP5000-48V batteryEcoFlow TITAN + extra batteryJackery Explorer 5000 Plus + battery packEcoFlow DELTA Pro Ultra X
PriceAbout $3,586
WINS
$3,698 pre-order sale ($4,998 list)$5,029$5,549$7,899
Battery10,240Wh10,240Wh10,017Wh10,080Wh12,288Wh
WINS
Per kWh$350
WINS
$361$502$550$643
AC output10,000W, 120/240V7,200W at 240V; 3,600W at 120V7,200W, 120/240V7,200W, 120/240V12,000W, 120/240V
WINS
Solar input10,000W, two MPPTs (tie)6,400W4,000W4,000W10,000W (tie)
If a part failsReplace the inverter or one battery on its own, any brand
WINS
Brand modules onlyBrand modules onlyBrand modules onlyBrand modules only
WeightAbout 270 lb plus the hand truck, already on wheels124 lb main unit; battery weight not listed121 lb main unit; battery weight not listed216 lb (135 lb unit, 82 lb pack)293 lb (70 lb inverter, two 111 lb batteries)
WarrantyBatteries 10 years, inverter 2 years3+2 years, per Pecron’s listing5 years5 years5 years
Categories won3 of 60 of 60 of 60 of 62 of 6
Buy itAdd to CartCheck PriceCheck PriceCheck PriceCheck Price

Cost per kWh of battery for twelve systems: 10kW hand truck $350, Pecron F5000LFP with battery $361, 5kWh hand truck $395, up to EcoFlow DELTA Pro 3 at $683

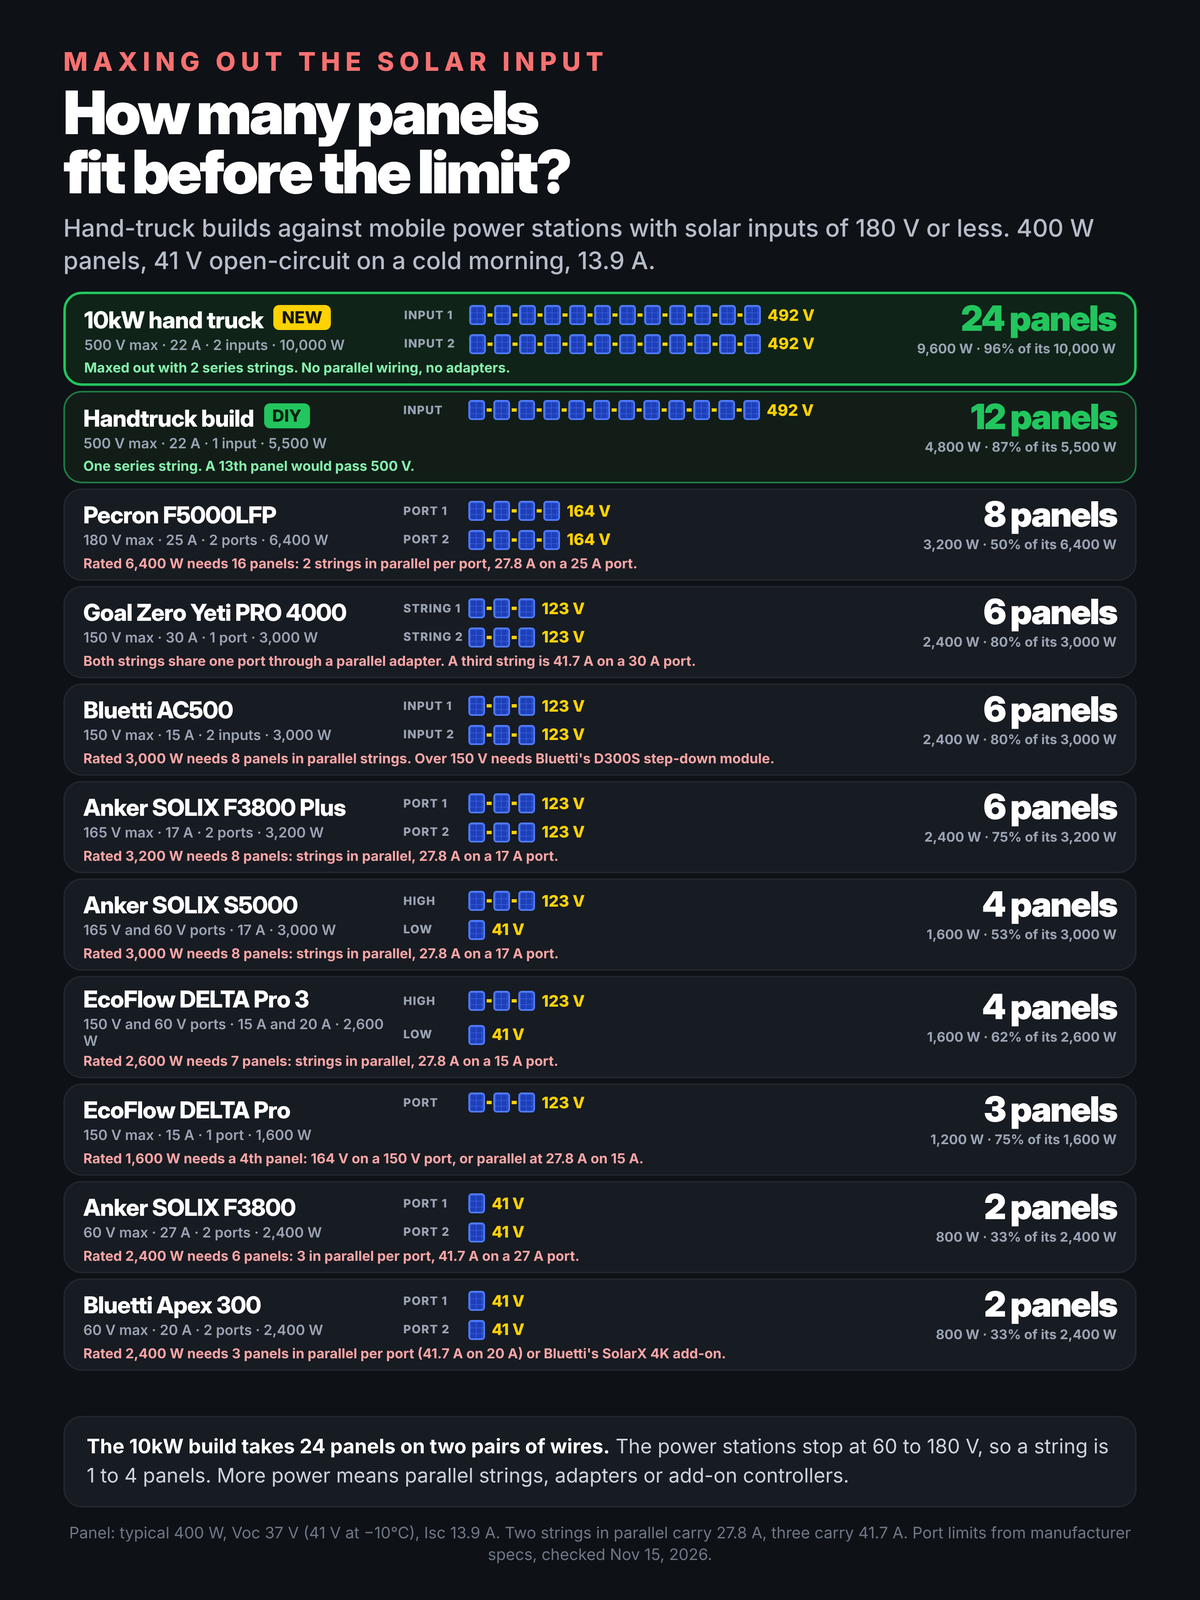
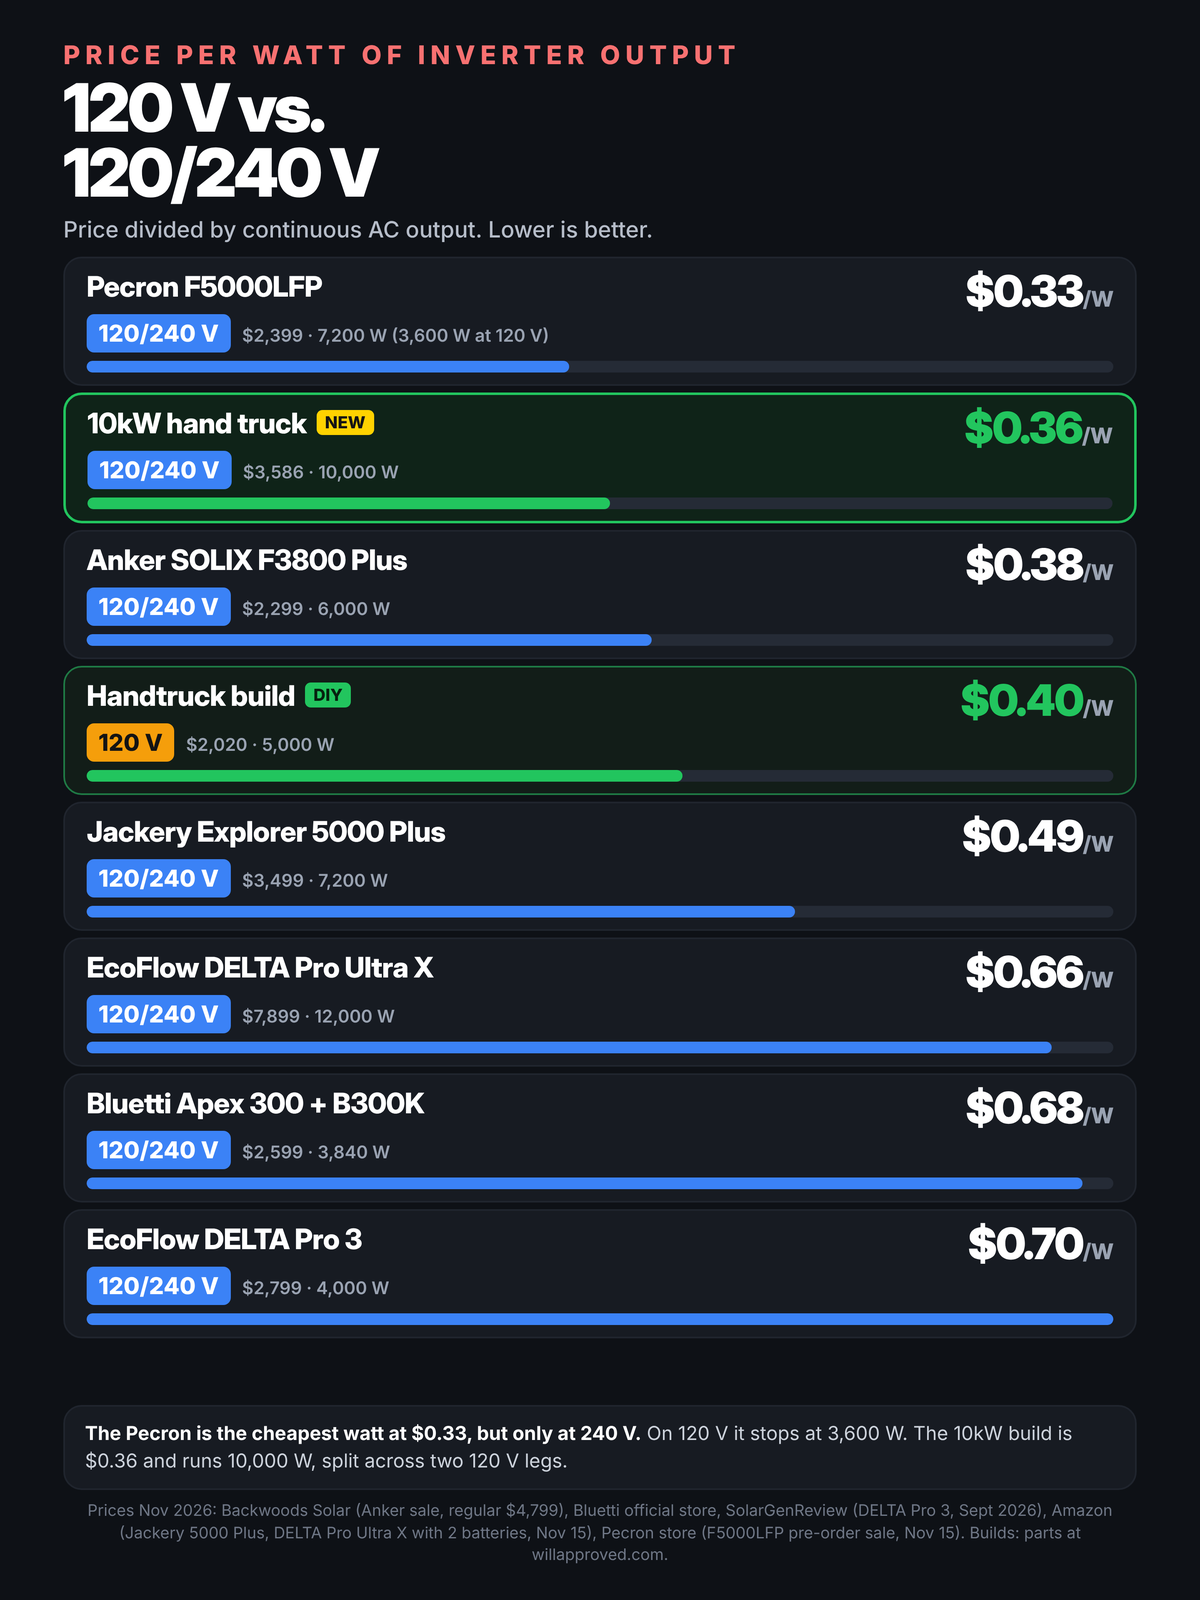
Panels that fit before each solar input limit: 10kW hand truck 24, 5kWh hand truck 12, Pecron F5000LFP 8, Goal Zero Yeti PRO 4000 6, Bluetti AC500 6, Anker F3800 Plus 6Price per watt of inverter output: Pecron F5000LFP $0.33, 10kW hand truck $0.36, Anker F3800 Plus $0.38

This build costs $112 less than the next cheapest 10kWh option, the Pecron F5000LFP with one expansion battery at its pre-order sale price. It has 2,800W more AC output and 3,600W more solar input than the Pecron. On 120V loads the Pecron stops at 3,600W; this build puts out 10,000W across two 120V legs. Against the TITAN with an extra battery it costs $1,443 less. The DELTA Pro Ultra X has more battery and 2,000W more output, but it costs $4,313 more. The ready-built units have 5-year warranties on everything and plug-and-play setup. This build has a 10-year battery warranty, and when a part fails you replace that one part.

Prices: Pecron bundle at the Pecron store; EcoFlow and Jackery single units on Amazon; the Jackery bundle with one battery pack at Wellbots. Specs from each maker’s listing, all checked November 15, 2026.
Plan Your Build

Plan Your Build

Pick your panels and loads. The planner checks each solar string against the inverter, shows runtime, and builds your Amazon cart.

1. Solar panels
2. Your loads
3. Your parts
Total

Solar panels, PV wire and a generator cord are not included. A second string needs a second PV disconnect.

Add Amazon Parts to Cart Build the 4 Battery Cables (2/0) Hand Truck at Home Depot

Amazon opens a page to confirm the items, then adds them to your cart. Prices checked November 15, 2026.

The Inverter

This build uses the SunGoldPower SPH10048P, a 10,000W split-phase all-in-one. The inverter, two solar charge controllers and the battery charger are in one box. It puts out 120V on each leg and 240V across both legs.

SunGold Power 10,000W Split-Phase Inverter

10,000W at 120/240V, 20,000W peak, 10,000W of solar on two MPPTs and up to 200A of battery charging. 59.5 lb (27 kg). About $1,422.

The 48V Batteries

Two ECO-WORTHY Cubix 100 batteries in parallel. Each is 48V, 100Ah and 5,120Wh with its own breaker built in, so together they store 10,240Wh. They stand upright on the toe plate, one in front of the other.

Load and battery life. The system runs up to 10,000W, the inverter’s rating. Each Cubix 100 recommends 50A (Current Connected spec page), so two recommend 100A, about 4,400W of AC after inverter losses. Keep steady loads under about 4,400W for long battery life, and start big motors one at a time.

Ecoworthy Cubix 100 (buy 2)

5,120Wh each, 100A continuous, 6,000 cycles to 80%. UL 9540 listed. 10-year warranty. 103 lb. About $890 each.

Gorilla Hand Truck From Home Depot

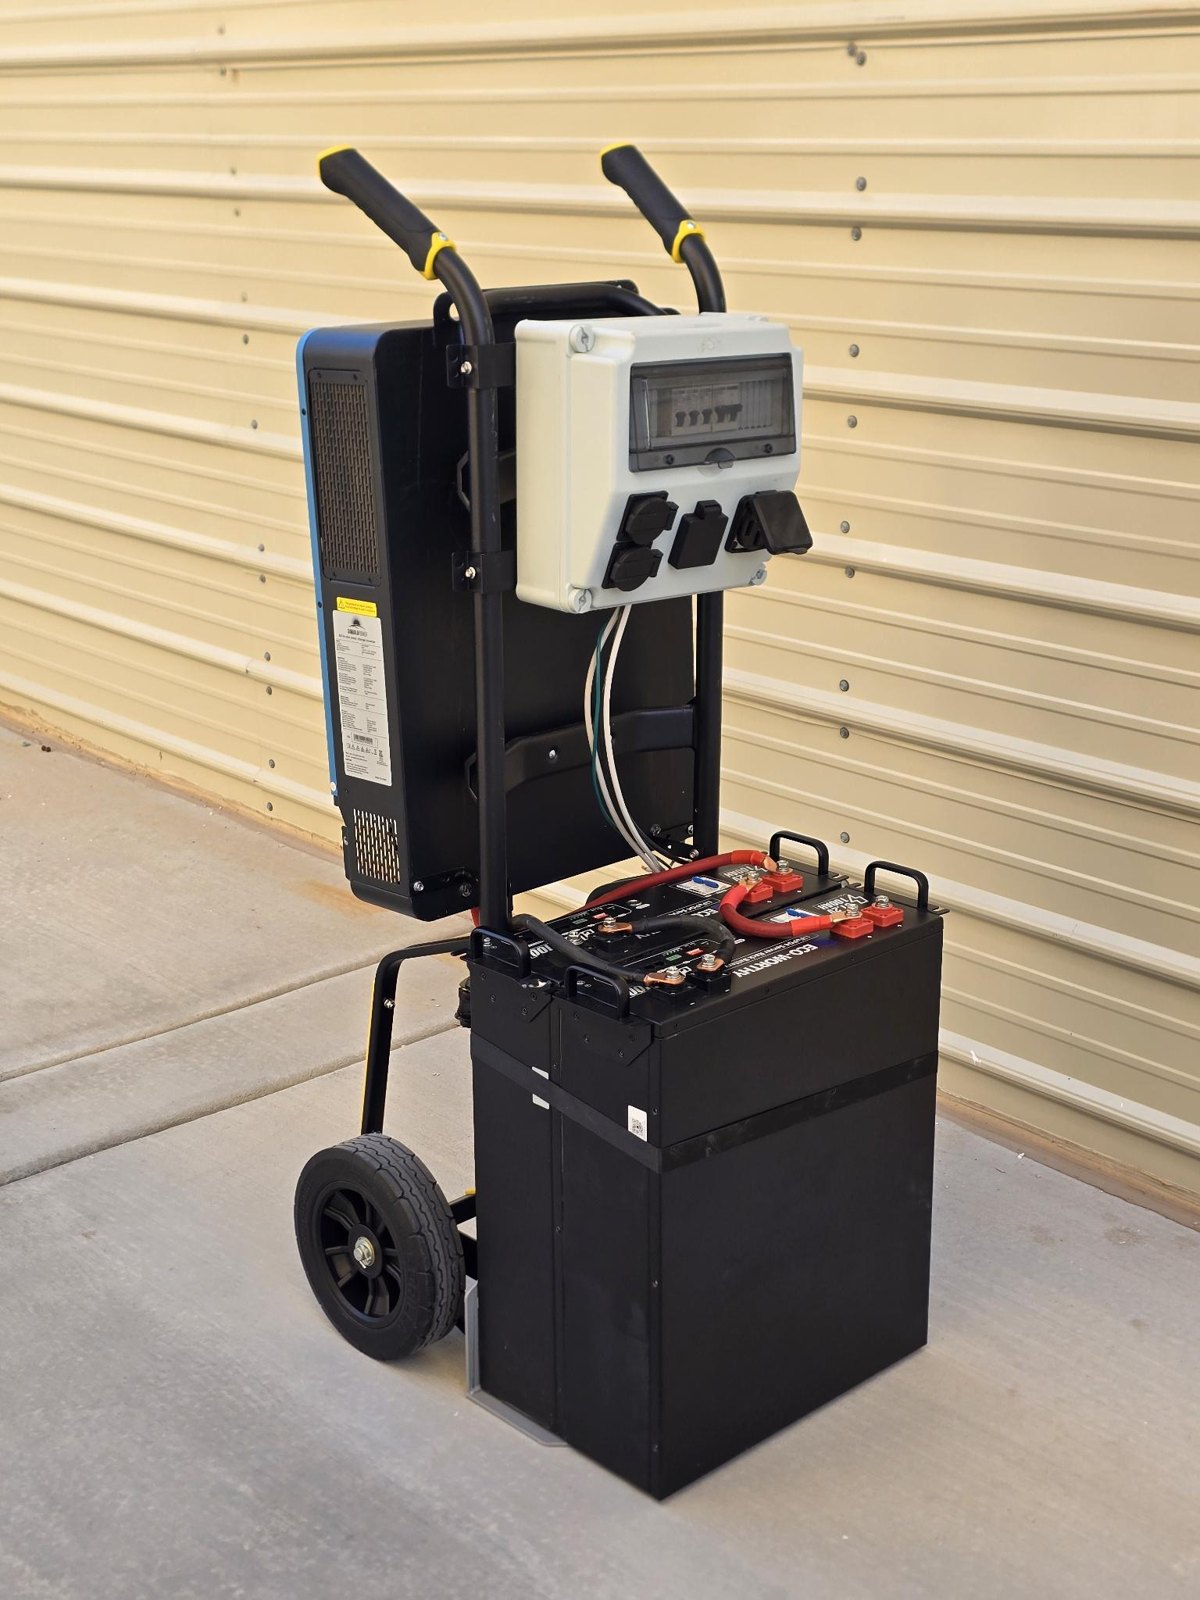
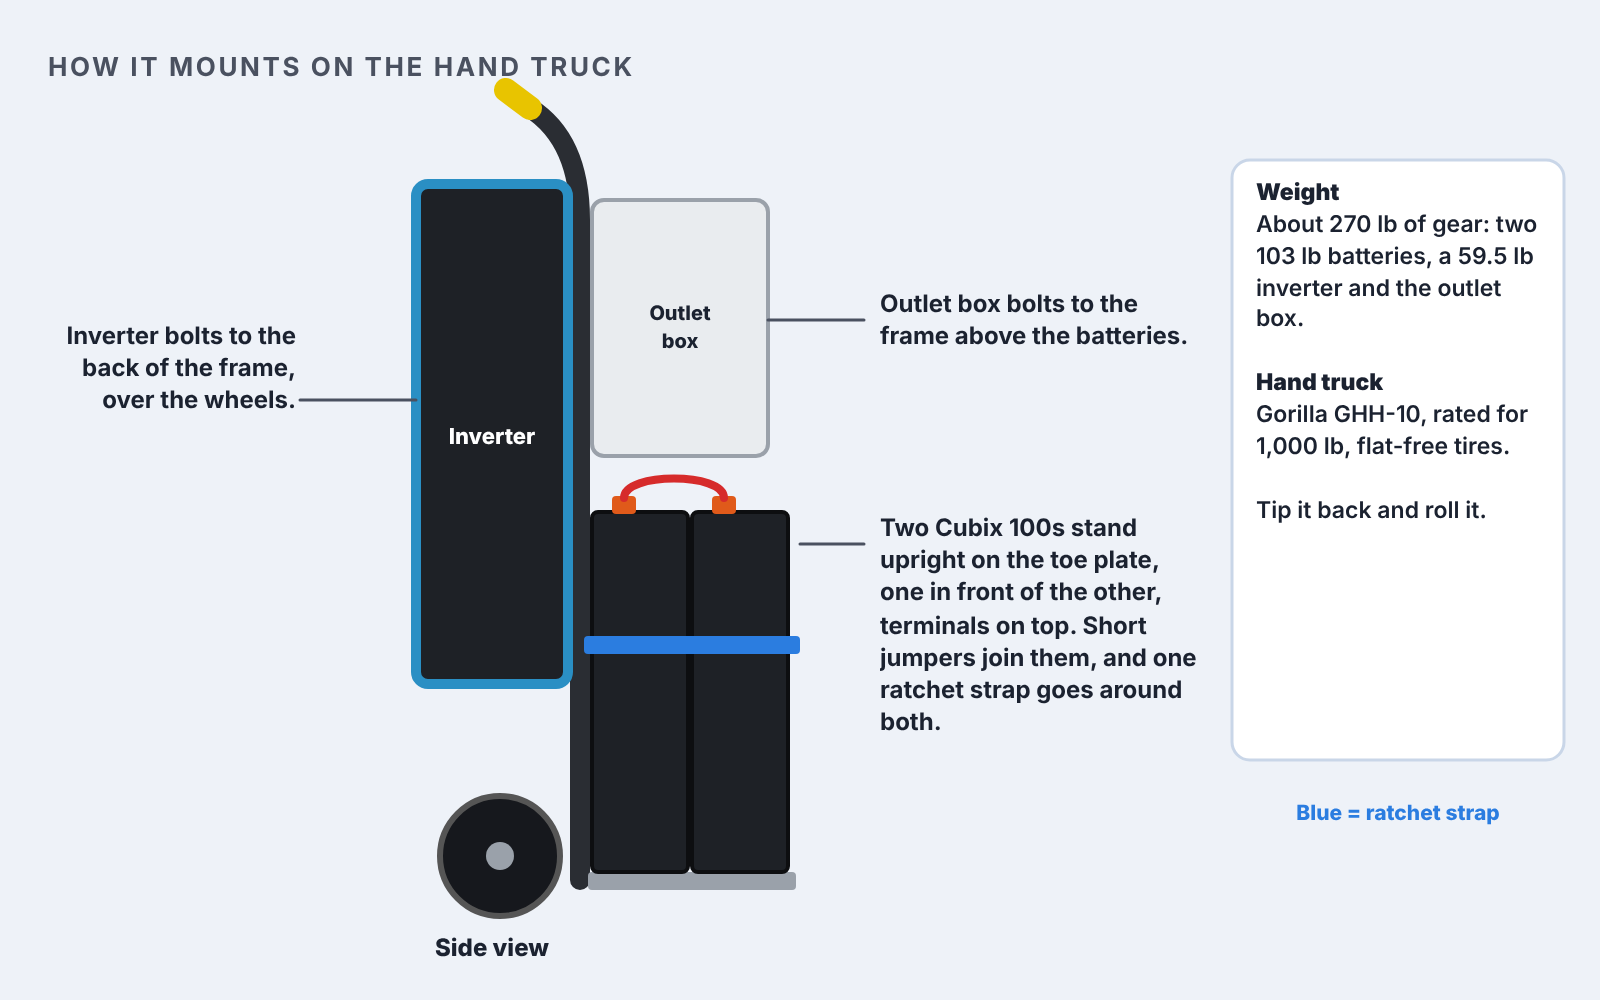
Gorilla’s 1,000 lb capacity steel hand truck (GHH-10) with a wide toe plate and flat-free tires. Both Cubix 100 batteries stand upright on the toe plate, one in front of the other, broad face out and terminals on top, with a ratchet strap around both. Short jumpers join them front to back. The outlet box bolts to the frame above the batteries. The inverter bolts to the back of the frame, over the wheels.

Gorilla 1,000 lb Hand Truck

1,000 lb capacity, wide toe plate, flat-free tires. About $149 at Home Depot. The gear weighs about 270 lb.

Everything Else You Will Need

Battery cables, cords, solar wiring parts and tools. The ferrule kit is for the AC and PV wires that go into the screw terminals on the inverter. The planner below adds every Amazon part to your cart in one click.

Custom 2/0 Battery Cables

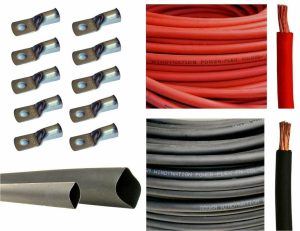
Order four in 2/0 AWG: red 2 ft and black 2 ft from the batteries to the inverter, plus a red 1 ft and a black 1 ft jumper between the batteries. Order 5/16 in (M8) lugs on both ends of all four cables. About $92 for all four.

Generator Cord, L14-30P (optional)

6 AWG THHN Kit for the Outlet Box

120/240V Outlet Box

14-50R (50A, 120/240V), TT-30R (30A RV) and 5-20R outlets, each on its own breaker. About $82.

10 AWG MC4 Extension Cable (optional)

Optional. Use it if your panel leads do not reach the PV disconnect.

Solar Disconnect Switch

Cable Cutters

Cuts the generator cord and the 6 AWG THHN for the outlet box.

Multi-Size Wire Stripper

Strips 10 to 24 AWG: the generator cord and the 10 AWG PV wire.

Ferrule Crimping Kit

Hex ratchet crimper and 1,200 ferrules (28-5 AWG) for every stranded wire going into a screw terminal

Tie Down Strap

Local Hardware Store

Screws/Bolts to Mount Everything

Local Hardware Store

Shopping Checklist

Order online

Home Depot or hardware store

  • Hand truck: Gorilla 1,000 lb (GHH-10)
  • Ratchet strap around both batteries
  • Bolts for the inverter bracket and the outlet box
  • 3-light outlet tester
Add the Amazon Parts to Your CartPrint the Build Sheet (PDF)

Your checks save in this browser, so you can come back as parts arrive.

Put It All Together

How the inverter, outlet box and two Cubix 100 batteries mount on the hand truck

Download the 4-page build sheet (PDF): print it and keep it with the system.
Wiring This System Takes Minutes

01

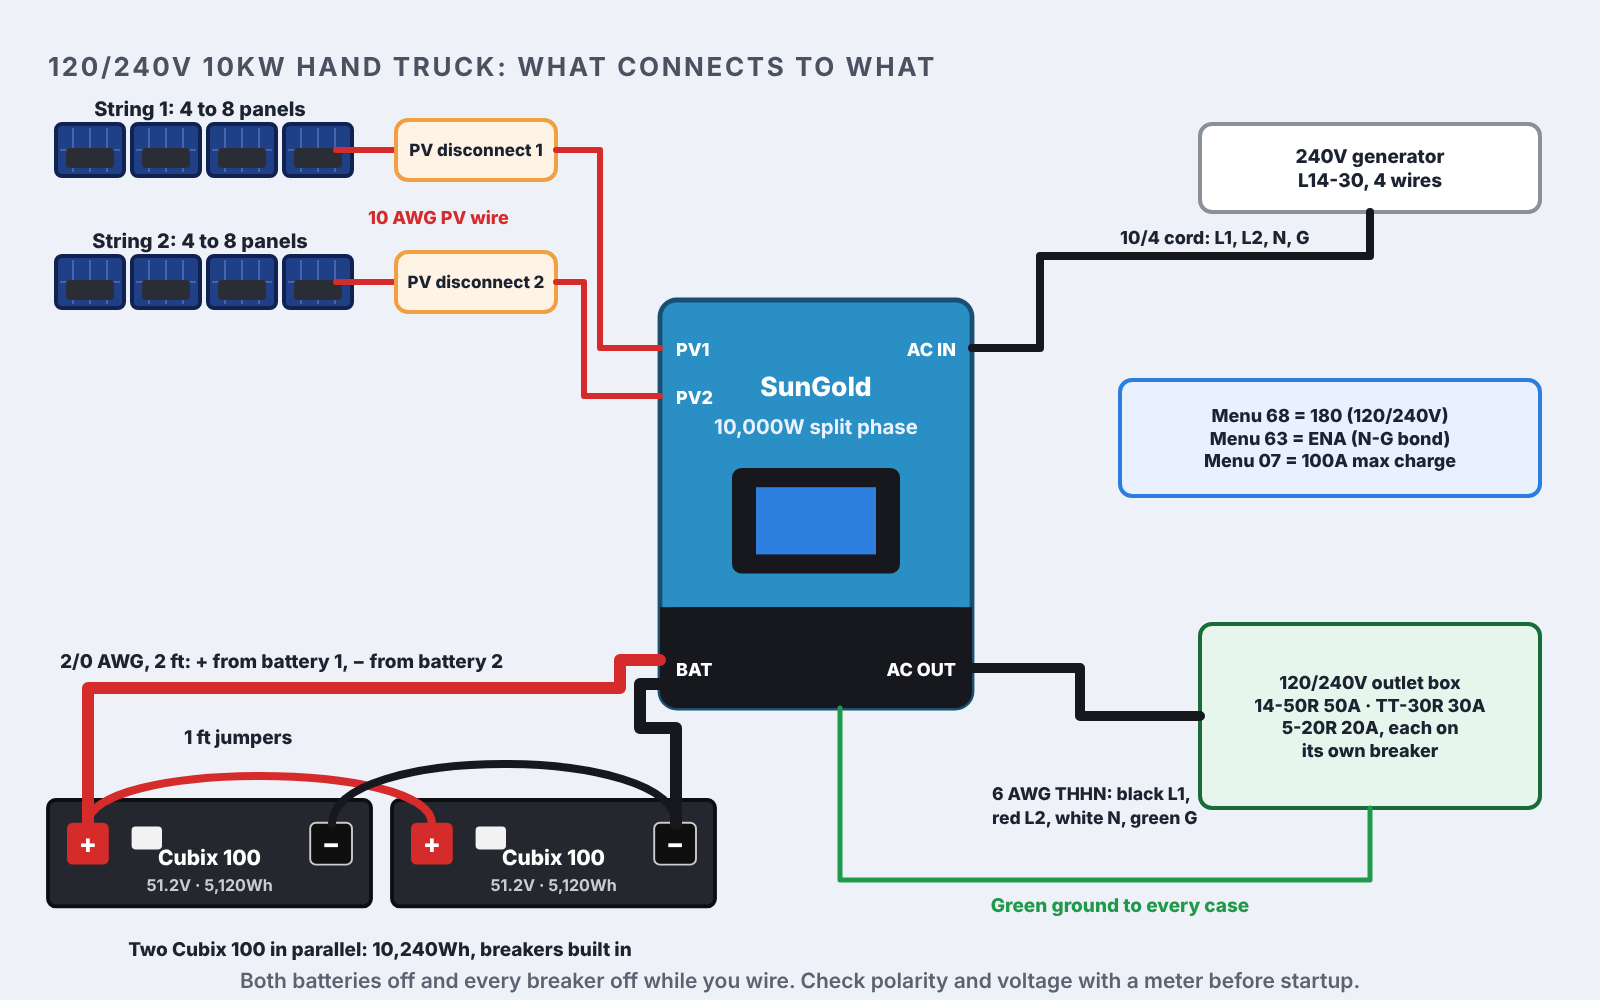
Turn both batteries and their built-in breakers off first. Meter both: they should read within 0.1V of each other before you join them. Join the front and back battery in parallel with the 1 ft jumpers, red + to + and black − to −. Then run the 2 ft red cable from the + of battery 1 to BAT+ and the 2 ft black cable from the − of battery 2 to BAT−. Taking + and − from opposite batteries splits the current between them. Ring lugs go on bolt studs: lug, washer, nut, tighten. Tug each cable. If it turns or moves, tighten again.
02

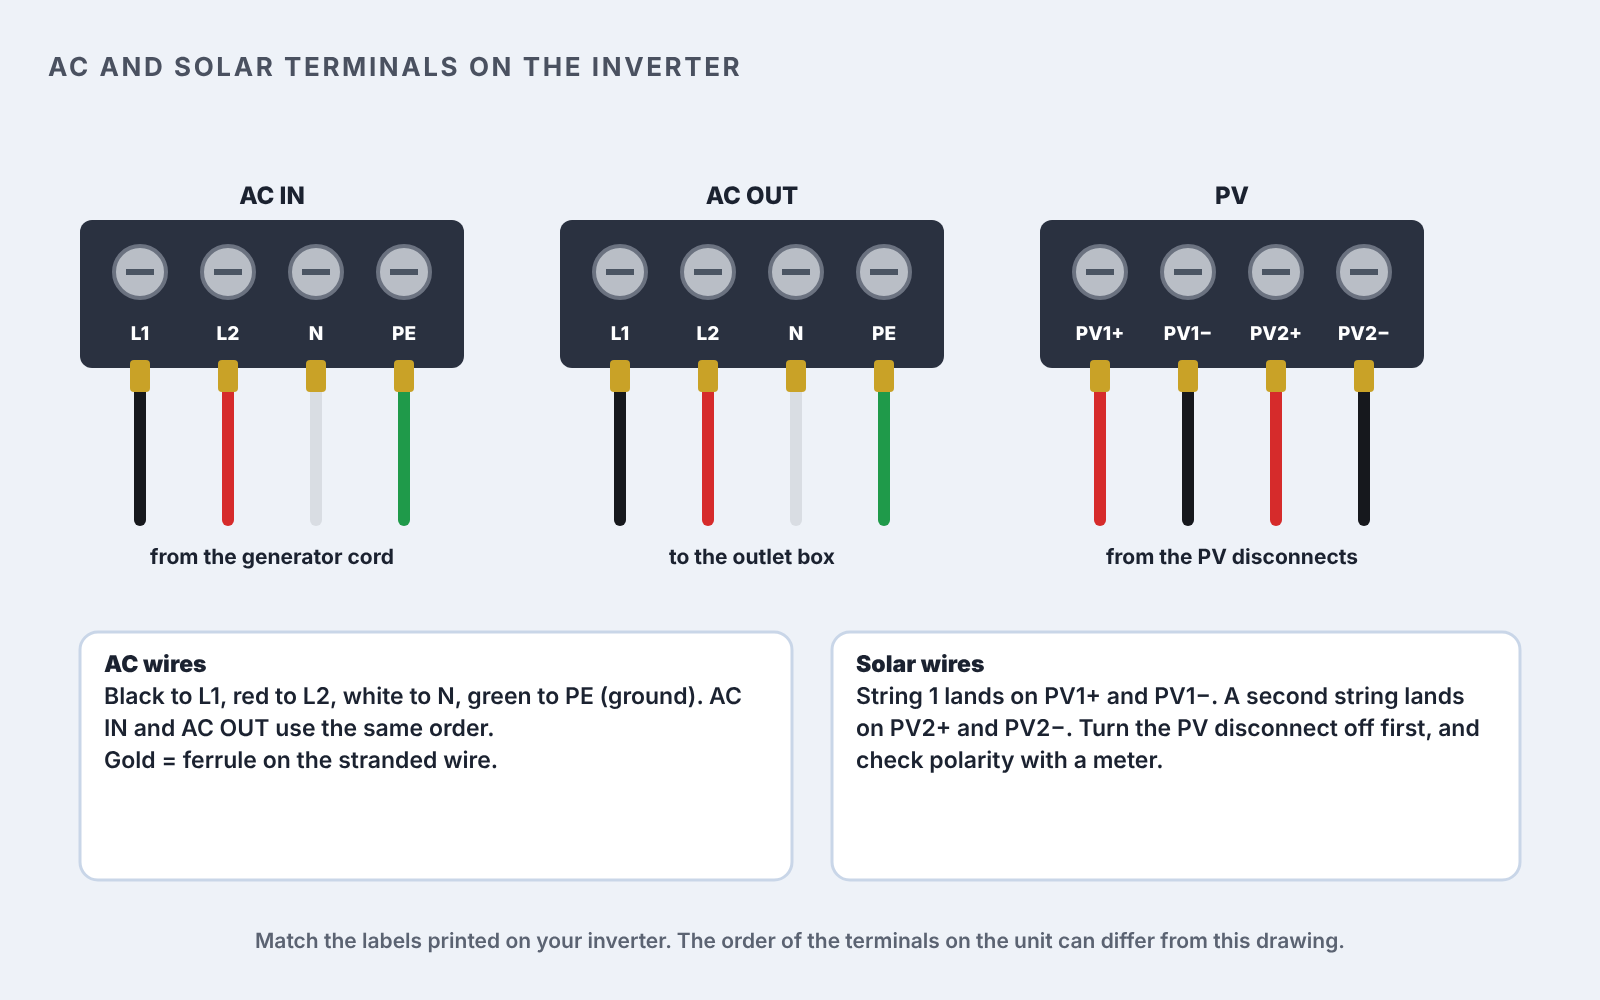
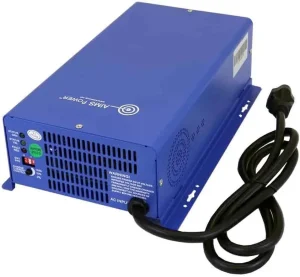
The generator cord goes to AC IN and the outlet box goes to AC OUT, four wires each: black to L1, red to L2, white to N and green to ground. Crimp a ferrule on every stranded wire first. Each solar string lands on its own PV input (PV1 and PV2) through its own PV disconnect, with the disconnect off.

Crimp Ferrules on Stranded Wire

The AC terminals on this inverter are screw clamps. When a screw lands on bare stranded wire it spreads the strands apart, some miss the clamp, and the connection can loosen and heat up over time. A ferrule turns the strands into one solid pin the clamp can grip. Use one on every stranded wire that goes into a screw terminal: the AC input cord, the AC output wires, the 6 AWG THHN to the outlet box and the two PV wires at the PV input. The kit is in Step 04 above.

01

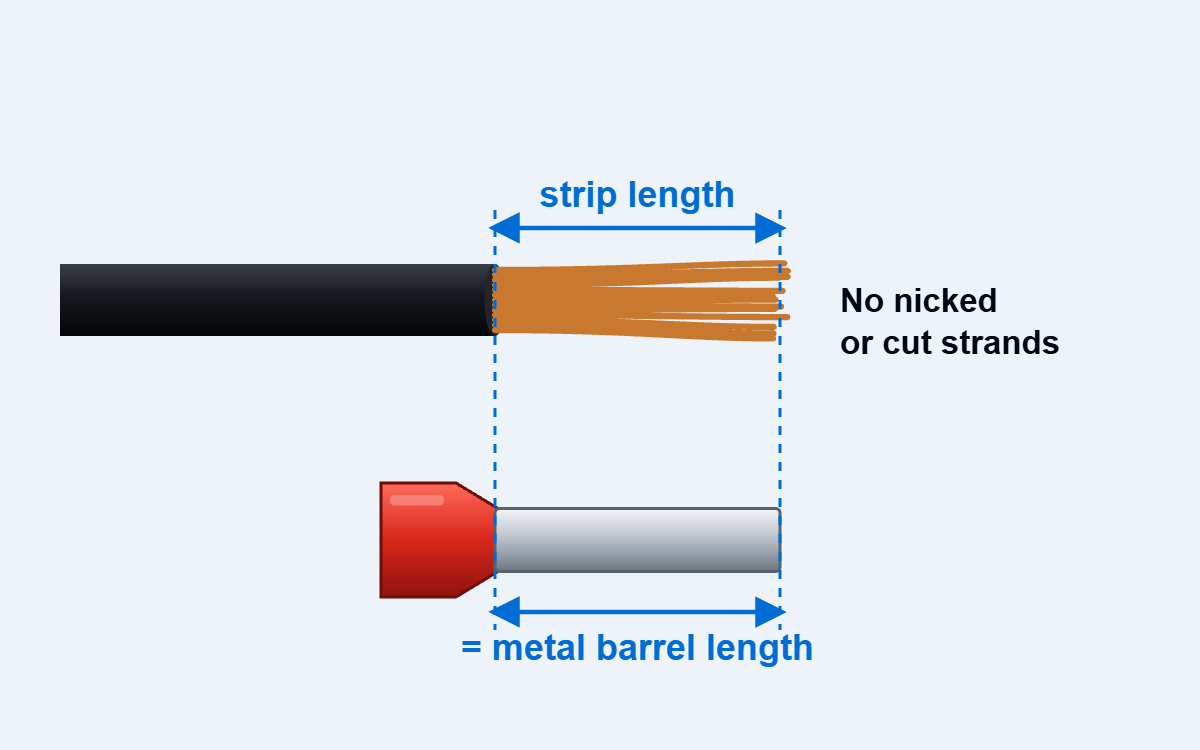
Strip to the barrel length. Pick the ferrule that matches your wire gauge (the kit lid lists the sizes). Strip the insulation back to the length of the ferrule’s metal barrel without nicking or cutting any strands.

02

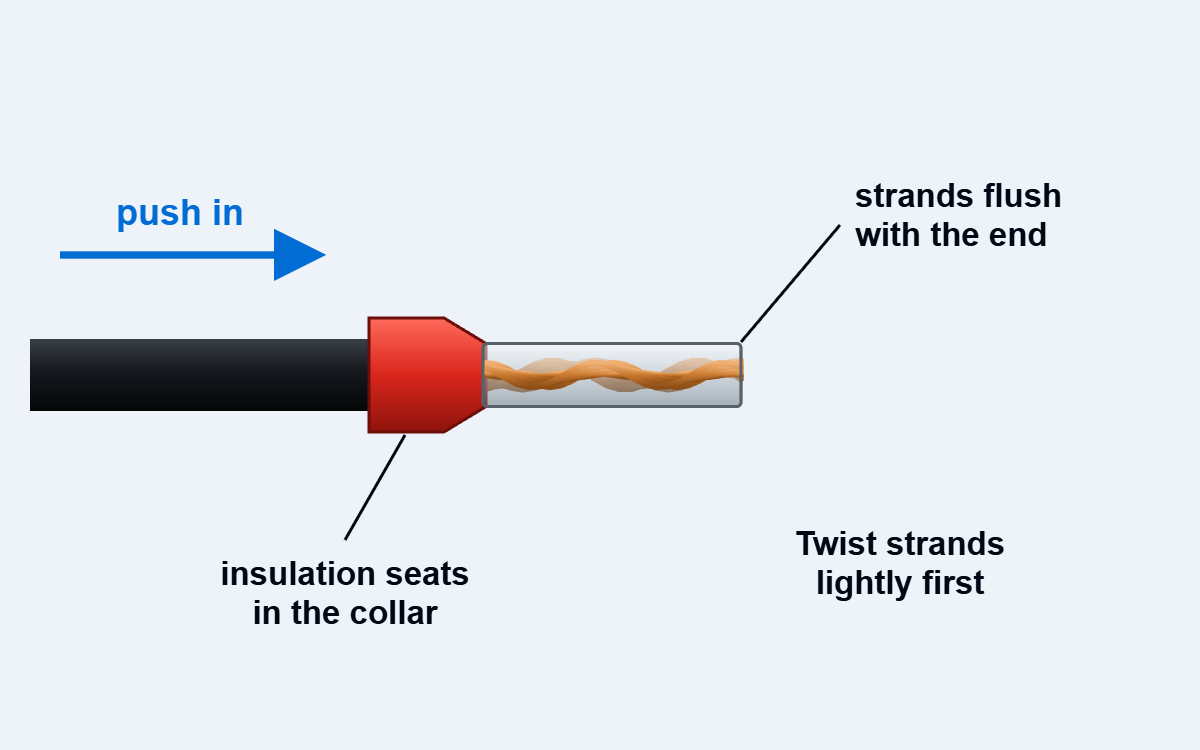
Twist and insert. Give the strands a light twist so none stick out, then push the wire in until the insulation seats inside the plastic collar. The copper should end flush with the end of the barrel.

03

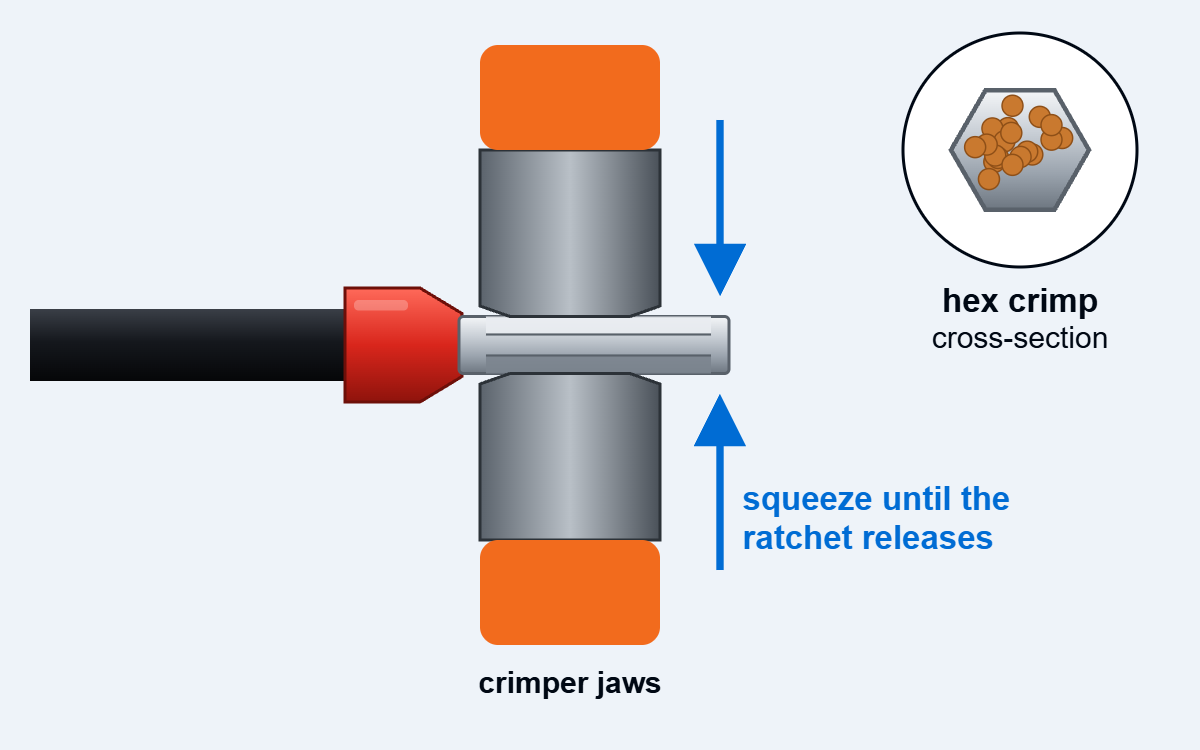
Crimp it. Set the barrel in the crimper’s hex die and squeeze until the ratchet releases. The hex crimp packs every strand into one solid pin.

04

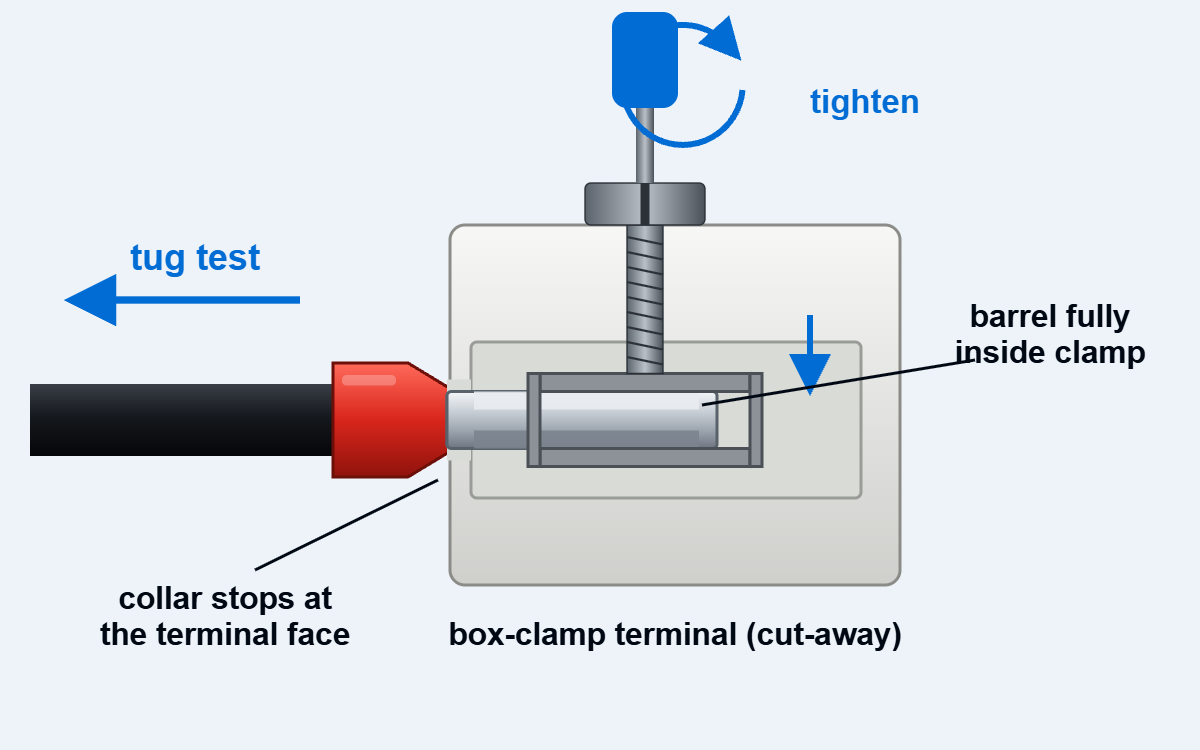
Land it in the terminal. Push the crimped ferrule all the way into the inverter’s AC terminal and tighten the screw. Tug on the wire. If it moves, tighten again.

Connect Loads With a 120/240V Outlet Box

Instead of adding a load panel, breakers, Romex and outlets, use this box. It has a 50A 14-50R for 240V loads, a 50A RV or an EV charger, a 30A TT-30R and 20A 5-20R outlets, each on its own breaker. Connect it to the inverter’s AC OUT with 6 AWG THHN in black, red, white and green, or buy the THHN kit here.

120/240V Outlet Box

14-50R, TT-30R and 5-20R outlets with breakers in one box. About $82.

Settings to Change After First Startup

Start it in this order: both battery breakers on, both Cubix 100s on, inverter power switch on, set the menu items below, then the PV disconnects and the generator. Turn loads on one at a time. Shut down in reverse.

You do not need communication cables. Set the inverter by voltage instead. These are starting values for 51.2V, 16-cell lithium batteries like the Cubix 100.

ItemWhat it isSet it to
68Output phase. 180 puts out 120V on each leg and 240V across L1 and L2.180 (default)
38Output voltage per leg.120V (default)
08Battery type. Default is GEL.USER
09Boost (bulk) charge voltage.56.0V
11Float charge voltage.54.0V
16Equalization. Default is on.DIS. Never equalize a lithium battery.
12Low voltage cutoff. The inverter turns its output off here.48.0V
14Low battery alarm.50.0V
15Discharge limit voltage.46.0V
35Voltage where the output comes back on after a cutoff.52.0V (default)
07Max charge current from all sources. Default is 60A.100A, the recommended 50A per battery.
28Max charge current from the generator. Default is 60A.80A on a 30A, 240V generator: about 4,300W, leaving room for loads.
63Neutral to ground bond. Default is off.ENA. See the next section.

The AC input has to match the output. With item 68 at 180, plug in a 240V, 4-wire source (L14-30). A 120V source shows fault 28.

Optional: if you link the batteries to the inverter with communication cables, set 08 to L16, 32 to 485 and 33 to PYL. The batteries then report their own limits to the inverter.

Turn On the Neutral to Ground Bond

In a house, neutral and ground are tied together at the main panel. That bond is what lets a breaker trip when a hot wire touches a metal case.

This system runs on its own, so it needs its own bond. The inverter can make it, but the setting ships turned off.

  1. Open the inverter menu and go to item 63, auto N-PE connection.
  2. Change it from DIS to ENA.
  3. Plug an outlet tester into a 5-20R outlet on the box while running on battery. It should read correct, not open ground.

With item 63 on, the inverter switches the bond automatically when a generator is plugged in or unplugged. Also run the green ground wires as shown in the wiring cards above.

Run 12V Loads With a 48V to 12V Converter

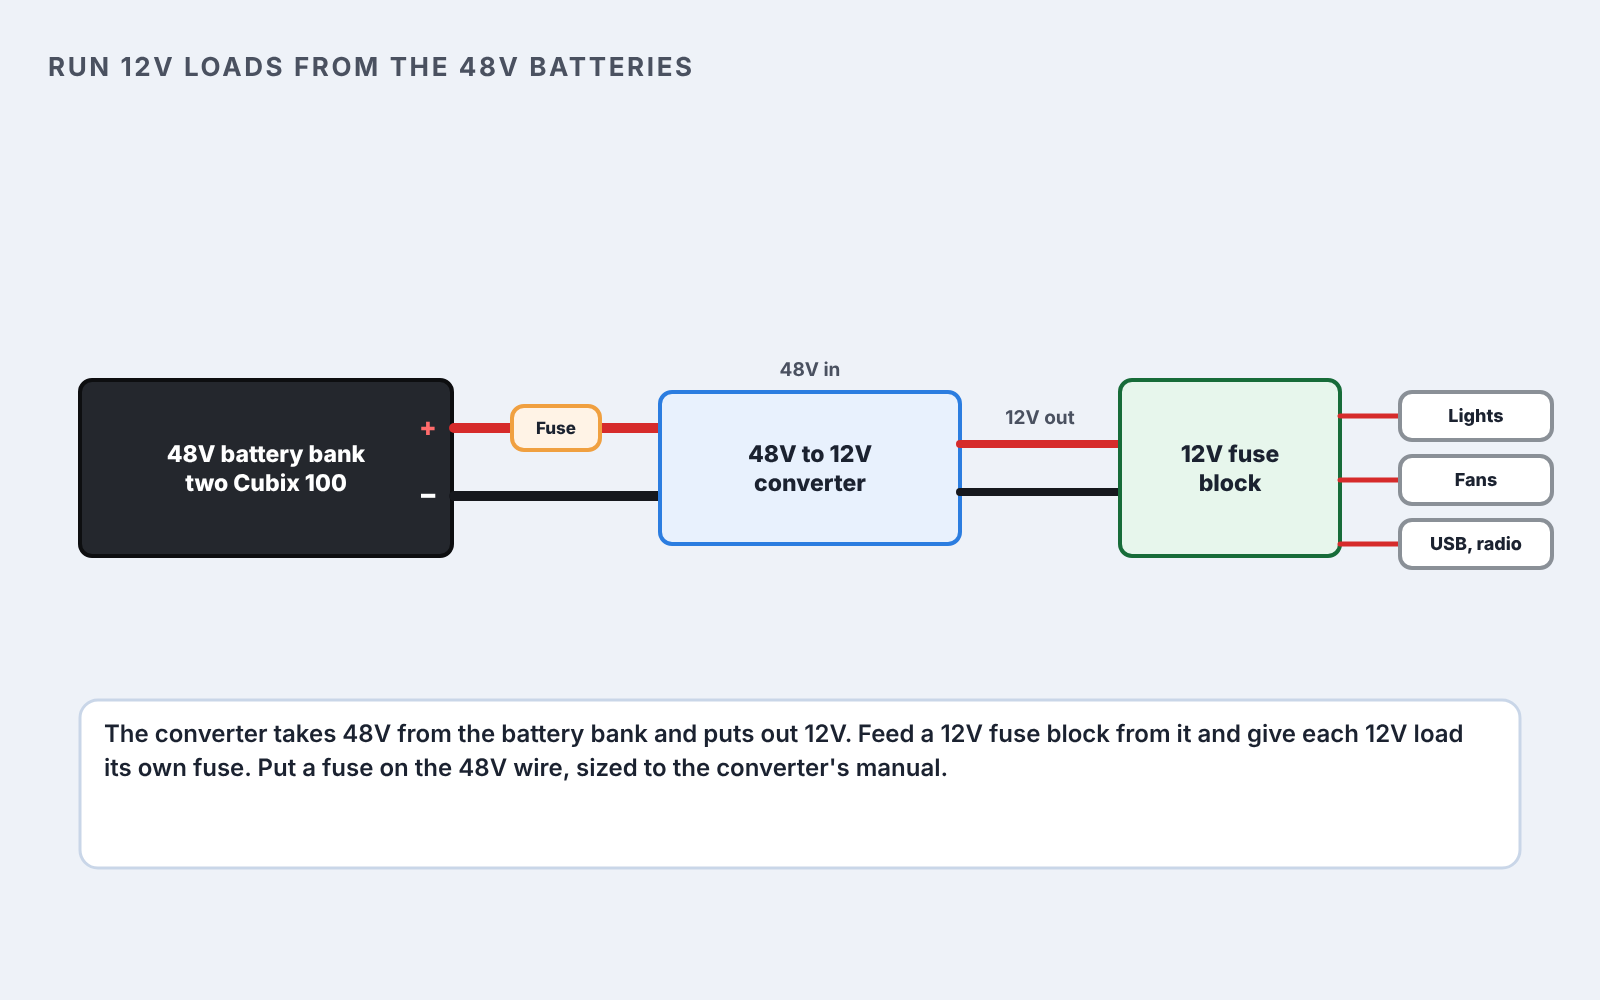
These golf cart converters have a 48V input, and a 12V output. The 12V output in the diagram below is connected to a 12V fuse block to add loads. You can find a converter for any size you wish.

48V to 12V Converter

48V in, 12V out. Feeds a 12V fuse block.

Add an MC4 Extension Set to Connect Solar Panels

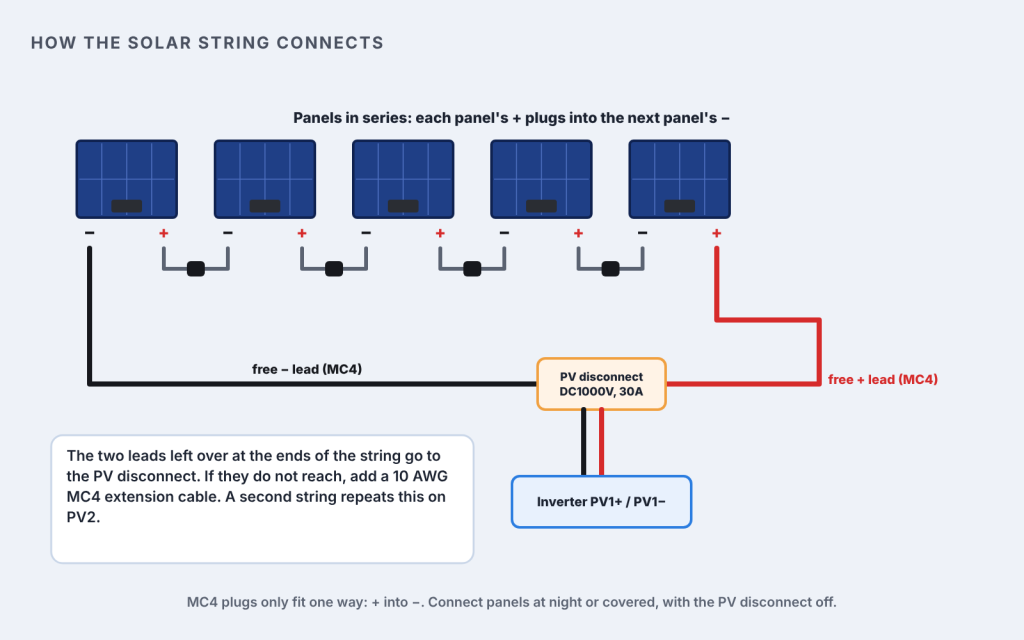
This is the proper configuration for connection

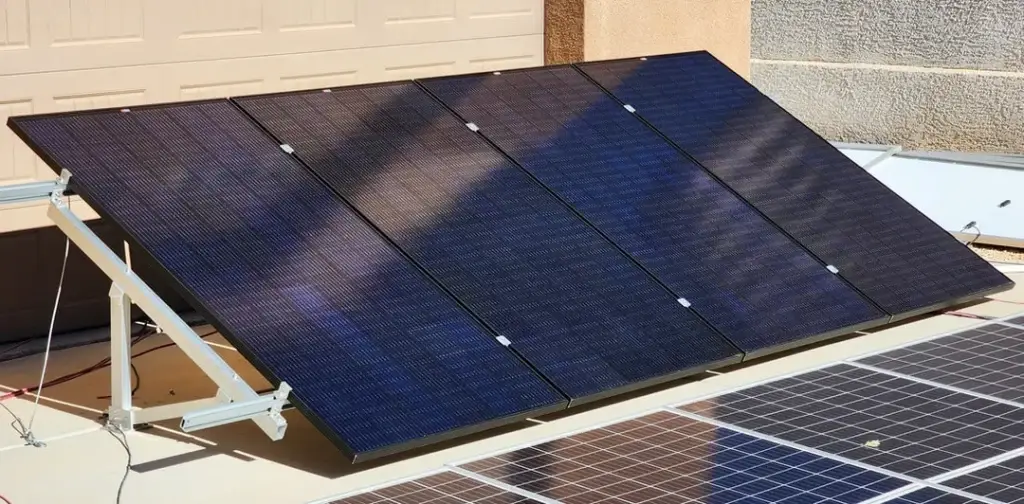
Recommended Solar Panel Array

The biggest difference from a 12V system is the solar string voltage. This inverter needs at least 125V at each PV input to charge, so the panels go in series.

It has two PV inputs, PV1 and PV2. Each takes its own string, up to 22A, and the two together take up to 10,000W. Put at least 5 panels in series per string with 400W panels. With the SunGold 590W panels from my standard panels page, use 4 to 8 per string:

Panels per stringOne stringTwo stringsVmpVoc at 77°FVoc at −22°F
42,360W4,720W178V209V242V
52,950W5,900W222V262V302V
63,540W7,080W266V314V362V
74,130W8,260W311V366V423V
84,720W9,440W355V419V483V

Never exceed 500V at a PV input on the coldest morning. Keep both strings the same if you can. The planner at the top checks any panel.

Check Your String Voltage on the Forum

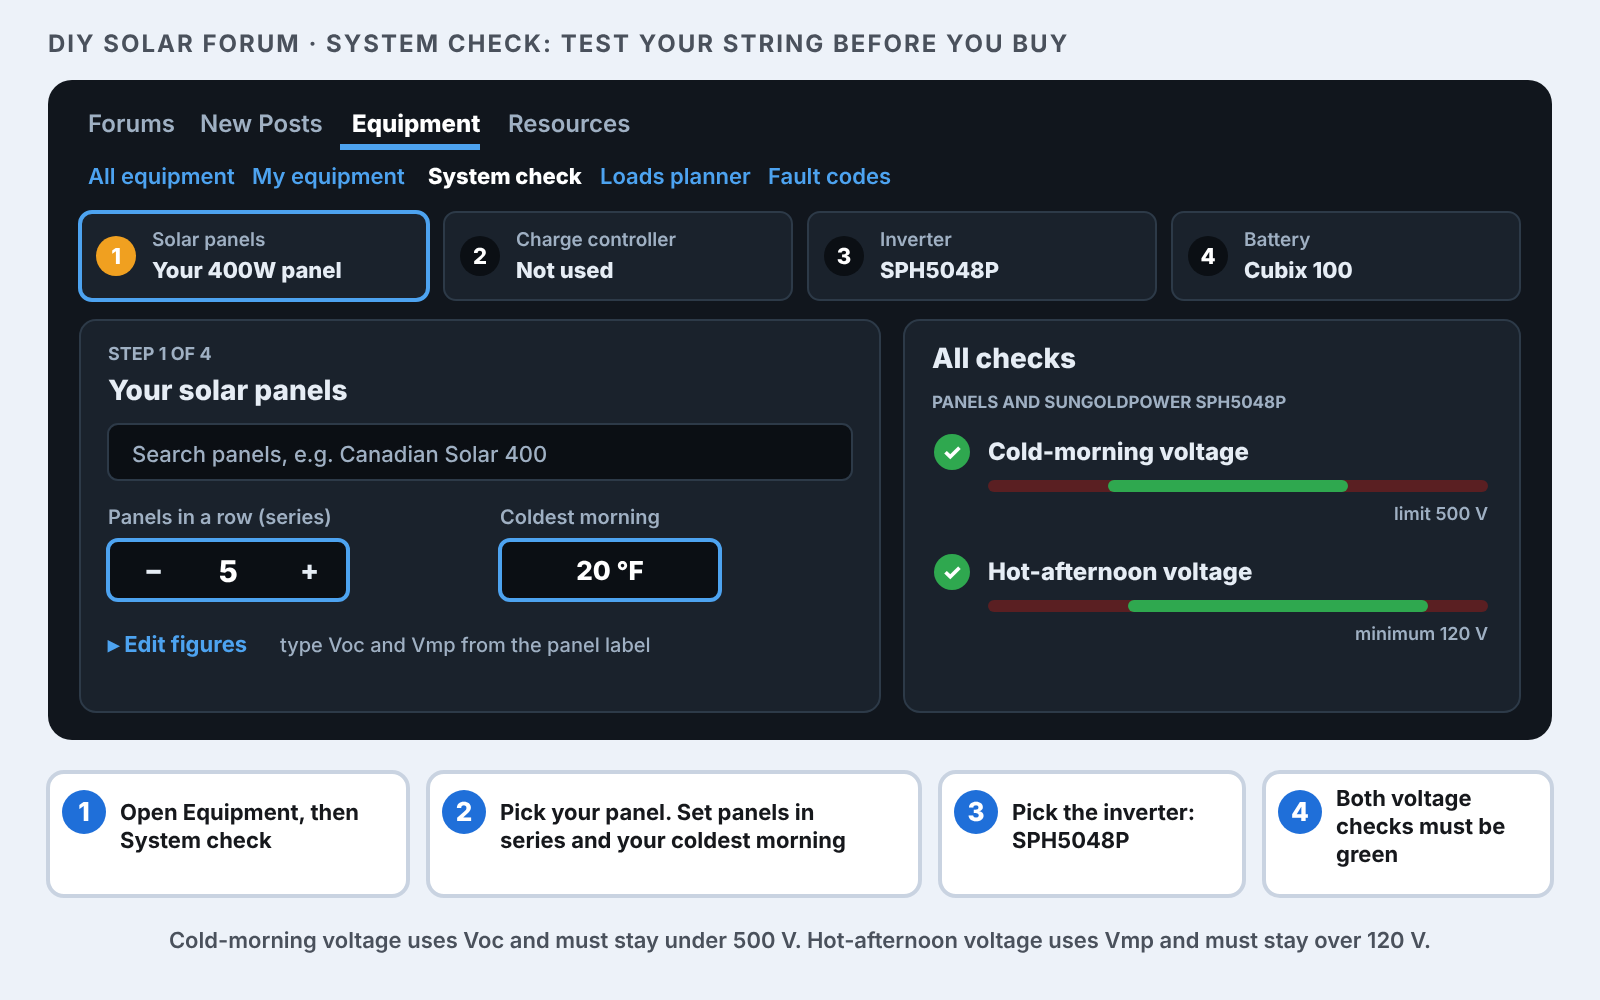
The DIY Solar Forum has a free System check under the Equipment tab. It tells you if your exact panels work with this inverter.

  1. Open the forum, click Equipment, then System check.
  2. Step 1: search for your panel and press Use. If its numbers are missing, open Edit figures and type the Voc and Vmp from the panel label.
  3. Set Panels in a row (series) to the number you plan to wire on one string, and enter your coldest morning temperature.
  4. Step 3: search SPH10048P and press Use.
  5. Read All checks. Cold-morning voltage has to stay under 500V. Hot-afternoon voltage has to stay over 125V. Both need a green check. Run it once per string if your two strings differ.

Charge From Small or Low-Voltage Panels

36V/48V Rover Boost 10A MPPT Solar Charge Controller

Add an MC4 Extension Set to Connect Solar Panels

This is the proper configuration for connection

I charge my golf cart’s 48V battery from a 50W solar panel with a boost MPPT charge controller. It raises a low-voltage panel up to the battery voltage.

It fits RV and van roofs with room for only a panel or two. If you have space, higher-voltage panels in series are the cheaper route: get the string above 120V and the inverter charges from them directly.

Charge From a Vehicle Alternator

You need a dedicated, externally regulated 48V alternator. A stock vehicle charging system is not built to charge a large, deeply discharged battery. Overland and van build shops install these. I do not have a specific model to recommend yet.

Regulated 48V Alternator

If It Does Not Start

What you seeWhat to do
Blank screenTurn on both battery breakers, both batteries and the inverter power switch.
Fault 03, battery not connectedCheck the battery cables, the jumpers and both battery breakers.
Fault 28, line phase errorThe AC input does not match the split-phase output. Use a 240V, 4-wire source like an L14-30 generator outlet.
Fault 45, split-phase setting errorCheck item 68. It should be 180.
Fault 58, BMS communicationThis only shows if you use communication cables. Check the cables and items 32 and 33, or set item 08 to USER.
Fault 14, inverter overloadTurn off loads until you are under 10,000W, then restart.
Fault 17, inverter short circuitUnplug the loads, find the shorted wire or appliance, then power up again.
Fault 09, PV over-voltageOpen that string’s solar disconnect. The string is over 500V. Remove panels from it.
Fault 01 or 04, battery under-voltageCharge the batteries from solar or the generator.
Fault 19 or 20, over-temperatureLet it cool. It restarts on its own. Give it more open space.

The fault codes come from the SunGold SPH8048P/SPH10048P manual.

Questions Before You Build

Can it run 240V loads?

Yes. With item 68 at 180 it puts out 120V on each leg and 240V across both. The 14-50R on the outlet box feeds a 240V well pump, a dryer, a 50A RV or an EV charger.

What is the biggest load it can run?

10,000W continuous, the SunGold inverter's rating, with 20,000W of surge for motor starts. For long battery life keep steady loads under about 4,400W, the batteries' recommended 100A.

Why 2/0 cable when the manual says 4/0?

The SunGold manual lists 4/0 AWG and a 250A breaker for this inverter. I use 2/0 on this build. Each Cubix 100 stops at 100A and has its own breaker, so the cables carry 200A at most. If you add a third battery or a battery with a higher current rating, use 4/0.

How do I charge it?

From solar or a 240V generator. Solar at 100A, item 07, fills it in about 1.9 hours of full sun. A 30A, 240V generator connects through an L14-30P generator cord: set item 28 to 80A for about 4,300W of charging, empty to full in about 2.4 hours. It does not charge from a 120V wall outlet, because the AC input has to be 240V.

Can I add more batteries?

Yes. The Cubix 100 parallels with more of the same battery, and the inverter takes up to 200A of charging. Each added Cubix 100 is 5,120Wh. The hand truck holds 1,000 lb, and each battery is 103 lb.

Can I use it in an RV?

Yes. Plug the RV's 50A cord into the 14-50R on the outlet box. Strap the hand truck down so it cannot move. With item 63 set to ENA, the inverter handles the neutral-ground bond.

Can I power my house with it?

Only through a transfer switch or an interlock installed by an electrician. Never backfeed a house through a dryer outlet.

Where can it sit?

Indoors or under cover, somewhere dry. The inverter runs from 14°F to 131°F and is rated IP20, so keep it out of rain.

How heavy is it?

About 270 lb of gear: two 103 lb batteries, a 59.5 lb inverter and the outlet box. The Gorilla hand truck is rated for 1,000 lb. Tip it back and roll it.

My Latest Videos

Visit my Channel
Will Prowse

Visit my Channel

DIY Solar Power with Will Prowse